
Beautiful Plants For Your Interior
Beautiful Plants For Your Interior
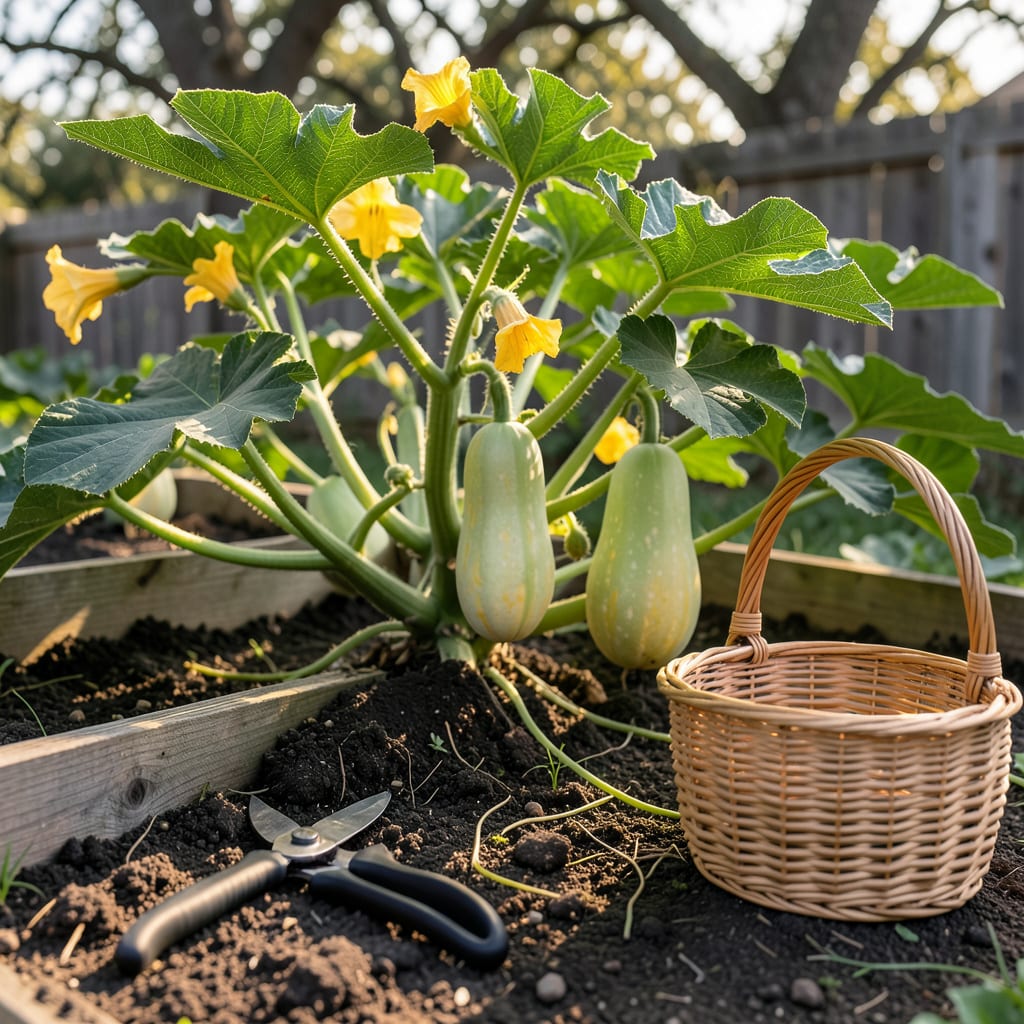
There’s nothing more disappointing than cutting into your homegrown 🎃 spaghetti squash only to find stringy, flavorless strands instead of that perfect al dente texture. I’ve been there—watching my hard work go to waste because I guessed wrong on harvest time.
The difference between a mediocre squash and one with sweet, nutty flavor that stores for months comes down to just a few key signs. Let me show you exactly what to look for—from color changes to the “thumbnail test”—so you’ll never second-guess your harvest again.


After months of tending your spaghetti squash vines, the harvest moment is finally approaching! But how do you know when it’s truly ready? I’ve learned that color, hardness, and stem condition are your three best indicators—not just size or days on the vine.
The perfect harvest window is a delicate balance. I always remind gardeners that 80-100 days after planting is typical, but your local climate and specific variety can shift this timeline. Let’s break down the visual and tactile cues that guarantee you’ll pick at peak ripeness every time.
| Ripeness Sign | What to Look For | Why It Matters |
|---|---|---|
| Skin Color 🟡 | Deep golden yellow all over (no green patches) | Indicates full sugar development and maturity |
| Thumbnail Test ✅ | Press thumbnail into skin—no indentation should remain | Shows rind has hardened for storage |
| Stem Condition ✂️ | Dry, corky, brown (not green or flexible) | Prevents rot and indicates vine has finished feeding fruit |
| Vine Health 🌿 | Vine may start yellowing or dying back | Natural sign plant is redirecting energy |
| Sound Test 🎵 | Tap fruit—should sound hollow/dull (not tinny) | Indicates proper seed and flesh development |
I always start checking my squash when they reach 8-12 inches long—that’s when the real ripeness indicators begin to show. The color change from pale to deep yellow is the first visible clue, but don’t stop there. The thumbnail test is my non-negotiable—if your nail leaves even a slight mark, wait another 3-5 days.
For gardeners in hotter climates, your squash may mature faster—sometimes in as few as 80 days. I’ve found that consistent watering during fruit development leads to more uniform ripening. If you’re in a cooler zone, watch for early frosts and be ready to harvest slightly early if needed.
The stem tells a powerful story about readiness. A green, flexible stem means your squash is still receiving nutrients. Once it turns brown and corky, the fruit has detached from the vine’s support system and is ready for harvest. I use clean pruners to cut stems, leaving 2-3 inches attached to prevent rot.
Don’t make the common mistake of harvesting based on size alone! I’ve seen oversized squash that were still underripe and smaller fruits that were perfectly mature. The combination of color, hardness, and stem condition gives you the complete picture. When in doubt, check again in 2-3 days—patience pays off with better flavor!
If you’re growing multiple varieties, keep notes on which mature fastest. In my garden, ‘Orangetti’ often ripens before ‘Vegetable Spaghetti’ by about a week. Tracking these differences year to year makes future harvests even more precise.
Timing is everything when harvesting spaghetti squash. Picking too soon means you’ll end up with watery, bland flesh that lacks that signature noodle-like texture. I’ve seen gardeners rush the process only to be disappointed by underdeveloped flavor and poor storage life.
On the flip side, leaving squash on the vine past its prime leads to overripe fruit with stringy, mushy interiors. The rind becomes tougher, and the seeds grow oversized. In my experience, overripe squash also spoils faster in storage, wasting all your hard work.
I always tell gardeners to watch for skin color changes as the first warning sign. A pale yellow or greenish tint means it’s not ready, while deep golden yellow indicates peak ripeness. The “thumbnail test” is my go-to: if your nail leaves a mark, wait another week.
For those in cooler climates, frost can sneak up fast. If an early frost threatens and your squash isn’t fully ripe, harvest immediately and cure indoors. I’ve saved many a squash this way! Remember, a slightly underripe squash is better than one damaged by frost.
The stem connection tells a story too. A ripe squash will have a dry, corky stem that’s started to shrink. If the stem is still green and flexible, your squash needs more time. I check this daily once squash reaches full size.
If you do end up with less-than-perfect squash, don’t despair. Underripe ones can be used immediately in recipes where they’ll be cooked thoroughly. Overripe squash? Compost them or save the seeds for next year’s planting. Every harvest is a learning experience!
Remember, the ideal harvest window is usually 90-100 days after planting for most varieties. Keep a gardening journal to track your specific variety’s timeline—it makes future harvests much more predictable! 🪴
Once you’ve mastered the art of harvesting spaghetti squash at peak ripeness, the next challenge is keeping it fresh for months. I’ve found that proper curing and storage can extend shelf life from weeks to 3+ months, preserving that perfect texture and flavor you worked so hard to achieve.
The secret starts with curing your squash immediately after harvest. This process toughens the skin and heals minor cuts, creating a natural protective barrier. I cure mine in a warm, dry place (about 80°F) for 10-14 days before moving to long-term storage.
For short-term storage (up to a month), a cool kitchen cabinet works fine. But for long-term storage, I recommend a basement or root cellar where temperatures stay consistently between 50-55°F. Avoid refrigeration—it creates too much moisture and can lead to premature spoilage.
Watch for these spoilage signs: soft spots, mold growth, or a fermented smell. If you notice any, remove the affected squash immediately to protect the others. I check my stored squash weekly and gently wipe off any dust that accumulates—this helps prevent moisture buildup.
If you’ve got more squash than you can use fresh, consider freezing the strands after cooking. Simply scoop out the flesh, cook until al dente, then freeze in portions. This preserves that wonderful texture for up to 6 months.
Use the thumbnail test: press your nail into the rind. If it leaves a mark or punctures easily, wait another week. A fully ripe squash will resist pressure and feel as hard as a pumpkin. This hardness indicates the flesh inside has developed properly.
Aim for 8-12 inches long and 4-5 inches in diameter. Size matters more than weight—some varieties stay small but are perfectly ripe. Check the seed packet for your specific variety’s ideal dimensions, as some heirloom types may vary slightly.
A light frost won’t harm mature squash, but hard frost (below 28°F) will damage them. If frost is forecast, harvest immediately—even if slightly underripe. Cure indoors at 80-85°F for 10 days to improve storage life.
Use clean pruners or a sharp knife, leaving 2-3 inches of stem attached. Never carry squash by the stem—it can break and create entry points for rot. Wipe the cut end with rubbing alcohol if storing long-term to prevent mold growth.
Most rot comes from excess moisture or physical damage during harvest. Store in a single layer with space between squash, and keep humidity below 70%. Check weekly and remove any with soft spots immediately to protect the others.
