
Beautiful Plants For Your Interior
Beautiful Plants For Your Interior
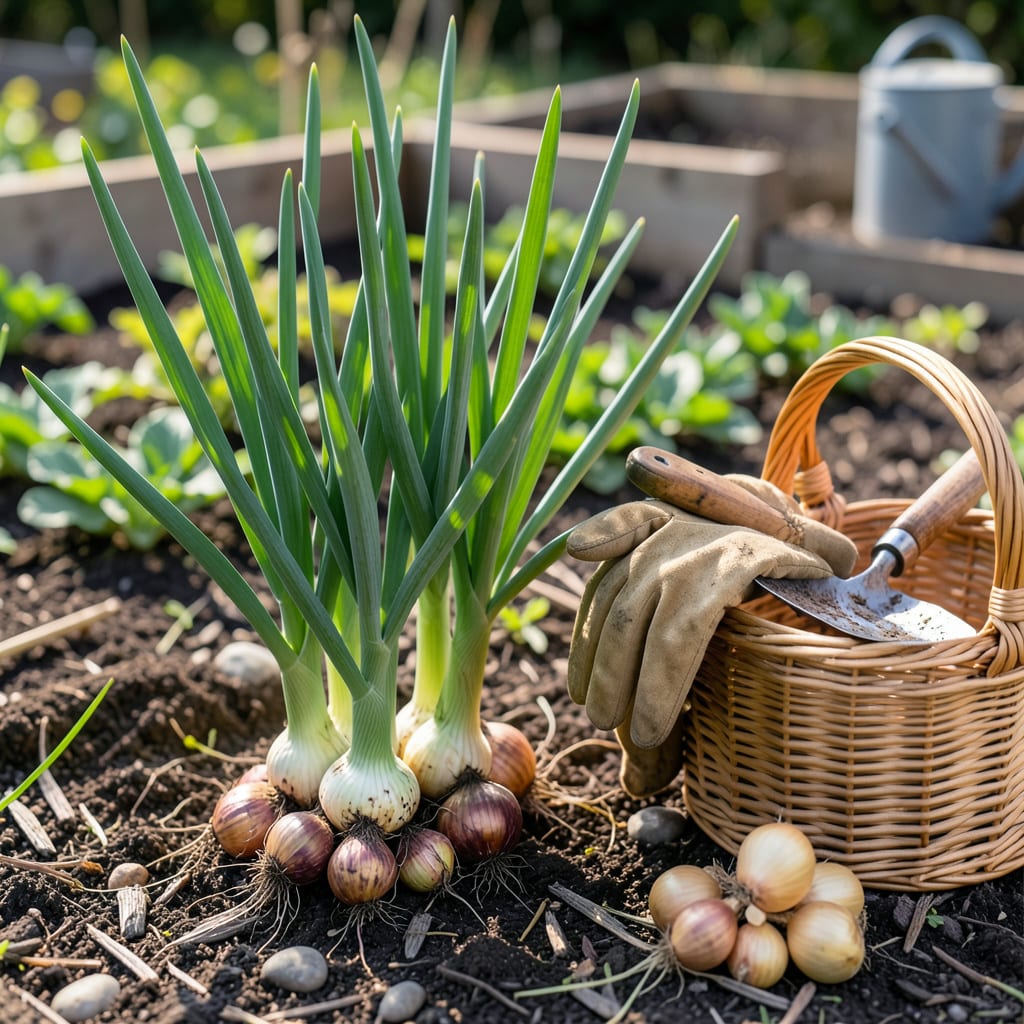
There’s nothing worse than digging up your shallots too early—only to find underdeveloped bulbs that lack that rich, sweet flavor. But here’s the good news: with just a few key signs, you’ll know exactly when they’re ready for the perfect harvest.
In Ohio’s Zone 6a, timing is everything, especially when those tops start yellowing in July or August. I’ll show you how to spot the right moment, so you get firm, papery bulbs every time—no guesswork required.


If you’ve planted shallots in early spring, you’re likely counting down the days to harvest—usually around 90–120 days later. But don’t just rely on the calendar! The real clues are in the leaves and bulbs. I’ll walk you through what to look for.
First, check the tops of your shallots. When they start turning yellow and flopping over, that’s your first sign. But don’t rush—wait until at least 50% of the foliage has died back. This ensures the bulbs have fully matured underground.
| Harvest Sign | What to Look For |
|---|---|
| Leaf Dieback | 50%+ yellowing and wilting tops |
| Bulb Size | 2–3 inches wide at soil level |
| Neck Softening | Stems feel dry and papery near bulbs |
| Soil Looseness | Bulbs lift easily with gentle tug |
Pro Tip: Harvest after 2–3 dry days to reduce rot risk.
Next, gently brush away the soil at the base of a plant to check bulb size. Mature shallots should measure 2–3 inches in diameter—about the size of a golf ball. If they’re smaller, give them another week or two.
The neck of the shallot (where the leaves meet the bulb) should feel soft and dry, not green or moist. This is a critical sign that the plant has stopped sending energy to the leaves and is focusing on the bulb. If the neck is still firm, wait a few more days.
Timing also depends on when you planted. Spring-planted shallots in Zone 6a are typically ready by late July to August. If you planted in fall, expect harvest the following early summer. Always adjust based on your local last frost date.
One mistake I see often is harvesting after heavy rain. Wet soil makes bulbs prone to rot during curing. If rain is in the forecast, wait until the soil dries slightly—or cover plants with a cloche or row cover to keep them dry.
If you’re growing French grey shallots or other heirloom varieties, they may take 10–14 days longer to mature than hybrid types. Keep an eye on their progress separately if you’re growing multiple varieties in the same bed.
Still unsure? Try the “thumb test”: Press gently on the bulb’s skin. If it feels papery and resists pressure, it’s ready. If it dents easily or feels rubbery, it needs more time. This simple trick saves me from harvesting too soon every season.
Once you’ve confirmed these signs, it’s time to harvest! But before you pull them, make sure you’ve got the right tools—a garden fork works better than pulling by hand to avoid damaging the bulbs. We’ll cover the exact steps in the next section.
Remember, shallots left in the ground too long can split or sprout, reducing their storage life. If you’re growing for long-term storage, aim to harvest during a dry spell and cure them properly afterward. Your future self will thank you!
✂️Now that you’ve confirmed your shallots are ready, it’s time to get them out of the ground—without bruising or cutting those precious bulbs. I’ve ruined a few harvests by being too eager, so let me share the right way to do it with minimal damage.
First, stop watering your shallots 1–2 days before harvest. This helps the soil dry slightly, making it easier to lift bulbs cleanly. Wet soil clings to shallots, increasing the risk of rot during curing. Trust me, this small step saves a lot of hassle later.
⚠️ Avoid This Mistake!
Never pull shallots by the tops—this can separate the bulbs from their skins, reducing storage life. Instead, loosen the soil first with a garden fork, then gently lift.
Gather your tools: a garden fork (not a spade!) and a harvesting basket or tray. Insert the fork 6–8 inches away from the plant to avoid piercing bulbs. Gently lift the soil, then wiggle the shallots free by hand if needed.
Once unearthed, brush off excess soil—but don’t wash the bulbs! Moisture on the skins can lead to mold during curing. If the soil is stubborn, let the shallots dry in the sun for 1–2 hours before brushing again. This also helps the outer layers toughen up.
Inspect each bulb for damage or soft spots. Set aside any with cuts or bruises to use first—they won’t store well. Perfect bulbs should feel firm and dry, with intact papery skins. If you find bulbs that split in half during harvest, they’re still edible but best used within 2–3 weeks.
For large harvests, lay shallots in a single layer on a wire rack or screen in a well-ventilated area. Avoid plastic trays—they trap moisture. Small batches can cure on a cardboard box in a garage or shed, as long as airflow is good and temps stay between 60–75°F.
If you’re short on space, braid the tops (if still attached) and hang them in a dry spot. This method works great for French grey shallots with long necks. Just ensure bulbs aren’t touching each other to prevent cross-contamination if one starts to rot.
✂️You’ve harvested your shallots—now the real work begins! Proper curing and storage make all the difference between bulbs that last weeks and those that sprout or rot within days. I’ll walk you through the essential steps to keep your harvest fresh for months.
First, curing is non-negotiable. Lay your shallots in a single layer on a wire rack or screen in a dry, shaded spot with good airflow. Avoid direct sunlight—it can scorch the bulbs and ruin their texture. Aim for 60–75°F and low humidity for 7–10 days.
| Storage Method | Shelf Life | Best For |
|---|---|---|
| Mesh Bags | 4–6 months | Long-term storage |
| Braided Hanging | 3–5 months | Small batches, decor |
| Cardboard Box | 2–3 months | Short-term, easy access |
| Refrigerator | 1–2 months | Humid climates |
Pro Tip: Store in darkness to prevent sprouting.
After curing, trim the dried tops to 1 inch above the bulb, but leave the roots intact—this helps prevent moisture loss. For braiding, keep tops longer (about 6 inches) and weave them together while still pliable. Hang in a cool, dry pantry away from potatoes—their ethylene gas speeds up spoilage.
If storing in mesh bags or boxes, ensure bulbs don’t touch. I like to layer them with dry straw or newspaper to absorb excess moisture. Check weekly for soft spots or sprouts, and remove any compromised bulbs immediately to protect the rest.
For refrigerator storage, place shallots in a paper bag with holes punched for airflow. Never use plastic—it traps humidity and encourages mold growth. Use these first, as fridge-stored shallots decline faster than room-temperature ones.
In humid climates, add a silica gel packet to your storage container to absorb moisture. If you notice condensation, increase airflow or move shallots to a drier spot. Properly cured and stored shallots can last until next spring, giving you homegrown flavor year-round!
🪴Picking them prematurely means you’ll get small, underdeveloped bulbs with a sharper, less sweet flavor. The skins will be thin and won’t store well. Wait until at least 50% of the tops have yellowed and died back for best results.
It’s best to avoid harvesting in wet conditions. Wet soil clings to bulbs and increases the risk of rot during curing. If rain is unavoidable, let the soil dry for 1-2 days before lifting them, or cover plants with a cloche.
Overmature shallots may start splitting or sprouting in the ground. Check for bulbs that feel soft or have green shoots emerging from the top. These signs mean they’ve passed their prime and should be used quickly rather than stored.
No, leave the tops intact during curing! They help draw moisture from the bulbs. Wait until after the 7-10 day curing period before trimming. For braiding, keep tops longer (about 6 inches) and weave them while still pliable.
Early sprouting usually happens due to exposure to light or ethylene gas (like from potatoes). Store them in complete darkness in mesh bags or paper, and keep them away from other produce. Proper curing also helps prevent premature sprouting.
