
Beautiful Plants For Your Interior
Beautiful Plants For Your Interior
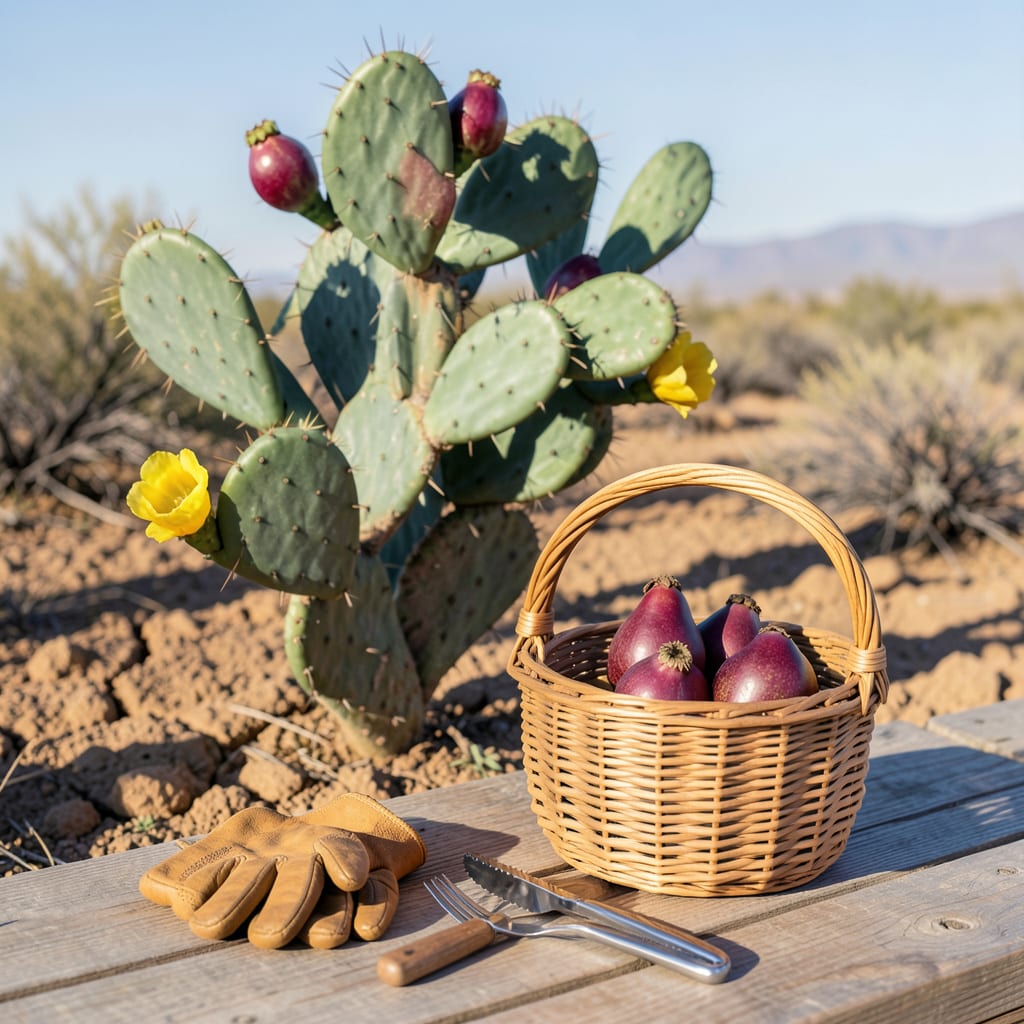
That moment when you pluck a prickly pear only to find it sour and underripe? We’ve all been there. The difference between a disappointing bite and sweet, sun-ripened perfection comes down to timing—knowing exactly when your 🌵 Prickly Pear is ready to leave the pad.
From color shifts to the telltale “twist test,” I’ll walk you through the foolproof signs that signal harvest time. Whether you’re foraging in the wild or tending a backyard cactus, these simple cues ensure you’ll never waste another fruit on bad timing. Let’s get it right this season.


Timing your prickly pear harvest starts with understanding your local growing season. In most U.S. regions, these vibrant cactus fruits reach peak ripeness from late summer through early fall. But climate plays a huge role—what’s perfect in Arizona might be too early for Texas.
I’ve found that USDA Zones 6-11 typically see ripe fruit between August and October, though desert areas may start producing as early as July. The key is watching for color transformation—that shift from dull green to brilliant red, purple, or yellow.
| Region | Peak Harvest Window | Color at Ripeness |
|---|---|---|
| Southwest (AZ, NM) | July – September | Deep magenta/purple |
| Texas/Oklahoma | August – October | Bright red/orange |
| California | September – November | Golden yellow |
| Southeast (FL, GA) | October – December | Red with green tips |
💡 Pro Tip: Coastal areas often have extended seasons due to milder winters.
Beyond geography, watch for texture changes—ripe fruits develop a slight softness when gently squeezed, similar to a ripe avocado. The skin should look smooth and glossy, not wrinkled or dull. This is when the fruit’s sugar content peaks.
Another telltale sign is how easily the fruit detaches. A ripe prickly pear will twist off cleanly with minimal effort, while unripe ones cling stubbornly to the pad. I always do the “glove test”—if it resists my protected fingers, it needs more sun.
For those growing multiple varieties, Opuntia ficus-indica (the common edible type) typically ripens earlier than native species. The ‘Santa Rita’ variety often shows purple hues when ready, while ‘Burbank Spineless’ turns a uniform yellow.
Remember that first frost dates matter—once temperatures drop below 32°F, remaining fruits may develop off-flavors. In Zone 6 areas, I aim to harvest everything by mid-October. Southern growers can often stretch their season into November.
If you’re foraging wild prickly pears, check for animal activity—birds and rodents know the ripening schedule better than we do! I’ve learned to harvest just before local wildlife discovers my favorite patches.
Finally, keep a harvest journal noting when each plant produces. Over years, you’ll spot patterns that let you predict ripening within days. My records show my backyard cacti consistently ripen 2 weeks earlier than wild patches nearby.
After years of picking prickly pears, I’ve learned that three simple tests guarantee perfect ripeness every time. Forget complicated charts—just watch for color changes, check the glochid maturity, and master the “twist test” technique.
The first clue is always color transformation. Immature fruits start pale green, then progress through yellow to finally reach deep red, purple, or orange depending on variety. I check my plants daily once they hit the yellow stage—ripening happens fast in summer heat!
⚠️ Warning: Overripe fruits may ferment on the pad—harvest promptly!
The glochid test is my secret weapon. Those microscopic spines should brush off easily when ripe. I use a soft paintbrush to test—if glochids stay put, the fruit needs more time. This also helps remove irritating spines before handling.
Texture reveals everything. A ripe prickly pear gives slightly when pressed, like a firm kiwi. The skin should look smooth and glossy, not wrinkled. I compare it to checking an avocado—gentle pressure tells you everything about what’s inside.
Timing matters too. I always harvest in early morning when fruits are cool and sugars concentrated. Afternoon picks often taste watery from heat stress. And never harvest after rain—split fruits attract pests and spoil faster.
For beginners, I recommend starting with Opuntia ficus-indica varieties—they’re most forgiving. Their color change from green to deep magenta is dramatic and obvious. Native species can be trickier with more subtle ripening cues.
Remember that size isn’t everything. Some varieties stay small but pack intense flavor. My rule: if it’s 2+ inches long with vibrant color and passes the twist test, it’s ready. Trust your senses over measurements!
Even experienced gardeners can sabotage their prickly pear harvest with simple oversights. I’ve ruined my share of fruit by ignoring glochid safety or misjudging weather conditions. Let me save you from the most common pitfalls that turn sweet harvests into disappointing waste.
The number one mistake is harvesting with bare hands. Those microscopic glochids embed painfully in skin and are nearly invisible. I always use heavy-duty gloves (leather works best) plus tongs for stubborn fruits. A quick pass with a propane torch removes remaining spines post-harvest.
💡 Pro Protection: Wear long sleeves and use a headlamp to spot glochids in shade.
Timing errors wreck flavor. I learned the hard way that afternoon-harvested fruits taste diluted because heat stresses the plants. Now I pick between 6-9 AM when sugars are most concentrated. Similarly, never harvest after rain—waterlogged fruits split and attract fruit flies within hours.
Animal competition catches many growers off guard. In my garden, mockingbirds and raccoons time their raids perfectly. I now harvest just as fruits show first color changes, letting them ripen indoors on my counter. This beats losing entire crops to clever critters!
Tool choices matter too. Flimsy kitchen tongs bend under fruit pressure. I use locking barbecue tongs for secure grip. For high pads, a fruit picker with foam grip prevents bruising. Always carry a small bucket—dropped fruits attract ants instantly in warm climates.
Finally, don’t ignore fruit size variations. Some varieties stay small but ripen fully. I once discarded an entire batch of ‘Santa Rita’ pears thinking they were immature, only to learn they’re naturally petite. When in doubt, do the twist test—if it comes off easily, it’s ready regardless of size.
Early morning between 6-9 AM is ideal. The fruits are coolest then, with sugars most concentrated. Afternoon harvests often taste watery due to heat stress. I always bring a small bucket to prevent dropped fruits from attracting ants.
Unripe fruits stay firm with no give when gently pressed, and the color remains green or pale yellow. They’ll taste sour and may cause stomach upset. The twist test fails too—unripe pears resist detachment from the pad.
Never harvest immediately after rain. The fruits absorb water, becoming diluted in flavor and prone to splitting. Wait 24-48 hours for them to dry. Wet fruits also attract fruit flies and spoil faster.
Essential tools include locking barbecue tongs for grip, thick leather gloves to avoid glochids, and a fruit picker for high pads. I also carry a small propane torch to singe off remaining spines post-harvest.
