
Beautiful Plants For Your Interior
Beautiful Plants For Your Interior
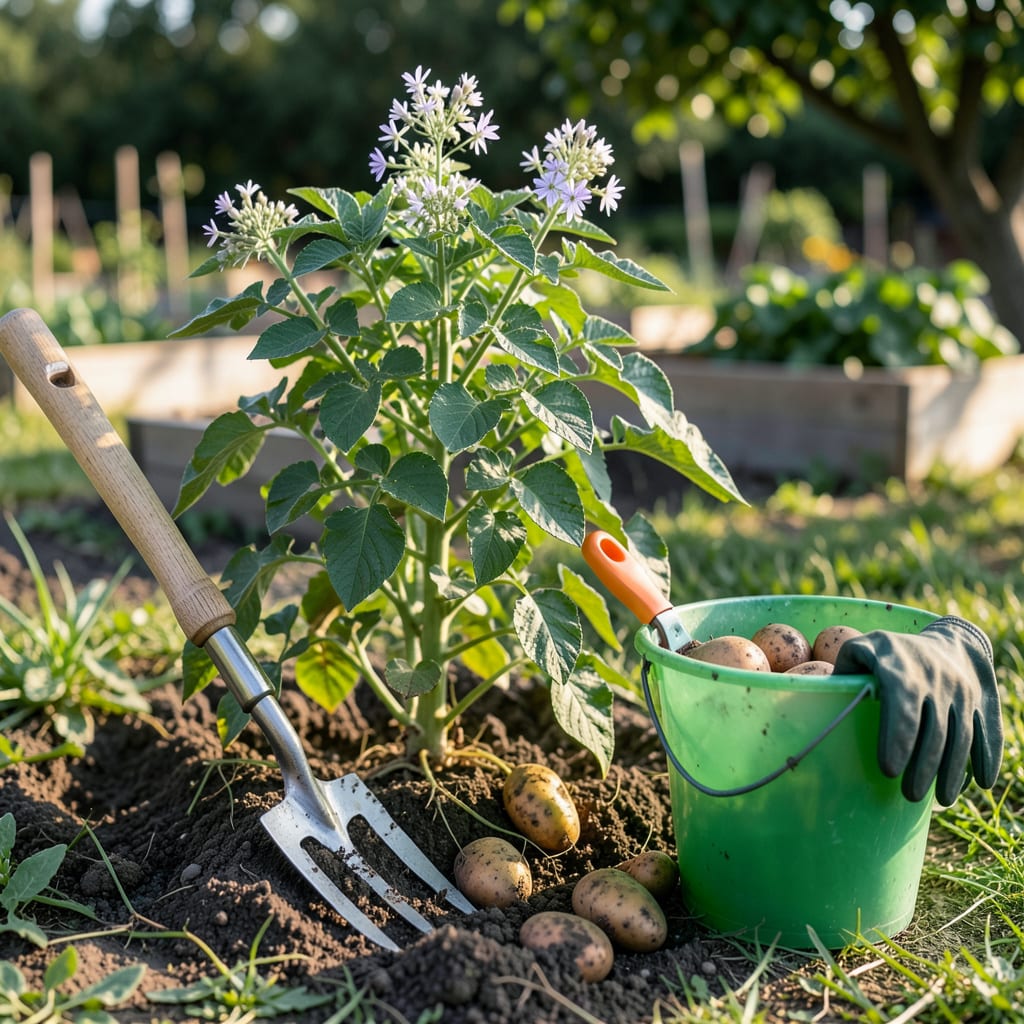
There’s nothing quite like the satisfaction of pulling perfect potatoes from the soil—unless you dig too early and end up with tiny, underdeveloped spuds. Timing that harvest is everything, whether you’re growing 🥔 for immediate meals or long-term storage.
From foliage clues to skin firmness tests, I’ll break down the exact signs to watch for—so you never second-guess when to grab your garden fork. Let’s make sure your harvest is as rewarding as the growing season itself.


Knowing exactly when to pick potatoes starts with observing your plants closely. The foliage tells the story—when leaves begin to yellow and die back, your spuds are nearing readiness. This is especially true for mature storage potatoes, which need that final push to develop thick skins.
For new potatoes (those tender, small tubers), you can start harvesting as early as 2-3 weeks after flowering. Gently dig around the plant’s base with your hands to avoid damaging roots. These young potatoes won’t store long but offer a delicate, buttery flavor fresh from the garden.
The skin firmness test is my go-to for confirming readiness. Rub a dug tuber with your thumb—if the skin doesn’t peel easily, it’s mature enough for storage. Green skin means too much sunlight exposure (and potential toxicity), so hill soil higher next time.
Early varieties like ‘Yukon Gold’ or ‘Red Norland’ mature in 70-80 days, while late-season types (e.g., ‘Russet’ or ‘Kennebec’) need 100-120 days. In cooler climates, add 7-10 days to these ranges—soil temps below 50°F slow growth.
If you’re growing in containers, check for roots escaping drainage holes—a sign tubers are crowded and ready. For in-ground crops, slide a garden fork 6-8 inches from the plant’s base and lift gently. Bruised potatoes spoil faster, so handle them like eggs!
Weather matters: Avoid harvesting after heavy rain—soggy soil compacts, making tubers harder to dig without damage. Aim for morning harvests when temps are cool, and let potatoes air-dry in shade for 2-3 hours to toughen skins before storage.
For seed potatoes you plan to replant, select the smallest, blemish-free tubers from your harvest. Store them in a dark, 40°F space with high humidity (like a root cellar) to prevent sprouting too early.
Remember, harvesting too late risks rot or pest damage, while picking too early yields underdeveloped tubers. When in doubt, dig a “test hill”—if the largest potatoes are 2-3 inches wide with firm skin, the rest are likely ready too.
After harvesting, let potatoes “cure” for 10-14 days in a dark, well-ventilated area (55-60°F). This heals minor cuts and extends storage life to 4-6 months. Skip washing until ready to use—dirt protects them during curing!
Harvesting potatoes at the right time is only half the battle—the real challenge is getting them out of the ground without bruising or cutting them. I’ve learned the hard way that a careless dig can ruin months of growth. The key is using the right tools and technique.
First, choose a dry, sunny day to harvest. Wet soil makes tubers sticky and prone to rot, while damp conditions can spread disease. I always wait 2-3 days after rain to let the soil drain. Early morning is ideal—cool temps keep potatoes firm and less likely to bruise.
❌ Never use a shovel—it slices tubers. Opt for a garden fork or your hands for small plots.
❌ Don’t harvest in wet soil—it causes rot and makes cleaning harder.
❌ Skip the “tug test”—pulling plants can break stems and leave tubers behind.
Start by gently loosening the soil around the plant with a garden fork, inserting it 8-10 inches away from the stem to avoid piercing tubers. Lift the plant carefully, then sift through the soil with your hands to find hidden potatoes. For container-grown spuds, tip the pot sideways and ease them out.
Once unearthed, let potatoes cure in a dark, well-ventilated spot for 1-2 weeks. This toughens their skin for storage. I lay them on newspaper in a cool basement or garage—never in sunlight, which turns them green and toxic. Brush off excess dirt, but don’t wash them until ready to use.
For new potatoes (harvested early), use your fingers to gently twist them off the plant while leaving the rest to grow. These tender spuds bruise easily, so handle them like eggs. Store them in the fridge and use within a week. Mature potatoes, however, prefer cool (45-50°F) and humid (85-90%) conditions for long-term storage.
Finally, inspect each tuber for damage. Toss any with green spots (solanine toxicity) or deep cuts (rot risk). I save the smallest, blemish-free potatoes as seed stock for next year’s crop. With practice, you’ll get a feel for the perfect harvest window—and enjoy flavorful, homegrown spuds for months! 🌱
I’ve seen even experienced gardeners make simple errors that turn a promising potato crop into a disappointing harvest. The biggest mistake is pulling tubers too early—before the skin sets—which leads to bruising and poor storage. Patience is key, especially with storage varieties like Russets. 🪴
Another critical error? Ignoring the weather forecast. Harvesting after heavy rain makes soil waterlogged, causing tubers to rot during curing. I always check for dry, sunny days and dig when the soil is slightly moist but not soggy. A little planning saves weeks of frustration.
Many gardeners also overlook varietal differences. Early potatoes (like Yukon Gold) can be harvested at 60-70 days, while late-season types (Kennebec) need 110-130 days. I mark planting dates on my calendar to track maturity accurately. ⏰
Finally, don’t forget to cure your potatoes! Lay them in a dark, humid spot (60-65°F) for 10-14 days to toughen the skin. Skipping this step means your hard-earned spuds will spoil faster in storage. A little extra time now pays off for months. 🌱
If you’ve made these mistakes before, don’t worry—next season is your chance to try again. Focus on timing, tools, and post-harvest care, and you’ll be rewarded with a bounty of perfect potatoes that last through winter. ✅
For new potatoes, check 2-3 weeks after flowering by gently feeling the soil near the plant base. If tubers are 1-2 inches wide with tender skin, they’re ready. For mature varieties, wait until skin resists peeling when rubbed with your thumb.
Start by carefully removing new potatoes for immediate use while leaving the plant intact. Later, when foliage yellows, harvest the remaining tubers for storage. This approach maximizes yield and lets you enjoy potatoes at different maturity levels.
Early morning is ideal when temperatures are cool and soil moisture is balanced. Avoid midday heat which can cause tubers to dry out too quickly. Always choose a dry day—wait 2-3 days after rain to prevent soil from sticking to your harvest.
For storage varieties, you can leave them 1-2 weeks after foliage dies, but don’t wait longer. Delaying risks rot from soil moisture or pest damage. In warm climates, harvest immediately when ready to prevent sprouting in the ground.
Green skin means they were exposed to sunlight, producing solanine (a mild toxin). Hill soil higher around plants during growth to prevent this. If you find green spots, cut them away before cooking—never eat the green parts. Small green areas can be peeled off safely.
