
Beautiful Plants For Your Interior
Beautiful Plants For Your Interior
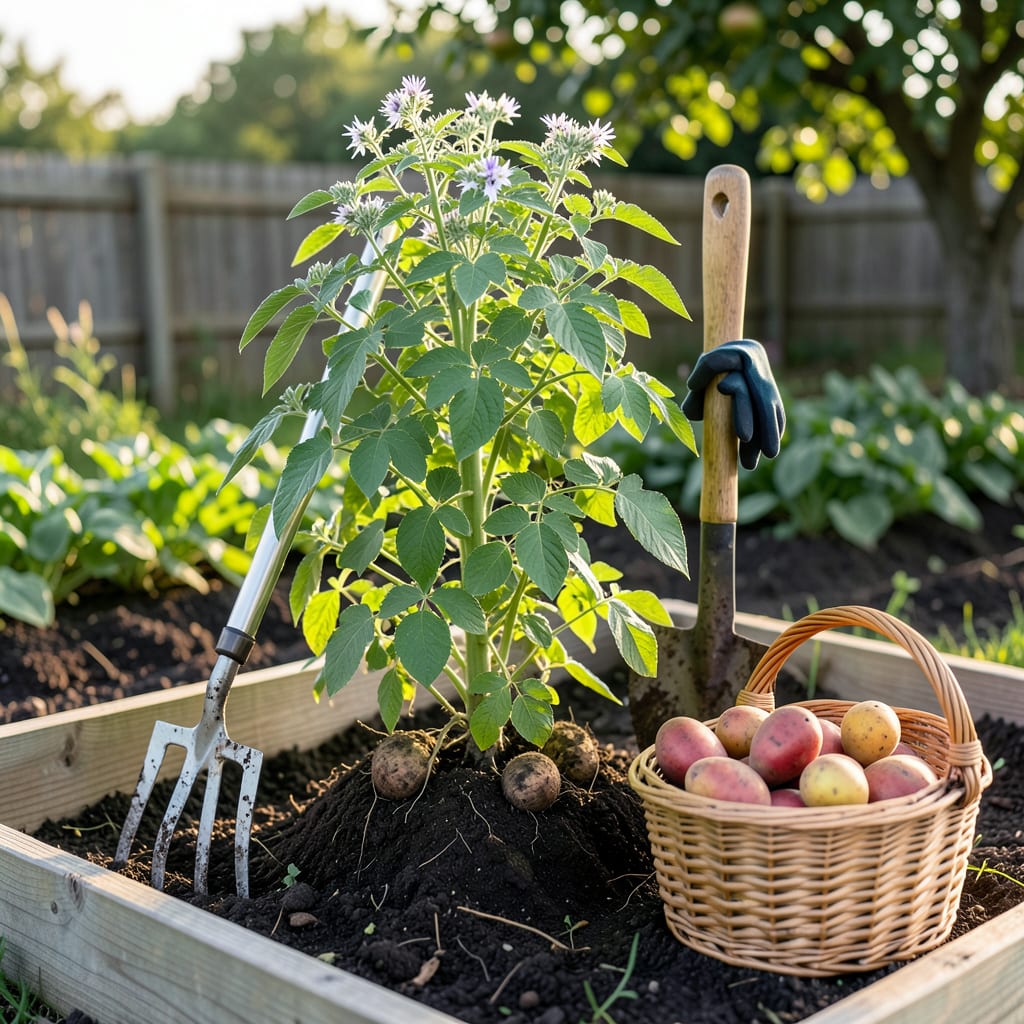
There’s nothing quite like the satisfaction of pulling perfect potatoes from your garden—unless you dig too soon and end up with tiny, underdeveloped spuds. I’ve been there, staring at a handful of marbles when I expected dinner-sized 🥔 treasures.
The difference between disappointment and a bountiful harvest often comes down to timing. Whether you’re growing early varieties for summer salads or storing late-season russets, I’ll show you the foolproof signs to watch for—so you’ll know exactly when to grab your fork and start digging.


Timing your potato harvest perfectly starts with reading your plants like a book. The first clue? Watch the foliage turn yellow and begin to die back. This signals the plant is redirecting energy from leaves to tubers, meaning your spuds are bulking up underground.
For new potatoes (those tender, thin-skinned gems), you can start harvesting as soon as plants flower—usually 60-70 days after planting. But for storage potatoes, patience pays off. Wait until 2-3 weeks after foliage dies completely for thicker skins.
| Harvest Stage | Visual Signs | Days After Planting |
|---|---|---|
| New Potatoes | Plants flowering, foliage still green | 60-70 |
| Early Varieties | Foliage yellowing, some dieback | 70-90 |
| Storage Potatoes | Foliage completely dead, stems brittle | 90-120 |
The fingernail test is my go-to trick for checking readiness. Gently scrape a tuber’s skin with your thumbnail—if it doesn’t peel easily, the skin has “set” and it’s ready for storage. For new potatoes, the skin will rub off, and that’s perfectly normal.
Size matters too! Most varieties reach harvest size between a golf ball (new potatoes) and baseball (storage potatoes). If you’re growing Yukon Golds or Red Pontiacs, expect 2-3 inches in diameter at maturity. Russets often grow larger, up to 4-5 inches.
Don’t ignore the weather forecast when planning your harvest. If heavy rains are predicted and your foliage has died back, dig immediately to prevent rot in soggy soil. Conversely, in dry spells, water lightly 2-3 days before harvesting to ease digging.
For early varieties like ‘Norland’ or ‘Irish Cobbler’, you’ll often see flowers drop as tubers form. This is your green light to start checking for new potatoes. Late-season types like ‘Kennebec’ may not flower at all—focus on foliage dieback instead.
Here’s a little-known trick: Harvest on a dry, sunny day when soil is moist but not wet. This makes digging easier and reduces tuber damage. I keep a garden fork handy (not a shovel!) to gently lift plants without piercing potatoes.
If you’re growing in containers, check for roots escaping drainage holes—this often means tubers are ready. Tilt the pot slightly and peek inside the top inch of soil. Container-grown spuds typically mature 10-14 days faster than in-ground plants.
Remember that soil temperature affects maturity. In cool climates (USDA zones 3-5), potatoes may take 10-20 extra days to size up. Southern gardeners (zones 7+) should watch for early dieback due to heat stress—harvest promptly when foliage yellows.
Finally, trust your instincts! If you’ve grown the same variety before, you’ll recognize when plants “look ready.” And if you’re unsure, harvest a test plant—better to check early than risk over-mature, cracked, or pest-damaged potatoes in the ground.
Not all potatoes follow the same timeline. Early varieties like ‘Yukon Gold’ or ‘Red Norland’ are ready in 60-80 days, perfect for summer meals. These thin-skinned gems are best harvested when plants are still flowering but foliage remains green.
For mid-season potatoes (think ‘Kennebec’ or ‘Purple Viking’), you’ll wait 80-100 days. These versatile spuds are ideal when foliage starts yellowing but hasn’t completely died back. They store better than early varieties but don’t keep as long as late-season types.
| Variety Type | Days to Maturity | Harvest Signs | Best For |
|---|---|---|---|
| Early Season | 60-80 | Plants flowering, green foliage | New potatoes, summer meals |
| Mid-Season | 80-100 | Foliage yellowing, some dieback | All-purpose, moderate storage |
| Late Season | 100-135 | Foliage completely dead, stems brittle | Long-term storage, baking |
Late-season varieties like ‘Russet Burbank’ or ‘German Butterball’ need 100-135 days to reach their full potential. These are your storage champions, developing thick skins that protect them for months. Wait until all foliage is brown and stems snap easily.
In warm climates (zones 7-9), watch for premature dieback from heat stress. Harvest immediately when foliage yellows, even if it’s earlier than expected. Cool-weather gardeners (zones 3-5) should extend timelines by 2-3 weeks due to slower soil warming.
For container-grown potatoes, subtract about 10-14 days from these timelines. The confined space speeds maturity. Check for roots escaping drainage holes or soil cracking at the surface—both indicate tubers are pushing against container walls.
Remember that soil temperature dramatically affects maturity rates. Potatoes grow fastest when soil stays between 60-70°F. Use a soil thermometer to monitor conditions, especially in early spring or fall plantings where temperatures may be less ideal.
I always mark my calendar with two key dates: the expected maturity day and a backup date 2 weeks later. This gives me flexibility if weather conditions aren’t cooperating. And
Even experienced gardeners sometimes sabotage their potato harvest with avoidable errors. The most common mistake I see is harvesting too early—especially with storage varieties. Those extra weeks make all the difference between thin-skinned spuds and thick-skinned keepers that last months.
Another critical error is using the wrong tools. A shovel might seem efficient, but it’s a recipe for pierced potatoes. I always reach for a garden fork instead, working carefully around the plant’s perimeter to avoid damaging tubers.
Many gardeners overlook the curing process for storage potatoes. After digging, let them sit in a dark, humid (60-65°F) space for 1-2 weeks. This toughens skins and heals minor cuts, extending storage life by months. Skip this step, and you’ll face premature sprouting or rot.
Sun exposure is another silent harvest killer. Potatoes turn green and develop toxic solanine when exposed to light. I always keep a dark towel or bucket handy to cover freshly dug spuds immediately. Even 30 minutes of direct sunlight can ruin your crop.
Timing mistakes often stem from ignoring regional differences. In my Zone 5 garden, I add 2 weeks to maturity estimates, while my sister in Zone 8 harvests 10 days earlier due to heat. Adjust your timeline based on your USDA zone and current weather patterns.
Finally, don’t forget post-harvest handling. Brush off excess soil but don’t wash potatoes before storage—moisture encourages rot. Store in breathable containers (burlap sacks or cardboard boxes) in a cool (45-50°F), dark place. Check weekly and remove any sprouting or soft tubers immediately.
Watch for yellowing foliage and dying back—this is the first sign. For new potatoes, check for flowers on the plant. The fingernail test works too: gently scratch a tuber’s skin. If it doesn’t peel easily, they’re ready for storage.
Early varieties (like Yukon Gold) are ready in 60-80 days and perfect for fresh eating. Late-season types (like Russets) take 100-135 days but store for months. Early harvest gives tender skins; late harvest yields thicker, storage-friendly skins.
Never dig in soggy soil—it compacts dirt and increases rot risk. Wait for dry conditions to protect your crop. If rain is coming and foliage has died back, harvest immediately to prevent waterlogged tubers.
Cure them first in a dark, humid (60-65°F) space for 1-2 weeks. Then store in breathable containers (burlap or cardboard) at 45-50°F. Never wash before storage—moisture causes rot.
Green potatoes mean they were exposed to light, which creates toxic solanine. Always cover freshly dug spuds with a towel or bucket. Even 30 minutes of sunlight can ruin them—keep them in the dark!
