
Beautiful Plants For Your Interior
Beautiful Plants For Your Interior
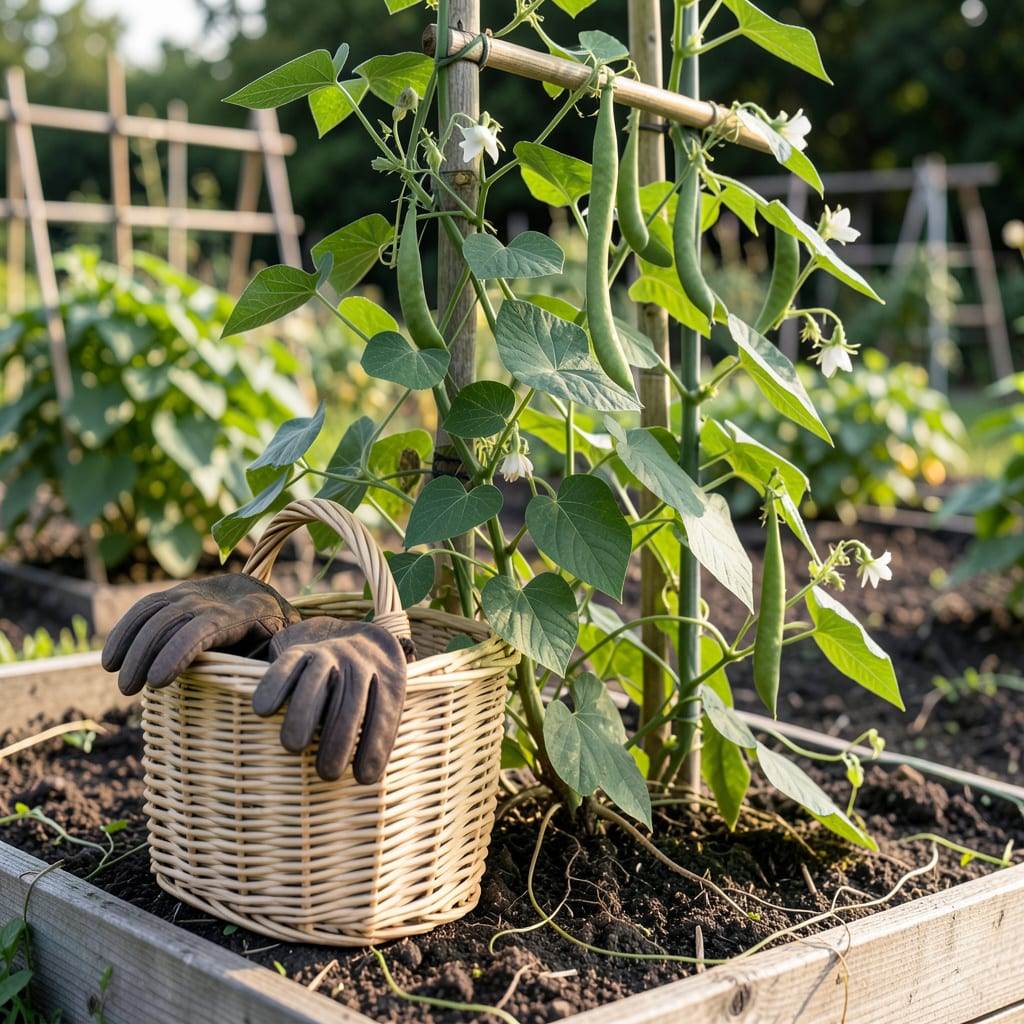
There’s nothing quite like the crisp snap of a freshly picked pole bean—when it’s perfect. But harvest too early or too late, and you’ll miss that sweet, tender crunch that makes homegrown beans so special.
I’ve learned the hard way that timing is everything with these climbing plants. Whether you’re growing Kentucky Wonder or Scarlet Runner varieties, I’ll show you exactly what to look for so you never second-guess when to pluck those pods. Let’s make this your most flavorful harvest yet.


I remember the first time I grew pole beans, I kept waiting for them to “look ready” like grocery store beans. Big mistake! Homegrown pole beans tell you when they’re perfect through subtle signs you can see, feel, and even hear. The secret is checking daily once they start forming.
Most varieties reach peak flavor when pods are 4-8 inches long and about the thickness of a pencil. But size alone isn’t enough—you’ll want to do the “snap test” by bending a pod. If it breaks cleanly with a crisp snap, it’s harvest time. Overmature beans bend like rubber bands instead.
| Readiness Sign | What to Look For | Pro Tip |
|---|---|---|
| Pod Size | 4-8 inches long, pencil-thick | Measure against your hand for consistency |
| Color | Deep green (or purple/red for specialty varieties) | Dull color = overmature |
| Snap Test | Breaks cleanly with audible snap | Test 2-3 pods per plant |
| Seed Bumps | Seeds visible but not bulging | Bulging = too late |
| Texture | Firm but slightly velvety | Rub between fingers |
Here’s where most gardeners go wrong: waiting for beans to “fill out.” Those visible seed bumps should be there, but if they’re making the pod lumpy, you’ve waited too long. I check my plants every morning during harvest season—beans can go from perfect to overmature in just 24-48 hours during hot weather.
The color test is my favorite quick check. Most green varieties should look like fresh spring grass, not the dull olive of overmature pods. For purple or red varieties like ‘Royal Burgundy,’ wait until the color is deep and uniform. A single pale streak means it needs another day.
Don’t forget the stem! A ready bean will separate from the vine with a gentle tug. If you’re yanking hard, it’s either not ready or you’re pulling wrong (use two hands—one to hold the vine). I lost several plants early on by being too aggressive with harvesting.
Timing varies by variety, but most pole beans are ready 60-75 days after planting. I mark my calendar at the 50-day point to start daily inspections. In my zone 6 garden, this usually falls in mid-July for spring plantings. Hotter climates may see beans 1-2 weeks earlier.
Here’s a pro trick: harvest in the early morning when plants are most hydrated. The pods will be crispest, and you’ll do less damage to the vines. I keep a small basket and pruners in my garden shed specifically for bean harvests—it makes the process so much smoother.
If you find overmature beans, don’t toss them! Let them fully dry on the vine for seed saving. Just remove them from your harvest rotation to keep the plant producing new pods. I always leave a few plants unharvested at season’s end just for next year’s seeds.
Remember that pole beans produce continuously if picked regularly. I aim to harvest every 2-3 days during peak season. Skipping even one harvest can signal the plant to stop producing. Think of it like deadheading flowers—the more you pick, the more they’ll give!
Finally, trust your senses. The perfect pole bean will have a slightly sweet aroma at the stem end and feel firm but not hard. When in doubt, pick one and taste it raw (just a tiny bite!). The flavor should be fresh and grassy, never starchy or bitter.
🌱Not all pole beans follow the same timeline, and I learned this the hard way when my Kentucky Wonder beans were ready two weeks before my Scarlet Runner varieties. Each type has its own personality when it comes to maturation. The key is knowing your variety’s days-to-maturity range and adjusting for your climate.
Most seed packets list a 60-90 day range, but I’ve found this varies dramatically. In my zone 6 garden, Kentucky Wonder typically hits peak at 65 days, while Scarlet Runner takes closer to 80 days. Hotter climates can shave 5-10 days off these numbers, so start checking early.
| Variety | Days to Maturity | Pod Characteristics | Seasonal Notes |
|---|---|---|---|
| Kentucky Wonder | 60-70 days | 7-9″ long, curved | Early producer, heat tolerant |
| Scarlet Runner | 70-90 days | 8-12″ long, flat | Prefers cooler temps |
| Blue Lake | 58-65 days | 6-7″ long, round | Consistent producer |
| Rattlesnake | 65-80 days | 8-10″ long, streaked | Drought resistant |
| Romano | 60-75 days | 6-8″ long, flat | Italian heirloom |
I’ve noticed that heirloom varieties often take longer but reward you with more complex flavors. My Rattlesnake beans consistently need 75 days in my garden, while the Blue Lake varieties are ready at 60 days like clockwork. This is why I always plant a mix—it extends my harvest window naturally.
Climate plays a huge role in timing. In cooler zones (like my zone 6), I add 7-10 days to the packet estimate. Southern gardeners might subtract 5-7 days. The real trick? Start checking when pods appear, not just counting days. I begin my daily inspections at the 50-day mark regardless of variety.
For continuous harvests, I stagger plantings every 2-3 weeks until midsummer. This means while my first planting is producing, the next is just starting to flower. In warmer climates, you can often get three successions in a season. I use a simple spreadsheet to track planting dates—it’s saved me from harvest gaps more than once.
Don’t forget that fall plantings mature faster than spring ones. My late August sowings often produce beans in just 50-55 days thanks to warm soil. The tradeoff? You’ll need to watch for early frosts. I keep row covers handy to extend my season by 2-3 weeks when cold snaps threaten.
Here’s my golden rule: when in doubt, pick one and test it. The perfect pole bean should snap crisply, have tiny seed bumps just visible through the skin, and taste sweet even raw. If it’s stringy or mealy, you’ve waited too long. I taste-test at least one bean from each plant during my first harvest to calibrate my timing.
🌱After years of growing pole beans, I’ve learned that the real magic happens when you work with the plant’s natural rhythms. The difference between a two-week harvest and a two-month bean bonanza comes down to these three game-changing techniques I swear by.
First, master the art of successive planting. Instead of sowing all your seeds at once, I plant a new batch every 10-14 days until early summer. This creates a rolling harvest where new plants are just coming into production as older ones start to decline. In my zone 6 garden, I make my final planting around July 1st to avoid frost issues.
Harvest every 2-3 days without fail. Pole beans produce more when picked regularly. I set phone reminders during peak season—missed harvests mean missed opportunities for new pods.
Apply compost tea every 3 weeks. I mix 1 cup compost with 5 gallons water and drench the soil. This gives plants the nutrient boost they need to keep producing new flowers.
Maintain consistent moisture—1 inch per week. I use drip irrigation on a timer to prevent flower drop from drought stress. Mulch with straw to retain moisture between waterings.
The golden rule I live by: never let beans stay on the vine too long. When pods mature fully, the plant thinks its job is done and stops producing. I call this the “grandma’s house” rule—visit often, or they’ll stop inviting you over! During peak season, I do quick morning sweeps with my coffee, picking anything ready.
For an end-of-season boost, try this trick: when production slows, give plants a haircut. I trim back the top third of vines and fertilize lightly. This often triggers a second flush of flowers. Last year, this gave me an extra 3 weeks of harvest before frost hit.
Don’t forget about vertical space management. As plants grow taller, I gently weave new growth through my trellis to encourage upward expansion. This exposes more leaves to sunlight, which means more energy for flower and pod production. My 8-foot trellises consistently outproduce shorter ones by 30-40%.
🌱Check your plants daily once pods start forming. In warm weather, beans can go from perfect to overmature in just 24-48 hours. Morning inspections work best when plants are hydrated and pods are crispest.
Harvest in the early morning when temperatures are cool. This is when plants are most turgid, making pods easier to pick without damaging vines. Avoid midday heat which can stress plants and make beans limp.
Avoid harvesting wet beans as this can spread diseases. Wait until foliage dries completely, usually 2-3 hours after rain. Wet pods also bruise more easily and may not store as well.
This happens when beans are left on the vine too long. Pods become fibrous as seeds mature. Harvest when beans are pencil-thick and pass the snap test. Overmature beans also signal plants to stop producing.
Underripe beans will be pale in color, extremely firm, and lack the characteristic snap. They’ll also taste more grassy than sweet. When in doubt, let them grow another 24 hours and retest.
