
Beautiful Plants For Your Interior
Beautiful Plants For Your Interior
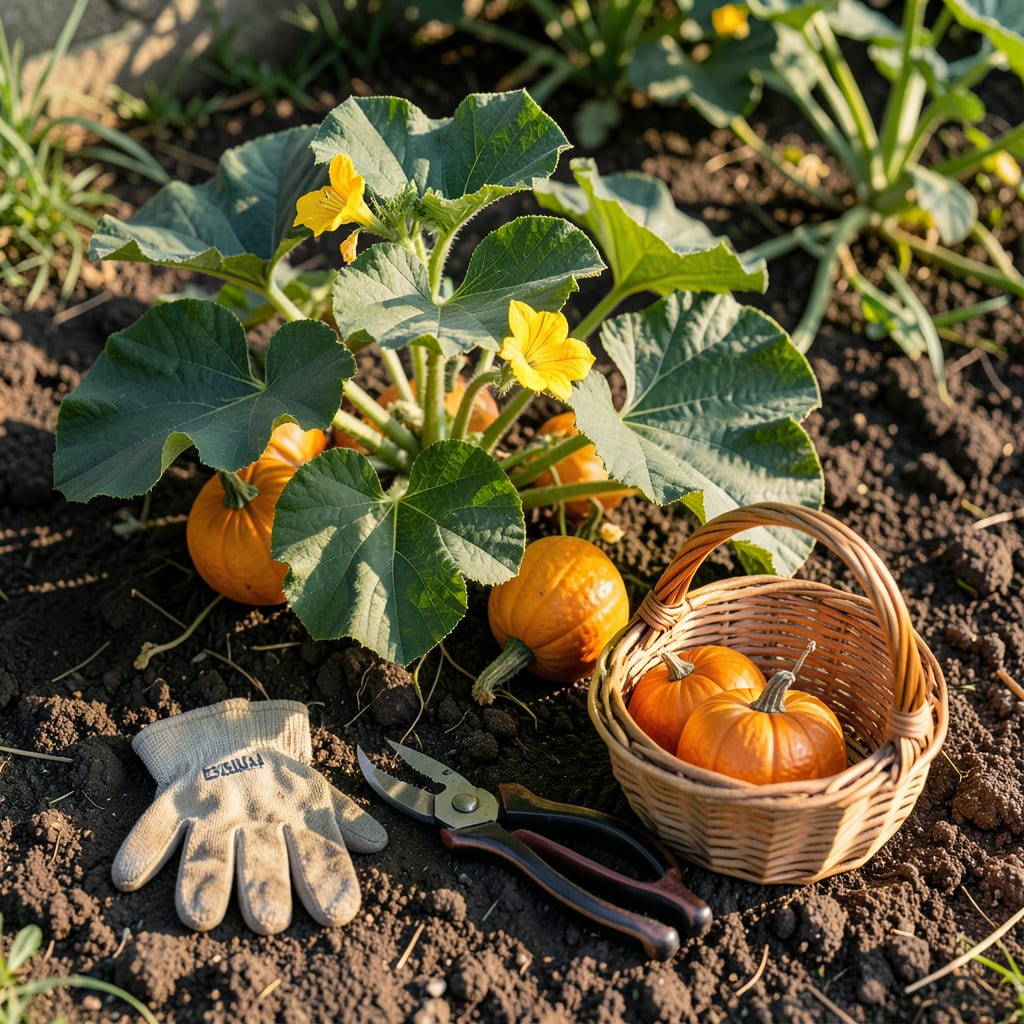
That moment when you’re staring at your Mini Pumpkin 🎃 patch wondering if they’re ready is both exciting and nerve-wracking. One wrong move could mean missing that perfect window.
I’ll help you spot the exact signs to look for—from stem hardness to color shifts—so you can harvest with confidence. Let’s discover how to get it just right.


Timing your mini pumpkin harvest perfectly starts with knowing what to look for. The most reliable signs are stem hardness and color transformation, which indicate maturity and readiness for picking.
I always check the stem first—when it turns dry and woody, that’s your first green light. The color should shift from pale green to a deep, uniform orange (or variety-specific hue) across the entire surface.
| Ripeness Indicator | What to Look For |
|---|---|
| Stem Condition | Dry, hard, and brown |
| Color Shift | Uniform deep orange/white/green |
| Rind Firmness | Cannot be punctured with fingernail |
| Vine Appearance | Leaves yellowing and dying back |
The rind firmness test is another foolproof method. Press your fingernail into the pumpkin skin—if it resists and doesn’t leave a mark, it’s ready. This hardness protects the fruit during storage.
Don’t overlook the vine condition. When leaves start yellowing and dying, your pumpkins are nearing harvest time. This natural die-back signals the plant is redirecting energy to the fruit.
For white or green varieties, the color check works differently. White mini pumpkins should be pure ivory, while green types deepen to their mature shade without pale patches.
I recommend checking these signs in the morning when conditions are cool and dry. This gives you the most accurate assessment before the day’s heat potentially affects the plant’s appearance.
The stem connection is crucial—never carry pumpkins by the stem, as this can damage the fruit. Instead, use pruning shears to cut the stem, leaving 2-3 inches attached for better storage.
Remember, early harvesting leads to softer flesh that won’t store well, while late harvesting risks split skins from overripening. Aim for that sweet spot where all signs align perfectly. 🌿
If you’re still unsure, compare your pumpkins to mature examples from the same variety. This visual comparison often clarifies whether they’ve reached their full potential yet.
Harvesting your mini pumpkins at the wrong time can ruin months of care. Picking too early means soft rinds and poor storage, while waiting too long risks splitting or rot from overripeness.
I’ve seen gardeners lose their crop by ignoring the stem condition—green stems mean the fruit isn’t ready, while mushy spots signal it’s past its prime. Both extremes reduce quality and shelf life.
⚠️ Warning: Avoid harvesting with green stems or pale color patches. These indicate immaturity. Overripe pumpkins may develop soft spots or dull color, which affects storage and appearance.
The most common mistake is harvesting after rain. Wet conditions can introduce mold or rot before you even get them inside. Always wait for dry weather and morning dew to evaporate.
Another frequent error is cutting stems too short. Leave at least 2-3 inches of stem attached—this prevents premature rotting and extends storage life significantly.
Don’t overlook the vine condition either. If leaves are still vibrant green, your pumpkins likely need more time. The plant itself gives clear signals when it’s redirecting energy to the fruit.
For best results, check your pumpkins daily as they near maturity. The window between perfect and overripe can be just a few days, especially in warm weather. ✂️
Timing your mini pumpkin harvest isn’t just about ripeness—it’s also about choosing the optimal time of day. I always recommend harvesting in the early morning after the dew has dried.
Morning harvesting ensures your pumpkins are firm and fresh, as they’ve had all night to absorb moisture from the soil. This is when their natural sugars are at peak concentration, giving you the best flavor and storage potential.
Never harvest during or after rainy weather. Wet conditions can lead to mold growth and reduce storage life significantly. Always wait for a dry spell and check the forecast before picking.
Evening harvesting might seem convenient, but the heat of the day can cause pumpkins to lose moisture, making them less crisp. The morning window gives you the best balance of moisture content and firmness.
After harvesting, let your pumpkins cure in the sun for a few hours to harden the skin further. Then store them in a cool, dry place to maximize their shelf life. ✂️
Check for a dry, hard, and brown stem. If it’s still green and flexible, the pumpkin needs more time to mature on the vine.
Green patches mean it’s not ready. Wait until the entire surface has a deep, uniform color for the variety (orange, white, or green). This ensures full ripeness and better storage.
Properly harvested and cured mini pumpkins can last 2-3 months in a cool, dry place. Always leave 2-3 inches of stem attached for best results.
Yes, harvest before the first frost. A light frost can damage the rind, but a hard frost will ruin them. Check your local frost dates and plan accordingly.
