
Beautiful Plants For Your Interior
Beautiful Plants For Your Interior
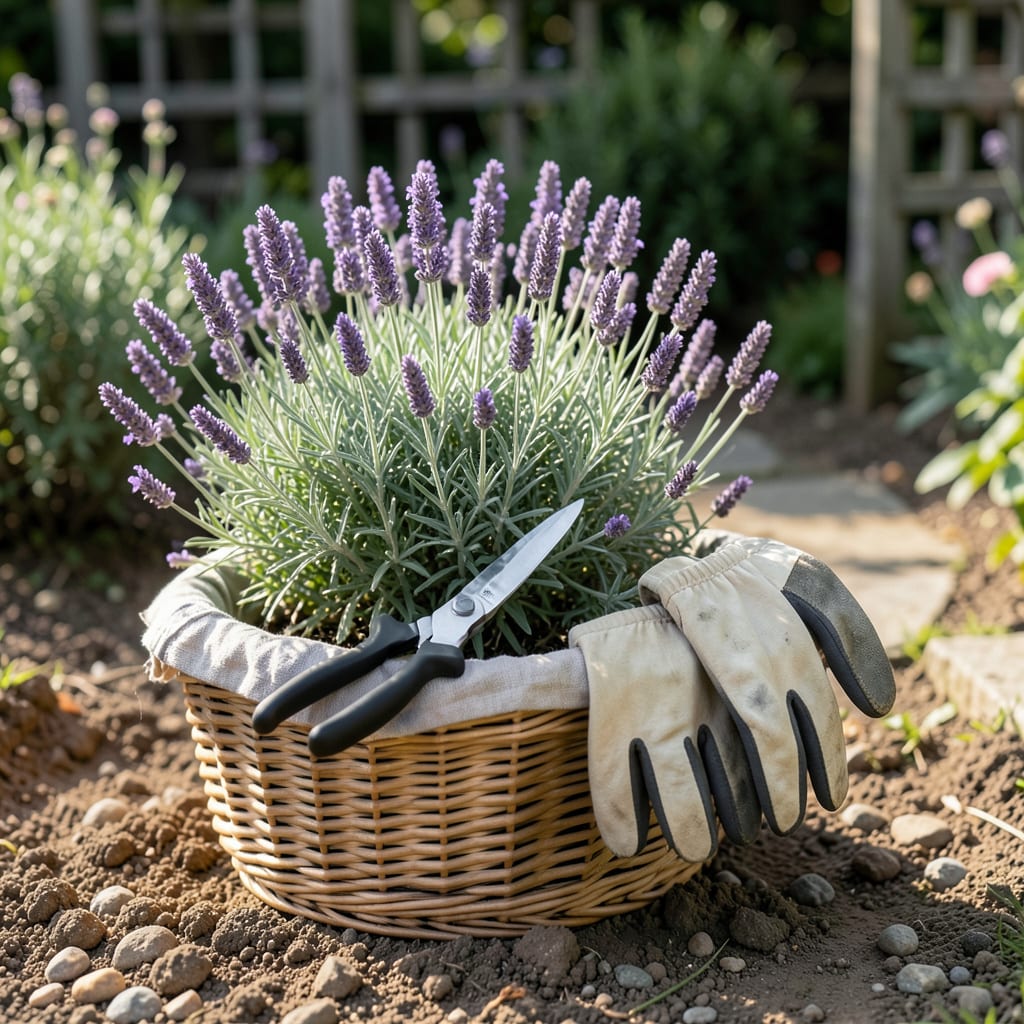
There’s nothing quite like the moment you finally get to harvest your homegrown lavender—only to realize the blooms have lost their vibrant color or fragrance. Timing is everything when it comes to picking this delicate herb, and even a day too late can mean the difference between potent bundles and lackluster stems.
I’ve spent seasons perfecting the art of lavender harvesting, and the secret lies in watching for subtle signs—like bud development and morning dew patterns. Whether you’re drying bouquets or crafting oils, I’ll show you exactly when to cut for maximum aroma and longevity. Let’s make this your most fragrant harvest yet.


If you’ve ever wondered why your dried lavender lacks that signature bold fragrance, the answer often lies in the harvest timing. Picking too early means weak aroma, while waiting too long risks shattered buds and woody stems. The sweet spot? When 50-70% of the buds are open—just enough to unlock the oils but not so late that they’ve started to fade.
Different lavender varieties have slightly different cues. English lavender (like ‘Munstead’) is ready when the lower third of the bloom is open, while Spanish lavender (with its rabbit-ear bracts) needs a bit more time. French lavender, with its longer stems, can handle a slightly later harvest. Let’s break down the exact signs to watch for.
💡 Pro Tip: If buds crumble when touched, you’ve waited too long. For drying bundles, harvest slightly earlier (40% open) to prevent seed drop.
Color is your first clue: Deep purple buds with just a hint of gray-green at the base signal peak potency. Run your fingers along the stem—if the buds feel slightly soft (like a ripe avocado), they’re ready. Too firm? Wait another day. Too mushy? You’ve missed the window. I always do the “snap test”: bend a stem gently. If it snaps cleanly, it’s perfect; if it bends, it’s too young.
Regional climates shift the timeline dramatically. In USDA Zone 5, lavender blooms later (July-August), while Zone 9 gardeners may start harvesting as early as May. Humidity is the enemy—harvest only on dry, sunny days to prevent mold. If rain’s in the forecast, pick a day early rather than risk soggy stems. Coastal growers, watch for morning fog; wait until after 10 AM to cut.
One mistake I see often? Harvesting all stems at once. Instead, stagger your cuts: take 1/3 of the plant at a time to encourage regrowth. Focus on the longest stems first—they’ll dry best for wreaths or sachets. Leave shorter sprigs for a second flush in late summer. And always use sharp pruners (I love my Felco #2s) to avoid crushing the stems, which invites rot.
For drying lavender, timing shifts slightly. Cut when only 30-40% of buds are open—they’ll continue to unfurl as they dry, preserving color and scent. If you’re making lavender oil, wait until 80% are open for maximum oil concentration. Just don’t let them fully bloom on the plant; those flowers will drop their petals within days of opening.
Not sure if your lavender is ready? Try the “aroma test”: rub a bud between your fingers. If the scent is strong and sweet, it’s go time. Weak or grassy? Give it another week. Remember, morning-harvested lavender retains 30% more oils than afternoon cuts—thanks to cooler temps locking in those volatile compounds. I set my alarm for 8-10 AM, after the dew evaporates but before the sun gets harsh.
Watch for regional pests like spider mites, which thrive in late-summer heat. If you spot webbing, harvest immediately—even if buds aren’t fully open—and treat the plant with neem oil. In drought-prone areas, lavender may bloom early; check plants weekly once temps hit 70°F. And if you’re growing white lavender (like ‘Alba’), the buds should turn from green to creamy ivory before picking.
Finally, trust your instincts. Lavender is forgiving, and even a slightly early harvest will still yield beautiful results. The key is consistency: pick at the same stage each year, and you’ll develop an eye for that perfect moment. Next up, we’ll cover the best tools and techniques to ensure your harvest stays fresh and fragrant for months to come. ✂️
Timing your lavender harvest isn’t just about the season or bud stage—it’s also about the time of day and the tools you use. I’ve found that cutting lavender in the early morning (between 8-10 AM) preserves up to 30% more essential oils than afternoon harvests. The cooler temps help lock in that signature scent.
The dew should be completely dry before you start—wet stems invite mold and reduce drying efficiency. Avoid harvesting after rain or when humidity exceeds 60%. If you’re in a foggy coastal area, wait until the mist clears. Trust me, patience here prevents a world of disappointment later. ☀️
⚠️ Warning: Harvesting in direct midday sun causes buds to wilt faster. If you must cut later, place stems in water immediately.
The right tools make all the difference. Skip the kitchen scissors—they’ll crush stems and leave jagged edges. Instead, use sharp bypass pruners (like Corona or Felco) for clean cuts. For thick French lavender stems, I upgrade to ratchet pruners to avoid hand strain. Always sterilize blades with rubbing alcohol between plants to prevent disease spread.
Here’s my step-by-step cutting technique: Hold the stem bundle in one hand, then cut just above a leaf node (the bump where leaves emerge) at a 45-degree angle. This angle prevents water from pooling on the cut surface, which can rot the plant. Leave at least 2 sets of leaves below your cut to fuel regrowth. For drying, aim for 12-18 inch stems—long enough for bundles but not so long they flop.
Post-harvest handling is where most gardeners lose fragrance. Immediately remove any foliage from the lower 2/3 of stems—leaves touching water or each other invite mold. If you’re not drying right away, place stems in a bucket of cool water (like flowers) and store in a dark, cool spot until you’re ready to process them. Never leave lavender in direct sun after cutting; UV breaks down those precious oils.
For large harvests, work in batches. I use a garden apron with pockets to hold pruners, twine, and rubbing alcohol wipes. If you’re harvesting for lavender oil, bring a glass jar with a tight lid to immediately submerge cut stems in olive or jojoba oil. For drying, gather stems into small bundles (10-15 stems) and secure with cotton twine—never plastic, which traps moisture.
Watch for common mistakes like over-handling the buds (this releases oils prematurely) or stacking freshly cut stems (they’ll heat up and wilt). If you notice blackened tips after cutting, you waited too long—next year, harvest a week earlier. And if your dried lavender loses color, you likely harvested in high humidity or didn’t remove enough leaves. ✂️
Once you’ve cut your lavender, the clock starts ticking to preserve its fragrance and color. The first step is deciding whether you’ll use it fresh or dried. For fresh arrangements, trim stems at an angle and place them in cool water immediately. Change the water daily to prevent bacterial growth and extend vase life to 5-7 days.
If drying is your goal, timing and method matter. I recommend hanging bundles in a dark, well-ventilated space—like a closet or attic. Secure 10-15 stems with cotton twine (never plastic) and hang upside down. This prevents moisture from pooling in the buds and ensures even drying. Most varieties take 2-3 weeks to fully dry.
💡 Pro Tip: For lavender oil, submerge fresh stems in carrier oil (like jojoba) immediately after cutting. Store in a cool, dark place for 4-6 weeks, shaking occasionally.
For long-term storage, keep dried lavender in airtight glass jars away from light and heat. Avoid plastic containers, which can trap moisture and lead to mold. Label your jars with the harvest date—properly dried lavender maintains its fragrance for 1-2 years. If the scent fades, refresh it by lightly crushing a few buds.
Fresh lavender has culinary uses too! Add sprigs to herbal teas, infused sugars, or homemade lavender lemonade. For sachets or potpourri, mix dried buds with rose petals or citrus peel. If you’re crafting lavender wands, harvest stems when they’re 12-18 inches long and flexible enough to weave without snapping.
Watch for signs of poor drying: blackened tips indicate too much moisture, while crumbling buds mean you waited too long to harvest. If your dried lavender loses its color, it was likely exposed to light or heat during drying. Store bundles in a paper bag for the first week to catch any falling buds or debris. ✂️
Look for 50-70% of the buds to be open along the stem. The color should be deep and vibrant, not pale or green. Gently press the buds—they should feel slightly soft, like a ripe avocado. If they crumble or feel too firm, adjust your timing.
Aim for 8-10 AM, after the morning dew has dried but before the heat peaks. This timing locks in the most essential oils, ensuring stronger fragrance. Avoid harvesting in high humidity or direct midday sun to prevent wilting.
It’s best to avoid waiting until full bloom. By then, the buds start to shatter, and the fragrance weakens. If you’ve missed the ideal window, harvest immediately and use the lavender fresh rather than drying it for long-term storage.
In cooler zones (like USDA Zone 5), lavender blooms later (July-August), while warmer zones (like Zone 9) may see blooms as early as May. Coastal areas should watch for morning fog—wait until after 10 AM to cut to avoid excess moisture.
Use sharp bypass pruners for clean cuts that won’t crush the stems. Avoid kitchen scissors or dull blades, as they can damage the plant. Sterilize your tools with rubbing alcohol between cuts to prevent disease spread.
