
Beautiful Plants For Your Interior
Beautiful Plants For Your Interior
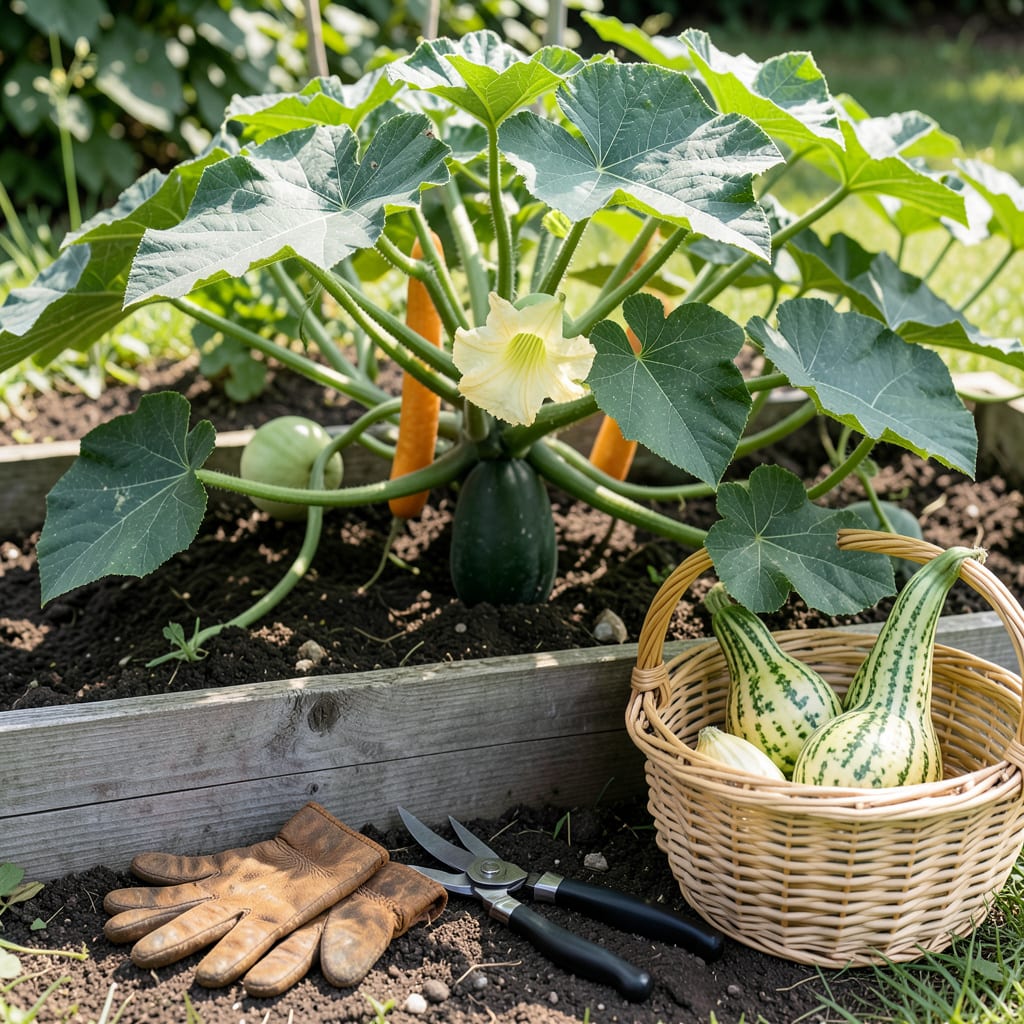
That moment when you finally spot your 🎃 gourds turning vibrant colors—only to wonder if they’re actually ready. Pick too soon, and they’ll shrivel before their time. Wait too long, and you risk losing them to frost or rot. The difference between a perfect harvest and a disappointing one often comes down to just a few key signs.
I’ve seen gardeners make the same costly mistakes year after year, not realizing their gourds were screaming “I’m ready!” through subtle changes. Let me show you exactly what to look for—from stem hardness to skin texture—so you’ll know with confidence when it’s time to bring them in. Your autumn decor (or dinner table) will thank you.


Nothing beats the satisfaction of watching your gourd vines produce those quirky, colorful fruits. But knowing exactly when to harvest can feel like solving a puzzle. I’ve learned through trial and error that visual cues and tactile tests are far more reliable than guessing based on size alone.
Whether you’re growing ornamental gourds for autumn displays or edible varieties like butternut, the signs of readiness are surprisingly similar. The key is checking three things: stem condition, skin hardness, and color depth. Let me walk you through each one.
| Readiness Sign | What to Look For | Ready When… |
|---|---|---|
| Stem Condition | Check where stem meets fruit | Dry, brown, and woody |
| Skin Hardness | Press thumbnail into skin | Resists puncture |
| Color Depth | Compare to mature examples | Vibrant and uniform |
| Weight | Lift gently in your hand | Feels heavy for size |
| Sound Test | Tap lightly with knuckle | Hollow, drum-like sound |
Let’s start with the stem test—this is my go-to first check. A mature gourd will have a stem that’s completely dried out and turned brown or tan. If you still see any green near the fruit attachment, your gourd needs more time. This drying process typically happens 1-2 weeks before the fruit is fully ready.
The thumbnail test reveals more than you might think. Gently press your thumbnail into the gourd’s skin. If it leaves a mark or punctures the surface, your gourd isn’t ready. A ripe gourd will resist this pressure completely, almost feeling like you’re pressing against wood. This hardness develops as the fruit loses moisture and the skin toughens.
Color changes are the most obvious but often misunderstood sign. Many gardeners assume bright color means readiness, but it’s actually the depth and uniformity that matter. A ready gourd will have its final color throughout, with no green patches. For ornamental gourds, this might be vibrant orange, yellow, or green—depending on the variety.
Don’t overlook the weight test. A mature gourd will feel surprisingly heavy for its size because the seeds and flesh have fully developed. Compare similar-sized gourds—if one feels significantly lighter, it likely needs more time. This is especially useful for luffa gourds, which can look ready before they’ve fully matured inside.
The sound test works particularly well for larger gourds. Gently tap the fruit with your knuckle. A mature gourd produces a hollow, drum-like sound, while an immature one sounds more solid. This change occurs as the inner flesh dries out. I recommend doing this test last, as it requires the most practice to interpret correctly.
Remember that ornamental gourds often mature faster than edible varieties. While a butternut squash might need 110-120 days, many decorative gourds are ready in 90-100 days. Always check your seed packet for variety-specific timing, but trust these physical signs over calendar dates when making your final decision.
One final pro tip: Harvest on a dry, sunny day when possible. Wet gourds are more prone to rot during storage. Use clean, sharp pruning shears to cut the stem, leaving 2-3 inches attached. This extra stem helps prevent moisture from entering the fruit during curing. Now you’re ready to bring in your perfect gourds! 🪴
While the physical signs we discussed earlier are crucial, understanding your local climate and gourd variety can make harvest timing even more precise. I’ve found that combining these two approaches—watching the plants AND the calendar—gives the best results for both ornamental and edible gourds.
Different gourd types have surprisingly different timelines. Cucurbita gourds (like pumpkins and acorn squash) typically mature faster than Lagenaria gourds (birdhouse or bottle gourds). Your USDA growing zone also plays a huge role—gardeners in Zone 5 will harvest weeks earlier than those in Zone 9. Let me break down the key timing factors for you.
| Gourd Type | Days to Maturity | Ideal Harvest Window | Frost Considerations |
|---|---|---|---|
| Ornamental (Cucurbita pepo) | 90-100 days | Early fall, before frost | Harvest 2 weeks before first frost |
| Birdhouse (Lagenaria siceraria) | 120-150 days | Late summer to early fall | Needs 4 weeks frost-free after harvest |
| Luffa (Luffa aegyptiaca) | 100-120 days | When skin turns yellow | Harvest before temperatures drop below 50°F |
| Butternut (Cucurbita moschata) | 110-120 days | When stem dries completely | Can tolerate light frost but harvest before |
| Bottle (Lagenaria) | 130-160 days | When skin hardens fully | Requires long season, start indoors in cool climates |
For most ornamental gourds, you’ll want to harvest 90-100 days after planting, typically in early fall. I always mark my calendar 2 weeks before our first expected frost date—this is your absolute deadline. Gourds won’t continue ripening after frost, and damaged fruits rot quickly in storage.
Lagenaria gourds (like birdhouse or bottle types) need much more time—often 120-160 days. These are your late-season stars that might still be green when other gourds are ready. Don’t rush them! The extra time develops their hard shells that make them perfect for crafts. In cooler zones, start these indoors 6-8 weeks before your last frost.
The heat units your gourds accumulate matter more than just calendar days. A cool, cloudy summer might delay maturity by 2-3 weeks, while a hot season could speed things up. I use a simple trick: when nights start staying below 60°F, I know it’s time to watch my gourds extra closely for ripeness signs.
Remember that edible gourds like butternut squash often have a slightly different timeline than decorative types. While ornamental gourds can be harvested as soon as they’re fully colored and hard, edible varieties benefit from an extra 1-2 weeks on the vine to develop their full flavor and sugar content.
One climate factor many gardeners overlook is humidity. In very humid regions, gourds may take longer to dry and harden. If you’re in a wet climate, consider harvesting slightly earlier and curing indoors with good airflow. The key is preventing mold while still allowing the skins to toughen properly. 🌱
Even experienced gardeners sometimes ruin their gourd harvest by making simple but costly mistakes. I’ve seen beautiful gourds rot within weeks because of improper handling at harvest time. The good news? These errors are completely avoidable once you know what to watch for. Let’s look at the most common pitfalls.
First on the list is harvesting too early. Many gardeners get excited when gourds reach full size and color, but these visual cues alone aren’t enough. A prematurely picked gourd will have soft skin that’s prone to bruising and won’t cure properly. Always do the thumbnail test—if it punctures easily, leave it on the vine.
The second critical mistake is using the wrong tools. I’ve seen gardeners twist gourds off vines or use kitchen knives, both of which damage the fruit. Always use clean pruning shears and make one decisive cut. Jagged stems invite bacteria and shorten storage life dramatically.
Another common error is leaving insufficient stem. That little stub does more than you think! A proper 2-3 inch stem acts as a handle during curing and prevents moisture from entering the fruit. I use a simple trick: measure two finger widths up from the gourd before cutting. This ensures you leave enough stem without wasting vine.
Harvesting wet gourds might seem harmless, but it’s a fast track to mold problems. Morning dew or recent rain creates the perfect environment for fungi. I always check my weather app and plan harvests for late morning on dry days. If unexpected rain occurs, I’ll delay harvesting by a day to let them dry naturally.
Finally, many gardeners don’t realize that curing is essential for long-term storage. Skipping this step means your gourds may rot within weeks. I cure mine on wire racks in a well-ventilated area at 70-80°F for 10-14 days. This hardens the skin and prepares them for storage or crafting. 🌿
Harvesting prematurely results in soft skin that bruises easily and won’t cure properly. These gourds often shrivel within weeks and develop mold during storage. The thumbnail test is your best defense—if it punctures easily, leave it on the vine for another 7-10 days.
Most varieties can stay on the vine for 1-2 weeks after showing readiness signs without quality loss. However, watch for approaching frost—gourds won’t survive temperatures below 32°F. Birdhouse gourds benefit most from extra vine time to fully harden their shells.
Ornamental gourds require 10-14 days of curing in warm, dry conditions to harden their skins. Edible varieties like butternut squash need only 1 week of curing at 70-80°F. Skip this step and your gourds may rot within weeks instead of lasting months.
Light frost (30-32°F) may damage leaves but won’t immediately harm mature gourds. However, hard frost (28°F or below) ruins them quickly. Harvest all gourds before your first hard frost date, even if stems aren’t fully dry—better to cure indoors than risk frost damage.
Certain varieties like speckled swan gourds or cucumber gourds retain green patterns when fully ripe. Check stem hardness and skin resistance instead of color. When the stem turns brown and skin resists thumbnail pressure, they’re ready regardless of green hues.
