
Beautiful Plants For Your Interior
Beautiful Plants For Your Interior
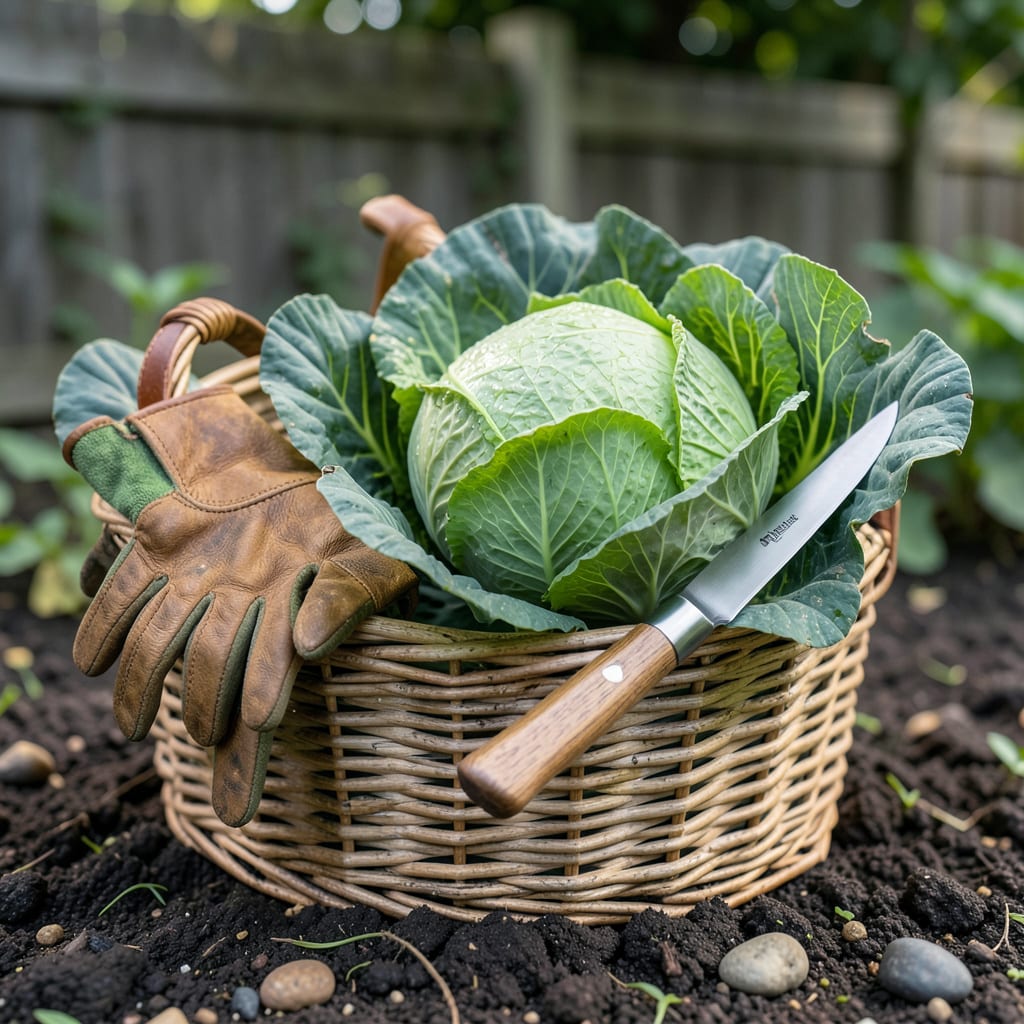
There’s nothing quite like the satisfaction of growing your own 🥬 cabbage—until you realize that picking it too early or too late can turn your crisp, sweet harvest into a bitter disappointment. I’ve been there, watching my hard work go to waste because I misjudged the perfect moment.
Timing is everything when it comes to cabbage. Whether you’re growing classic green heads or vibrant red varieties, knowing the key signs of readiness ensures you get that perfect balance of texture and flavor. Let me show you exactly how to nail your harvest—every single time.


I’ve learned the hard way that cabbage doesn’t announce when it’s ready—you have to look for subtle clues. The perfect harvest window varies by variety, but most cabbages reach maturity between 70-100 days after planting. Green cabbage tends to be ready sooner, while Savoy and red varieties often need extra time.
Start checking your plants when heads reach 6-8 inches in diameter. The real test is firmness—give the head a gentle squeeze. If it feels dense and solid like a baseball, you’re getting close. But don’t stop there; we need to examine the leaves and core too.
| Variety | Days to Maturity | Ready Signs | Overripe Signs |
|---|---|---|---|
| Green Cabbage | 70-85 days | Firm 8-inch head, bright green leaves | Splitting, yellowing outer leaves |
| Red Cabbage | 85-100 days | Deep purple-red, dense 7-inch head | Fading color, loose leaves |
| Savoy Cabbage | 85-120 days | Crinkled leaves, loose but firm head | Outer leaves turn brown |
| Napa Cabbage | 55-70 days | Elongated 12-inch head, pale green | Bolting (flower stalks appear) |
For green cabbage, watch for that classic rounded dome shape with leaves tightly wrapped. The outer leaves should still be vibrant green, not yellowing. With red cabbage, the color deepens as it matures—when it looks almost blackish-purple in bright light, it’s time.
Savoy cabbage is trickier because its leaves naturally grow looser. Check the core—it should feel solid when pressed, even if the outer leaves seem slightly open. Napa cabbage forms an oblong head; harvest when it’s about 12 inches long and the base feels sturdy.
Here’s my pro tip: morning harvests yield the crispest cabbage. The heads are most hydrated after cool nights. If you squeeze the head and it springs back slightly, it’s perfect. If it stays indented, wait another 3-5 days and check again.
Watch for splitting heads—this happens when cabbage stays in the ground too long after maturing. A sudden rain after drought can also cause splitting. If you see cracks forming, harvest immediately, even if the head seems small. Split cabbage won’t store well.
Don’t ignore the stem area. When cabbage is ready, the stem at the base should be about 4-6 inches thick. Thin stems mean the head isn’t fully developed yet. Also check the outer leaves—they should still be mostly attached, not falling away easily.
Remember that cool weather can extend your harvest window, while heat waves may rush maturity. In my zone 6 garden, I’ve found that fall-planted cabbage often tastes sweeter than spring harvests because the light frosts convert some starches to sugars.
If you’re growing cabbage for storage, harvest when heads are at their most dense but before any splitting occurs. For immediate use, you can let them size up a bit more. Just don’t wait until the outer leaves start turning yellow—that’s your plant telling you it’s past prime.
When in doubt, harvest a test head! Cut it open to check the inner leaves. They should be crisp and pale, not tough or fibrous. The core should be white and compact, not woody or hollow. This simple test has saved me from many disappointing harvests.
Now that you’ve identified the perfect harvest moment, let’s talk about the right way to cut your cabbage. I’ve ruined my share of plants by using dull tools or cutting at the wrong angle. The key is making a clean, angled cut that preserves the stem for potential regrowth.
Gather your tools before heading to the garden. You’ll need a sharp chef’s knife or pruning shears, clean water for rinsing, and a basket for collecting heads. Early morning is ideal for harvesting when plants are most hydrated and temperatures are cool.
| Step | Action | Tool Needed |
|---|---|---|
| 1. Prepare Plant | Remove loose outer leaves | Hands or pruners |
| 2. Position Cut | Angle blade 45° below head | Sharp knife |
| 3. Make Cut | Slice through stem cleanly | Knife/shears |
| 4. Inspect Stem | Leave 2-3 inches for regrowth | Measuring guide |
| 5. Clean Up | Remove debris, water base | Hose/bucket |
Begin by peeling away any loose outer leaves to expose the stem. This gives you clear access and prevents dirt from getting into your cut. Position your knife about 2-3 inches below the cabbage head, angling it slightly away from the plant.
Make one confident, smooth motion to cut through the stem. Avoid sawing back and forth—this creates jagged edges that invite disease. For Savoy or Napa varieties with looser heads, you may need to support the head with your free hand while cutting.
After cutting, examine the remaining stem. If you’ve left at least 2 inches of healthy stem, your plant may produce smaller secondary heads. I’ve gotten 2-3 additional harvests from single plants using this method with spring cabbage varieties.
Rinse the cut area with clean water to remove sap and debris. This simple step prevents fungal infections that could kill your plant. In my experience, plants treated this way recover faster and are more likely to produce those bonus mini-heads.
For fall harvests, consider leaving the root system intact even if you don’t expect regrowth. The roots will decompose naturally, adding organic matter to your soil. Just cut the stem at ground level when you’re done harvesting.
Remember that younger leaves near the base can still be harvested for salads even after removing the main head. These tender leaves often have the best flavor and texture, so don’t overlook this bonus crop!
If you’re harvesting multiple plants, work your way through the garden systematically. I like to start with the most mature heads first, then move to the smaller ones. This prevents overripe cabbage from splitting while you’re busy with other plants.
After years of growing cabbage, I’ve seen gardeners make the same costly mistakes when harvesting. The most common error is waiting too long—those beautiful heads can split overnight after heavy rain, turning your perfect cabbage into a mushy disappointment. Timing really is everything with this crop.
Another frequent misstep is harvesting too early. I get it—you’re excited to taste your homegrown cabbage! But small, loose heads lack that sweet, crisp texture we all love. Most varieties need that full 70-100 day maturation period to develop their best flavor and structure.
| Mistake | Problem | Quick Fix |
|---|---|---|
| Waiting Too Long | Heads split, attract pests | Harvest at first crack signs |
| Early Harvesting | Small, bitter heads | Check 70-day minimum |
| Ignoring Frost | Freeze damage or bolting | Use row covers in cold snaps |
The third critical mistake is ignoring weather triggers. Light frosts actually sweeten cabbage by converting starches to sugars, but hard freezes can damage leaves. In my zone 6 garden, I’ve learned to watch the forecast and use row covers when temps dip below 28°F.
Many gardeners also overlook the morning advantage. Cabbage heads are most hydrated and crisp after cool nights. Harvesting in the heat of day leads to wilted leaves and shorter storage life. I always bring a bucket of cool water to the garden to rinse and refresh heads immediately after cutting.
Don’t forget about post-harvest care either. Leaving cut stems exposed invites disease. After harvesting, I always rinse the cut area and remove any damaged outer leaves. This simple step has dramatically reduced rot issues in my garden.
Remember that variety matters too—what works for green cabbage might ruin red cabbage. Napa varieties bolt quickly in heat, while Savoy can handle slightly more frost. Always check your seed packet for variety-specific guidance when planning your harvest window.
🥬Look for splitting heads or yellowing outer leaves—these are clear signs it’s past prime. A firm, compact head should feel like a baseball when gently squeezed. Once cracks appear, harvest immediately even if the head seems small.
Yes, if you leave 2-3 inches of stem intact! Many varieties produce smaller secondary heads within 2-4 weeks. Spring cabbage types are especially good at regrowth when cut properly.
Light frosts actually sweeten cabbage by converting starches to sugars. But hard freezes below 28°F can damage leaves. Use row covers if cold snaps are forecasted during your harvest window.
Early morning is ideal when heads are most hydrated and crisp. Avoid midday heat which causes wilting. Bring cool water to rinse heads immediately after cutting for maximum freshness.
Wrap unwashed heads in damp paper towels and store in the fridge’s crisper drawer. They’ll keep for 2-3 weeks. For longer storage, consider fermenting into sauerkraut or blanching/freezing.
