
Beautiful Plants For Your Interior
Beautiful Plants For Your Interior
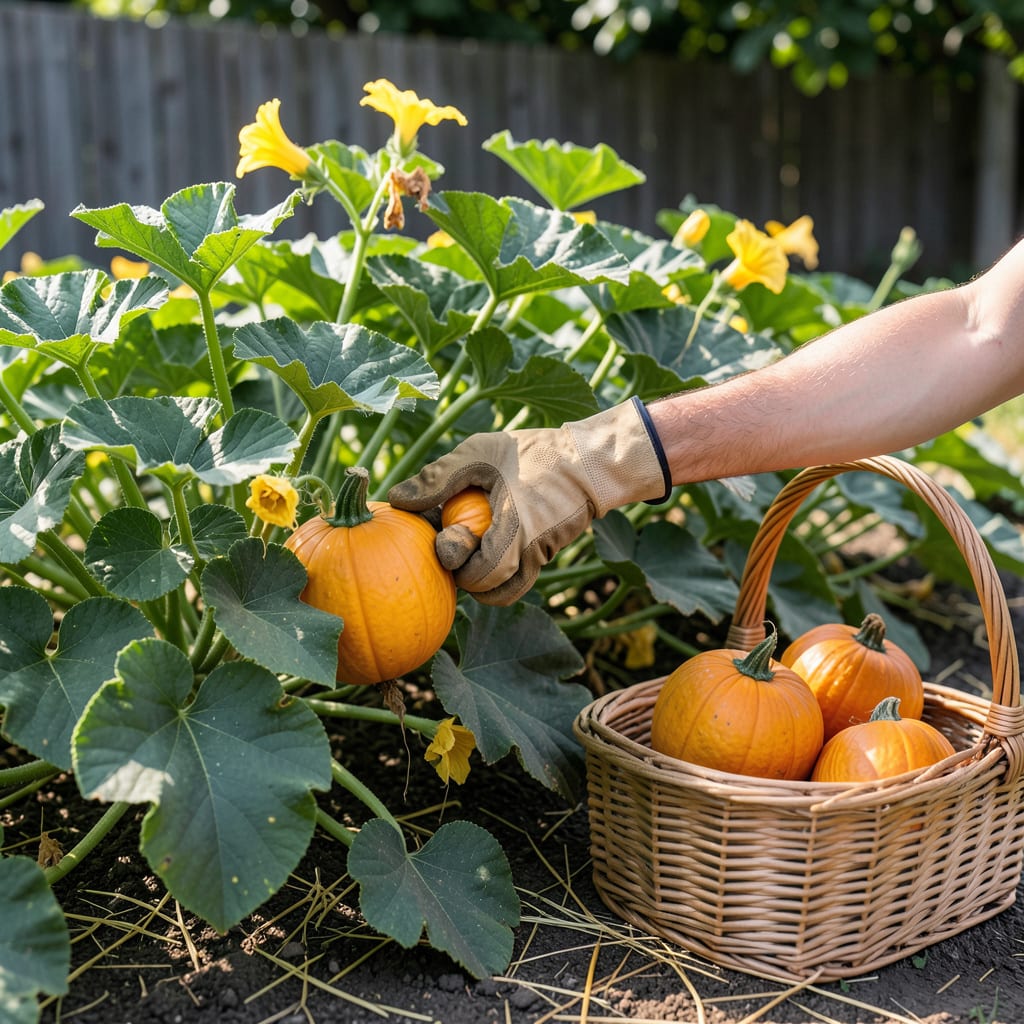
There’s nothing worse than cutting into a Buttercup squash only to find it’s bland or stringy—all because you picked it too soon or waited too long. That perfect moment when flavor and texture peak? It’s all about knowing what to look for and when.
I’ve learned the hard way that timing is everything with these deep orange beauties. From the telltale stem dryness to that unmistakable rind hardness, I’ll show you exactly how to nail the harvest. No more guessing—just sweet, nutty perfection every time.


If you’ve ever wondered why your neighbor’s Buttercup squash ripens weeks before yours, growing zones are likely the culprit. These deep orange beauties typically need 85–100 days to mature, but your local climate can shift that timeline dramatically. Let’s break it down by region.
In warmer zones (7–10), you’ll often harvest earlier—sometimes by mid-September—while cooler zones (3–5) might push harvests into late October. The key is tracking your first frost date and counting backward from there. Buttercup squash won’t tolerate frost, so timing is everything.
| Growing Zone | Days to Maturity | Ideal Harvest Window | Key Consideration |
|---|---|---|---|
| Zones 3–5 | 90–110 days | Late Sept–Oct | Watch for early frost; use row covers if needed |
| Zones 6–7 | 85–100 days | Mid-Sept–early Oct | Longer season allows for succession planting |
| Zones 8–10 | 80–95 days | Late Aug–Sept | Heat stress possible; mulch to retain moisture |
For short-season gardeners, starting seeds indoors 3–4 weeks before your last frost can buy precious time. I’ve had success in Zone 6a by using black plastic mulch to warm the soil early. Just remember: Buttercup squash planted too late may not fully mature before frost hits.
If you’re in a hot, dry climate, watch for premature ripening. High temps can speed up maturity, but the squash may lack sweetness. In this case, I recommend harvesting slightly earlier and curing them in a cool, dark place for 10–14 days to improve flavor.
Pro tip: Keep a garden journal with planting dates and first harvest notes. Over time, you’ll pinpoint the perfect window for your microclimate. My records show that in my garden, Buttercup squash planted by June 1st consistently ripens by September 20th.
Don’t forget to factor in varietal differences. Some heirloom Buttercup squash varieties may take 10–15 days longer than hybrids. Always check your seed packet for specific days-to-maturity guidelines and adjust your timeline accordingly.
When in doubt, err on the side of leaving them a bit longer—within reason. A slightly overripe Buttercup squash is usually better than an underripe one, as long as you harvest before the first hard frost. That’s when the real damage to texture and flavor happens. ✅
Timing your Buttercup squash harvest is like walking a tightrope—pick too soon, and you’ll end up with bland, watery flesh that lacks sweetness. Wait too long, and the texture turns stringy or fibrous, ruining that creamy mouthfeel we all love.
I’ve made both mistakes, and let me tell you: an underripe Buttercup is a sad sight. The skin will still be soft, the color dull, and the flavor underwhelming. Even worse, it won’t store well—expect it to spoil within 1–2 weeks instead of lasting months. 🪴
If you’ve already picked an underripe squash, don’t toss it! Try curing it in a warm, dry spot (75–80°F) for 5–7 days. This can help develop some sweetness, though it won’t match a fully ripe one. For overripe squash, scoop out the seeds and use the flesh immediately—it’s still great for soups or purées.
The stem tells a story: if it’s still green and moist, your squash needs more time. A dry, brown stem is your best indicator of readiness. I once left a Buttercup on the vine too long, and the stem became brittle—by then, the flesh was already turning fibrous inside. Lesson learned! ⏰
Here’s my golden rule: when in doubt, press your thumbnail into the rind. If it leaves a mark, wait another week. If the skin resists, it’s go time. And remember, a light frost can ruin your harvest overnight, so keep an eye on the forecast as fall approaches.
For those in short-season areas, consider growing ‘Burgess Buttercup’, a variety that matures in just 80–85 days. It’s saved my harvest more than once when an early frost threatened. Always have a backup plan! 🌡️
Check the stem and rind first. A fully ripe Buttercup will have a dry, brown stem and a hard rind that resists thumbnail pressure. The color should also be a deep, uniform orange—not green or pale yellow.
Harvest in the morning when temperatures are cool and the squash is firm. This helps prevent bruising and extends storage life. Avoid harvesting after rain or in extreme heat, as both can stress the plant and reduce quality.
No, Buttercup squash cannot tolerate frost. Even a light frost will damage the rind and shorten storage life. Harvest immediately if frost is forecasted, even if the squash isn’t fully ripe—it’s better to cure it indoors than risk frost damage.
Store in a cool, dry place (50–55°F) with good airflow. Avoid refrigeration unless cut open. Whole squash can last 3–6 months if properly cured first—place in a warm spot for 10–14 days to harden the skin.
Overwatering or poor airflow are common culprits. Buttercup squash needs consistent moisture but hates soggy soil. Ensure vines have space to spread and water at the base—not the leaves—to prevent fungal issues.
