
Beautiful Plants For Your Interior
Beautiful Plants For Your Interior
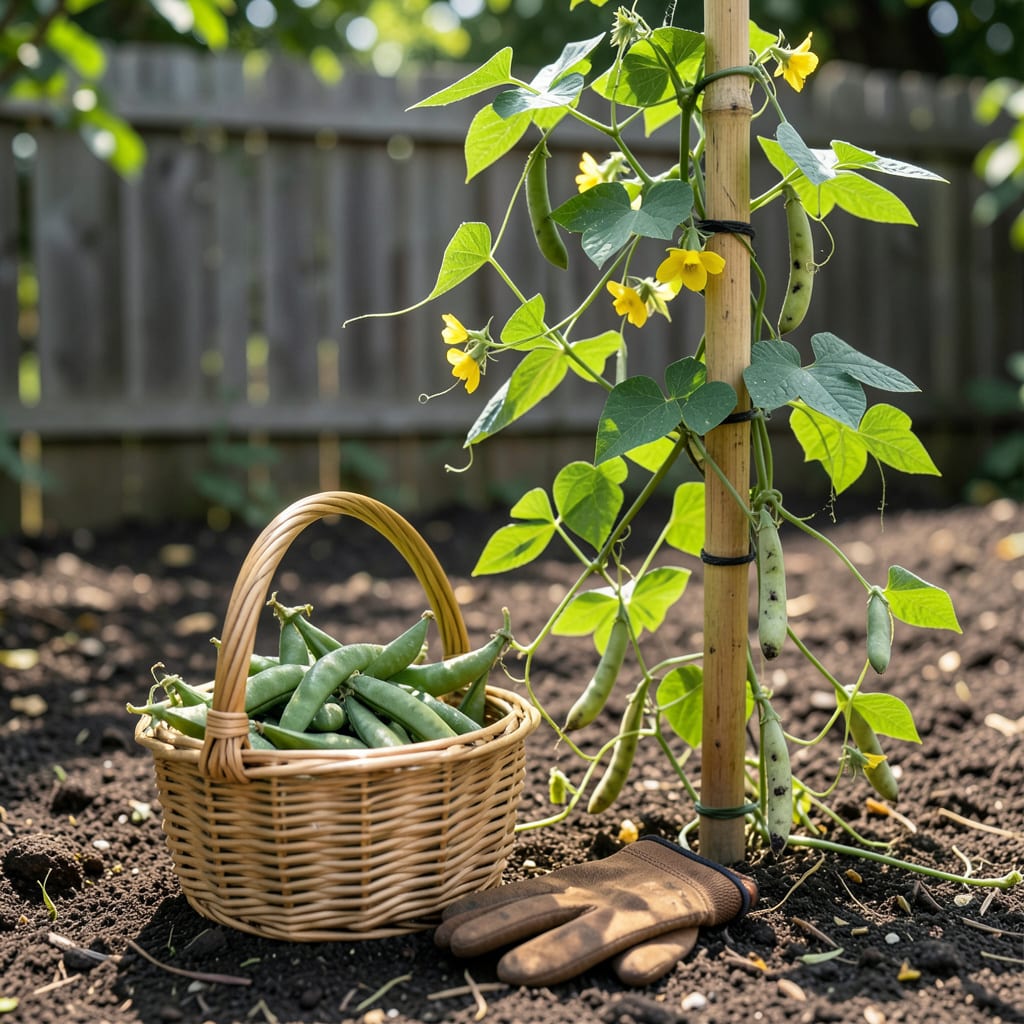
There’s nothing quite like the satisfaction of plucking perfectly ripe Black-eyed Peas straight from your garden—when the timing is right. That moment when the pods snap crisply and reveal plump, creamy peas inside? That’s the sweet spot every gardener aims for.
But here’s the catch: miss that window by just a few days, and you could end up with tough, starchy peas instead of tender, flavorful ones. I’ll show you exactly how to read your plants’ signals so you harvest at peak freshness—every single time. Let’s get started.


Timing is everything when harvesting black-eyed peas. These Southern favorites—also called cowpeas—reach peak flavor when pods are plump but not overgrown. I’ve learned the hard way that waiting just 2-3 extra days can turn tender peas into starchy disappointments.
Most varieties mature in 60-90 days, but don’t rely on the calendar alone. Instead, watch for visual and tactile cues. The pods should feel firm yet snap easily when bent, and the peas inside should be fully developed but not bulging. Let’s break down the exact signs to look for.
| Harvest Sign | What to Look For |
|---|---|
| Pod Size | 4-6 inches long, swollen but not bloated |
| Pod Texture | Firm and crisp—snaps cleanly when bent |
| Pea Appearance | Plump and bright with visible black “eyes” |
| Pod Color | Pale green to cream (varies by variety) |
| Days to Maturity | 60-90 days from planting (check seed packet) |
⚠️ Warning: If pods turn yellow or brown, peas are overripe and may be tough.
One of my favorite tricks is the “shake test”. Gently rattle a pod near your ear—if you hear the peas moving freely inside, they’re ready. If the pod feels spongy or limp, the peas are likely underdeveloped. For drying, leave pods on the plant until they’re fully brown and crisp.
Regional climates play a role too. In hotter zones (like the South), black-eyed peas may mature 10-14 days faster than in cooler areas. If you’re growing in a short-season climate, start seeds indoors or choose early-maturing varieties like ‘California Blackeye’ (ready in ~65 days).
Avoid the mistake of harvesting after rain. Wet pods can split or mold during storage. I always pick in the early morning when plants are hydrated but dry. If you’re saving seeds, let a few pods fully mature and dry on the plant—just watch for bird damage!
For continuous harvests, pick pods every 2-3 days once they start ripening. This encourages the plant to produce more. I like to use sharp pruners or my fingernails to avoid tearing the vines. If you’re growing bush varieties, a gentle twist usually does the trick.
Not sure if a pod is ready? Compare it to others on the plant. Uniform size and color in a cluster usually means they’re ripe. And remember: younger peas (picked early) are sweeter for fresh eating, while mature peas hold up better in stews or drying.
If you’re growing for dried peas, wait until the pods are paper-dry and rattling. Shell them immediately to prevent mold. For fresh eating, harvest when peas are still slightly soft—they’ll taste like buttery little gems straight from the pod.
Finally, don’t forget to taste-test! Pop a raw pea from a pod—if it’s sweet and tender, the rest are ready. If it’s starchy or mealy, you’ve waited too long. With practice, you’ll recognize that perfect harvest window every time.
Harvesting black-eyed peas the right way ensures you get the best yield while keeping your plants healthy for future pickings. I’ve found that gentle handling and the right tools make all the difference—especially when dealing with delicate vines or bushy varieties.
The best time to harvest is in the early morning when plants are hydrated but dry. This minimizes stress and reduces the risk of pod splitting. Always use clean, sharp tools to avoid introducing disease. Let’s walk through the step-by-step process to keep your plants thriving.
For vining varieties like ‘Purple Hull,’ I use a “two-hand technique”: one hand holds the vine steady while the other snips the pod. This prevents the entire plant from pulling up. Bush types, like ‘California Blackeye,’ are sturdier—just grasp the pod and twist gently.
If you’re harvesting for fresh eating, pick pods when they’re plump but still green. For drying, wait until pods turn brown and papery. I like to lay a clean tarp under plants to catch any dropped pods during harvest—this keeps them clean and reduces waste.
Avoid harvesting when plants are wet, as this can spread fungal diseases like powdery mildew. If you must pick after rain, use a dry cloth to wipe pods gently. Store freshly harvested peas in a breathable container—never plastic—to prevent moisture buildup.
For continuous production, I fertilize lightly after each major harvest with a balanced 10-10-10 to replenish nutrients. This keeps plants energized for the next flush of pods. If you notice yellowing leaves, it’s a sign they need a boost.
Finally, don’t forget to rotate your harvest spots around the plant. Start from the outer pods and work inward to avoid compacting soil or damaging inner growth. With these techniques, you’ll enjoy a bountiful harvest while keeping your plants productive all season long.
Once you’ve harvested your black-eyed peas, how you handle them next determines whether they stay fresh or lose flavor. I’ve ruined batches by skipping these steps—don’t make the same mistake! The key is acting quickly to preserve that buttery texture and sweet taste.
Start by sorting your pods immediately after picking. Discard any with bruises, splits, or pest damage. For fresh eating, shell the peas within 2-3 hours of harvest. If you’re saving seeds or drying, spread pods in a single layer in a well-ventilated area.
For fresh black-eyed peas, blanching before freezing preserves their color and texture. Boil shelled peas for 2 minutes, then plunge into ice water. Drain well, pat dry, and freeze in single layers on a tray before bagging. This prevents clumping.
If you’re drying peas for storage, spread shelled peas on a screen or baking sheet in a dry, airy space. Stir daily until they’re hard and rattling (about 1-2 weeks). Store in airtight glass jars with a silica packet to absorb moisture.
Watch for pest intruders during drying—weevils love dried peas. I freeze dried peas for 48 hours before storage to kill any hidden eggs. Label your jars with the harvest date; properly dried peas keep for up to a year.
For seed saving, select the largest, healthiest pods from your best plants. Dry them completely, then store seeds in paper envelopes in a cool, dark place. Test germination after 6 months by sprouting a few seeds on a damp paper towel.
Once pods start forming, check every 2-3 days for ripeness. They mature quickly in warm weather! The perfect window lasts only about a week, so frequent checks prevent overripe or split pods.
Pick in the early morning when plants are hydrated but dry. This prevents pod splitting and preserves freshness. Avoid harvesting after rain or in midday heat, which can stress plants.
Pick younger pods (slightly smaller) for fresh eating—they’re sweeter. Leave others to fully mature for drying or seed saving. Just don’t mix them in storage, as moisture levels differ.
This happens when plants are stressed by drought or heat. Pods develop, but peas don’t fill out. Maintain consistent watering (about 1 inch per week) and provide afternoon shade in extreme heat.
Overripe pods turn yellow or brown and feel papery. The peas inside become hard and starchy. If you hear a rattling sound when shaking, they’re past prime for fresh eating but still good for drying.
