
Beautiful Plants For Your Interior
Beautiful Plants For Your Interior
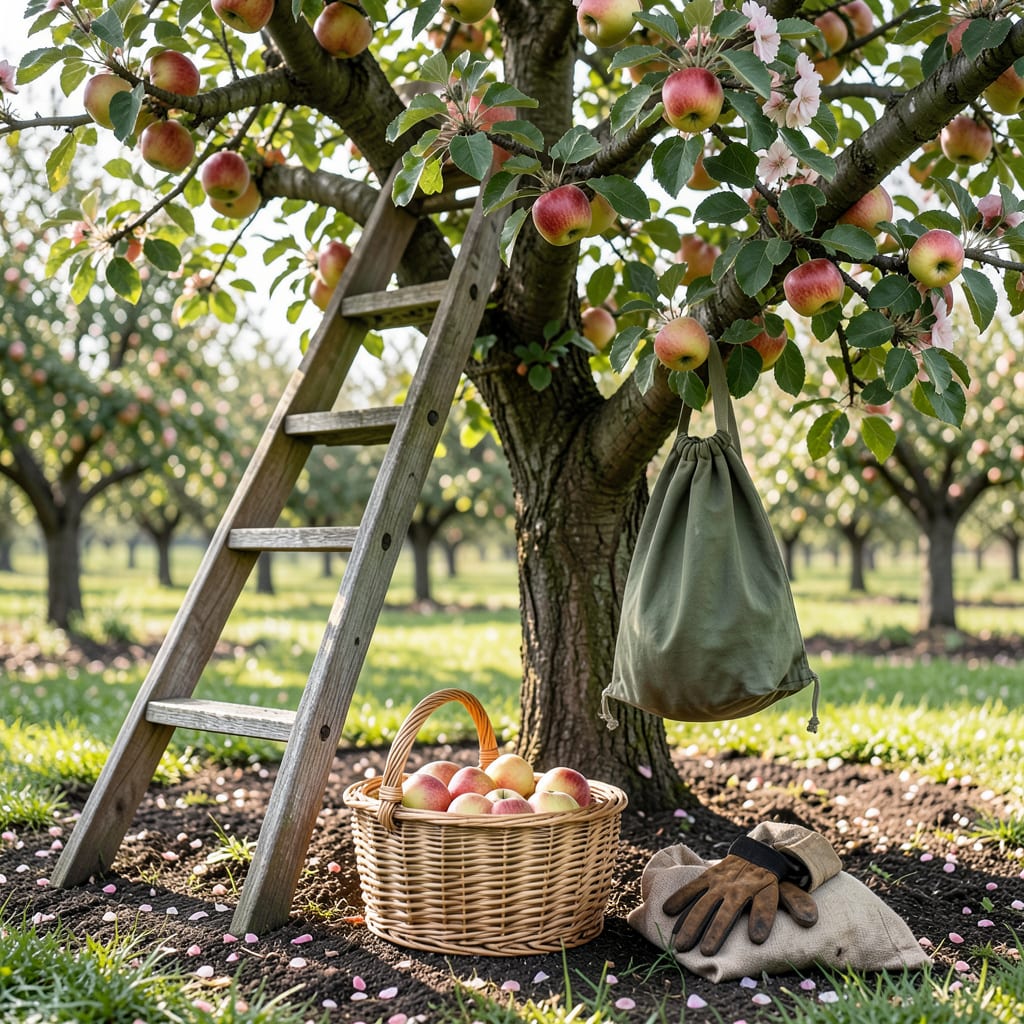
That moment when you pluck a sun-warmed 🍎 straight from your tree—only to bite into something disappointingly tart or mealy—is heartbreaking. I’ve been there, and the difference between perfect apples and “almost-there” ones comes down to timing.
Whether you’re growing Honeycrisp or Granny Smith, knowing when to harvest transforms your crop from decent to divine. I’ll walk you through the foolproof signs (hint: color isn’t enough) and simple tests to guarantee sweet, crisp results every time. Let’s make this your best harvest yet.


Timing your apple harvest isn’t just about flavor—it affects everything from storage life to texture. I’ve learned the hard way that picking too soon means starchy, sour apples that never sweeten properly. Even worse, they’ll wrinkle faster in storage than a forgotten salad. 🌱
On the flip side, leaving apples too long invites overripeness, making them mushy and prone to bruising. Those perfect-for-pie Granny Smiths turn mealy, and your crisp Honeycrisp becomes a sad, soft shadow of itself. The window for perfection is narrower than you’d think.
Pro Tip: Early-picked apples can ripen off the tree, but late-picked ones only get softer, never better.
Here’s the kicker: underripe apples won’t ripen like bananas or avocados. They’ll stay hard and starchy, no matter how long you leave them on your counter. I once stored early-picked Galas for weeks hoping they’d improve—spoiler alert: they didn’t. The starch-to-sugar conversion only happens on the tree. 🌿
Overripe apples, meanwhile, become magnets for pests. Wasps and fruit flies detect the fermenting sugars from miles away. I lost half a bushel of Fuji apples one year by waiting “just one more week.” Now I use the twist test religiously—if the apple resists, I walk away.
There’s a silver lining: slightly early apples excel in long-term storage, while slightly late ones shine in immediate baking. I keep a harvest journal to track which trees run early or late each year. Last season, my Jonathan apples were ready 10 days ahead of the Golden Delicious—knowledge that saved my pie filling! ✂️
Remember, apple varieties have different forgiveness levels. Tart varieties like Granny Smith handle early picking better than sweet ones like Fuji. When in doubt, pick a test apple and slice it—the seed color tells all. Brown seeds mean go time; white seeds mean wait. This simple trick has saved me countless disappointing harvests.
After years of hit-or-miss harvests, I’ve learned that color alone is the worst ripeness indicator. That bright red Gala might still be rock-hard inside! The real secrets lie in tactile tests and hidden clues. Here’s how professionals nail the timing every season. 🌳
First, master the twist-and-lift method. Cup the apple in your palm, give it a gentle twist, and lift upward. If it separates cleanly with the stem intact, you’re golden. I test 3-5 apples per tree since ripening varies even on the same branch. Resist the urge to yank—forced apples mean you’re too early.
The starch-iodine test sounds fancy but costs pennies. I keep iodine solution in my gardening kit—just dab it on a cut apple. Last season, this revealed my “ready” Jonathans still had 30% starch. I waited 5 more days and got perfect sweetness.
Don’t ignore the ground clues. When apples start dropping naturally (especially the windfalls), your harvest window has opened. I mark this day on my calendar as “Go Time” for that variety. Just don’t wait longer than 3-5 days after first drop, or you’ll battle bruises and bugs. ✂️
Finally, trust your nose! Ripe apples emit a sweet, almost floral aroma at the stem. I do a “sniff test” daily once color develops. No smell? Walk away. Overpowering scent? You’re late. This simple habit has made me the apple-picking hero in my gardening club!
Check for deep, uniform color and a slight give when pressed gently. The twist test is foolproof: cup the apple, twist slightly, and lift. If it comes away easily with the stem intact, it’s ready.
Some varieties (like Granny Smith) stay green when ripe, but most need full color development. Test by slicing one—brown seeds mean ripe, while white seeds mean wait. Green doesn’t always mean unripe, but check other signs first.
Pick in the cool morning hours (before 10 AM) when temperatures are low. This preserves crispness and flavor. Avoid harvesting after rain, as wet fruit bruises easily and may rot faster in storage.
Most varieties stay good for 3-5 days after reaching peak ripeness. After that, they become overripe quickly, attracting pests and developing mealy textures. Check daily once the first apples start dropping naturally.
Unlike some fruits, apples don’t ripen significantly after picking. They may soften slightly, but sweetness and flavor won’t improve. Always aim to harvest at peak ripeness for the best taste and storage life.
