
Beautiful Plants For Your Interior
Beautiful Plants For Your Interior
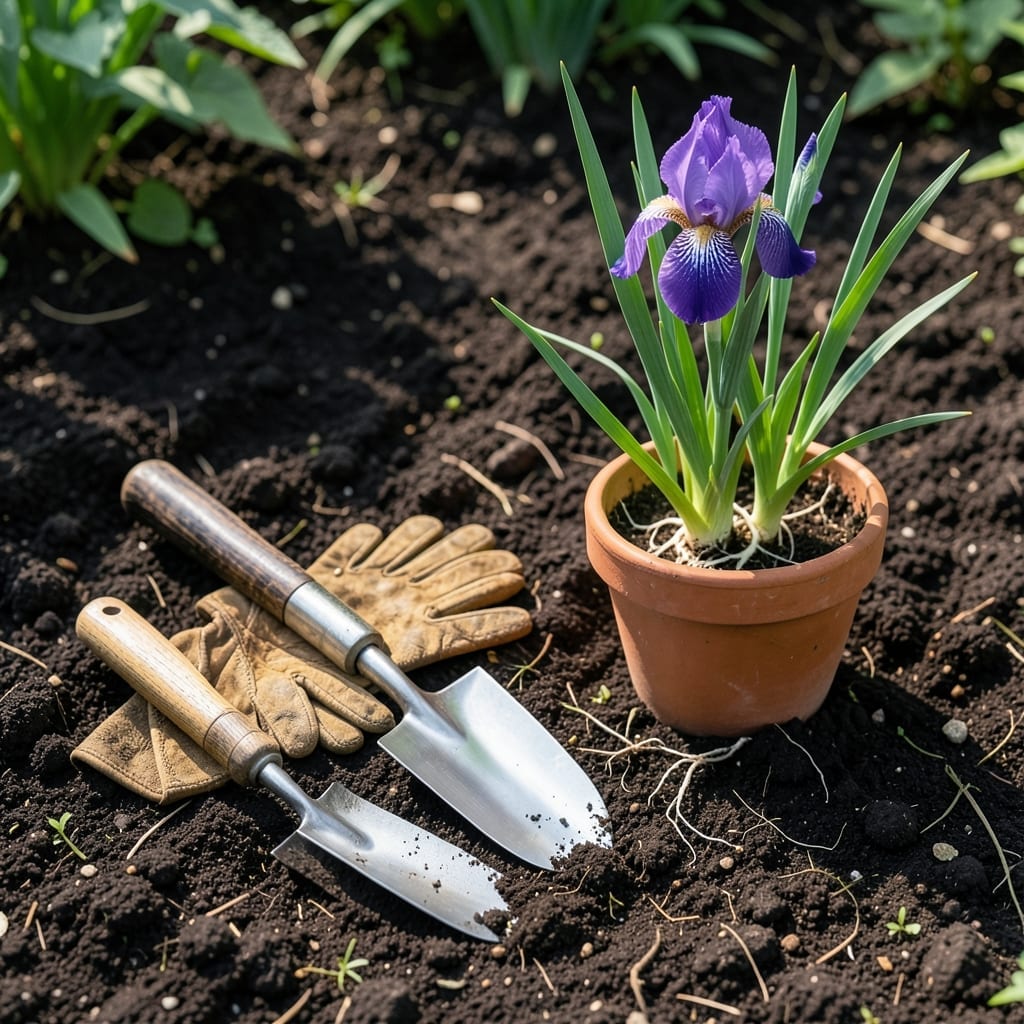
Moving your 🌸 Iris at the right time can make all the difference between lackluster blooms and a stunning display. I learned this the hard way after a few failed attempts left me with wilted, struggling plants.
Timing isn’t just important—it’s the key to helping your irises establish strong roots before winter hits. Zone 6a gardeners especially need to pay attention to this window.
Let me walk you through when to make the move and why it matters so much for your iris’s health and future blooms.
Timing your iris move can be the difference between thriving plants and struggling ones. I’ve found that late summer to early fall is the sweet spot for most gardeners in Zone 6a.
This window gives your irises 6-8 weeks to establish roots before winter dormancy. It’s also when the plants are less stressed from blooming, making recovery easier.
| Stage | Timeframe | Notes |
|---|---|---|
| Best Window | July-September | Post-bloom root growth |
| Good Alternate | June or October | Avoid extreme heat/cold |
| Avoid Completely | Blooming Season | Stresses the plant |
The ideal months are July through September, when your irises have finished blooming but still have time to settle in. This timing works because the soil is warm, which encourages root growth.
In Zone 6a, aim to complete your move before mid-October. This ensures the roots have time to anchor properly before the first frost, which typically arrives around October 15.
If you’re in a warmer climate, you might push this window slightly later, but always avoid moving irises during active bloom. The energy they use for flowers is energy they won’t have for recovery.
Another sign it’s time? When you notice crowded clumps or reduced blooming. These are clear indicators your irises are ready for division and a fresh start in a new spot.
I always check the rhizomes before moving. Healthy ones should be firm and plump, not soft or mushy. If they’re looking tired, it might be worth waiting until next season.
Remember, morning moves are best. This gives your irises the rest of the day to settle in before the heat of the afternoon. And always water deeply the day before to reduce transplant shock.
Finally, don’t rush the process. I’ve learned that patience pays off—giving your irises the right time to move means you’ll be rewarded with bigger, healthier blooms next season. 🌸
Transplanting irises doesn’t have to be stressful for you or your plants. I’ve developed a simple method that keeps the process smooth and minimizes shock to the rhizomes.
Start by preparing the new site first. Choose a location with full sun and well-draining soil. This gives your irises the best chance to thrive in their new home.
When digging up your irises, use a garden fork rather than a shovel. This helps prevent damage to the rhizomes. I always work in a circle around the clump, about 6 inches out, to ensure I get all the roots.
Once lifted, inspect the rhizomes carefully. Discard any that are soft, mushy, or show signs of rot or disease. Healthy rhizomes should be firm and plump with visible feeder roots.
Divide large clumps into smaller sections, each with at least one healthy fan of leaves. This ensures each new plant has enough energy stored to establish itself. I find that 3-4 fans per division works best for most iris varieties.
Plant your divisions shallowly, with the top of the rhizome just visible at the soil surface. This prevents rot issues and encourages proper growth. Space them 12-24 inches apart to allow for future spread.
After planting, water thoroughly to settle the soil around the roots. I recommend watering daily for the first week, then tapering off to every other day unless rainfall provides enough moisture. 🌸