
Beautiful Plants For Your Interior
Beautiful Plants For Your Interior
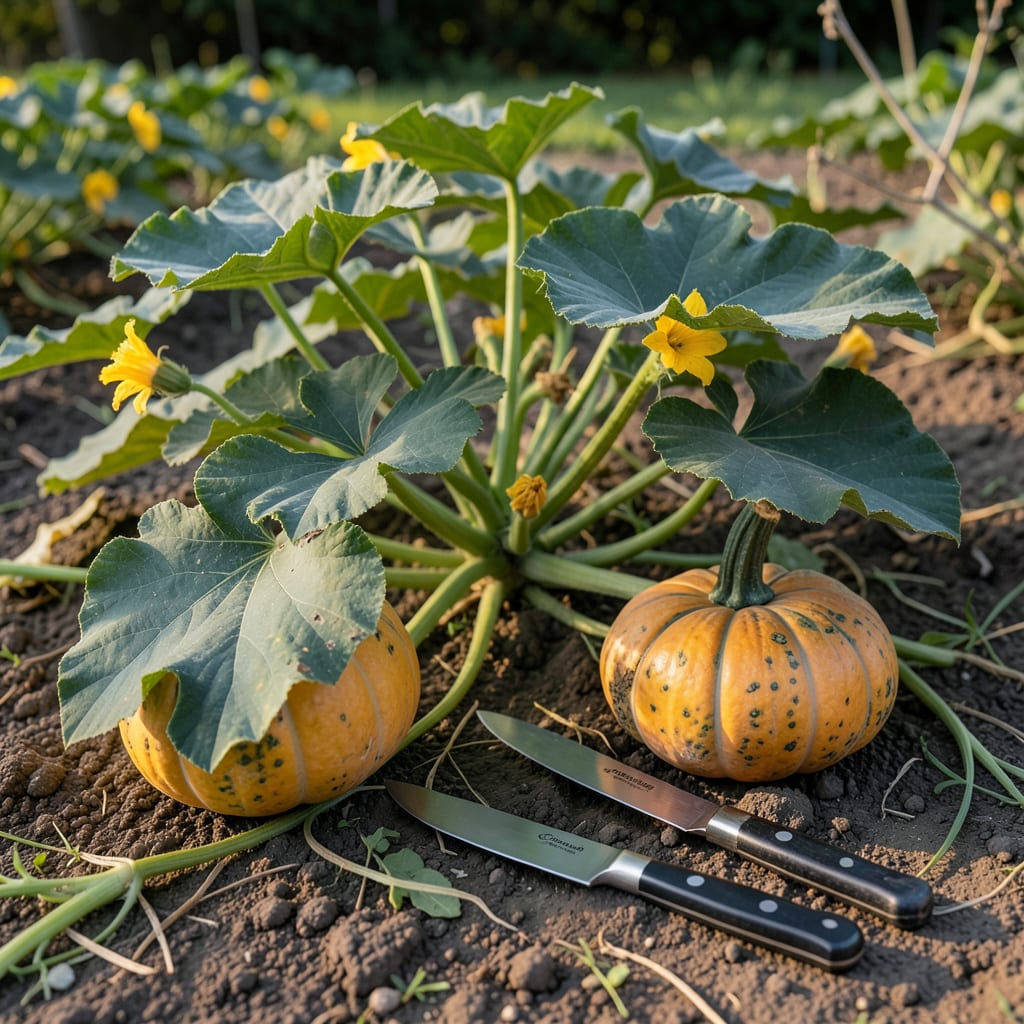
I’ve learned that timing is everything when it comes to picking Butterbush Squash 🎃. The difference between a perfect harvest and a disappointing one often comes down to just a few days.
Watch for that deep tan skin and hard rind—these are your squash’s way of saying it’s ready. Let me show you the other signs that guarantee you won’t miss the ideal moment.


I always watch for the first sign: the skin color shift from bright green to a deep tan. This change indicates the squash is maturing. The transformation is gradual but unmistakable when you’re checking daily.
Next, I check the rind hardness by pressing my fingernail against it. A mature Butterbush won’t puncture easily, signaling it’s time to harvest. This test works better than any calendar date.
| Harvest Sign | What to Look For |
|---|---|
| Skin Color | Deep tan or beige |
| Rind Texture | Hard and dull, resists nail |
| Stem Condition | Dry and woody |
| Vine Appearance | Dying back or crisp |
The stem condition is another critical indicator. When it turns from green to brown and woody, your squash is nearly ready. I never harvest while the stem is still flexible.
I also observe the vines closely. As they start to die back and turn brown, it’s nature’s way of telling you the squash has finished growing. This often happens in late summer.
The fingernail test is my go-to for confirmation. If I can’t easily pierce the skin, it’s harvest time. This simple test prevents me from picking too early or too late.
I find that Butterbush squash typically reaches maturity in 85-100 days after planting. However, I rely more on these visual cues than the calendar.
Remember that early harvest means immatures seeds and poor flavor. Waiting for these clear signs ensures a sweet, firm squash that stores well through winter.
I’ve learned that morning harvesting works best, when temperatures are cooler. This helps the squash last longer in storage.
Finally, I always leave 2-3 inches of stem attached. This prevents rot and extends storage life. A clean cut with pruners works better than twisting.
These signs never fail me. With practice, you’ll spot them instantly too ☀️
I’ve seen many gardeners harvest too early, thinking the squash is ready when it’s still shiny and soft. This results in immature seeds and bland flavor. The fingernail test always prevents this mistake.
Another common error is waiting too long. Overripe squash develops split skin and loses its sweetness. I check daily once the deep tan color appears.
⚠️ Avoid These Harvest Errors:
❌ Picking while stem is green – leads to poor storage
❌ Cutting stem too short – causes rot
❌ Harvesting in hot afternoon – reduces shelf life
I never twist the squash off the vine. This can damage both the plant and the fruit. Instead, I use clean pruners for a precise cut.
Some gardeners ignore the vine die-back signal. When the vines turn brown and crisp, it’s nature’s way of telling you the squash is done growing. I trust this sign more than any calendar.
Leaving less than 2 inches of stem is another mistake I’ve learned to avoid. A proper stem length prevents moisture loss and extends storage. I always measure before cutting.
Finally, I’ve found that harvesting in rain or high humidity leads to mold. I wait for dry weather to pick my Butterbush squash. This simple practice saves me from many storage issues.
With these precautions, I consistently get perfect, long-lasting squash every season 🌱
I always start the curing process immediately after harvest. This step enhances the sweet flavor and prepares the squash for long-term storage. A warm, dry location works best for this.
I cure my Butterbush squash for 10-14 days at 75-80°F with good air circulation. This allows the skin to harden fully and any minor cuts to heal.
🌱 Post-Harvest Care Steps:
After curing, I move the squash to a cool storage area. The ideal temperature is 50-55°F with 50-70% humidity. A basement or root cellar works perfectly for this.
I store my squash on slatted shelves or in mesh bags to ensure proper air circulation. This prevents moisture buildup that can lead to rot. I never stack them directly on top of each other.
I check my stored squash weekly for any signs of spoilage. A single bad squash can quickly affect others. With proper care, my Butterbush squash typically lasts 3-6 months in storage.
These post-harvest steps ensure I enjoy my squash well into winter 🌿
Look for a deep tan or beige hue instead of bright green. This color shift signals the squash has matured and developed its sweet flavor. The transformation happens gradually over several days.
Use the fingernail test—press your nail against the rind. If it doesn’t puncture easily and the surface feels hard and dull, it’s ready. This is more reliable than counting days.
Harvesting before the rind hardens results in immature seeds and bland taste. The squash won’t store well either. Always wait for the stem to turn brown and woody.
Avoid picking during rain or high humidity. Moisture on the squash can lead to mold during storage. Wait for a dry morning for best results.
