
Beautiful Plants For Your Interior
Beautiful Plants For Your Interior
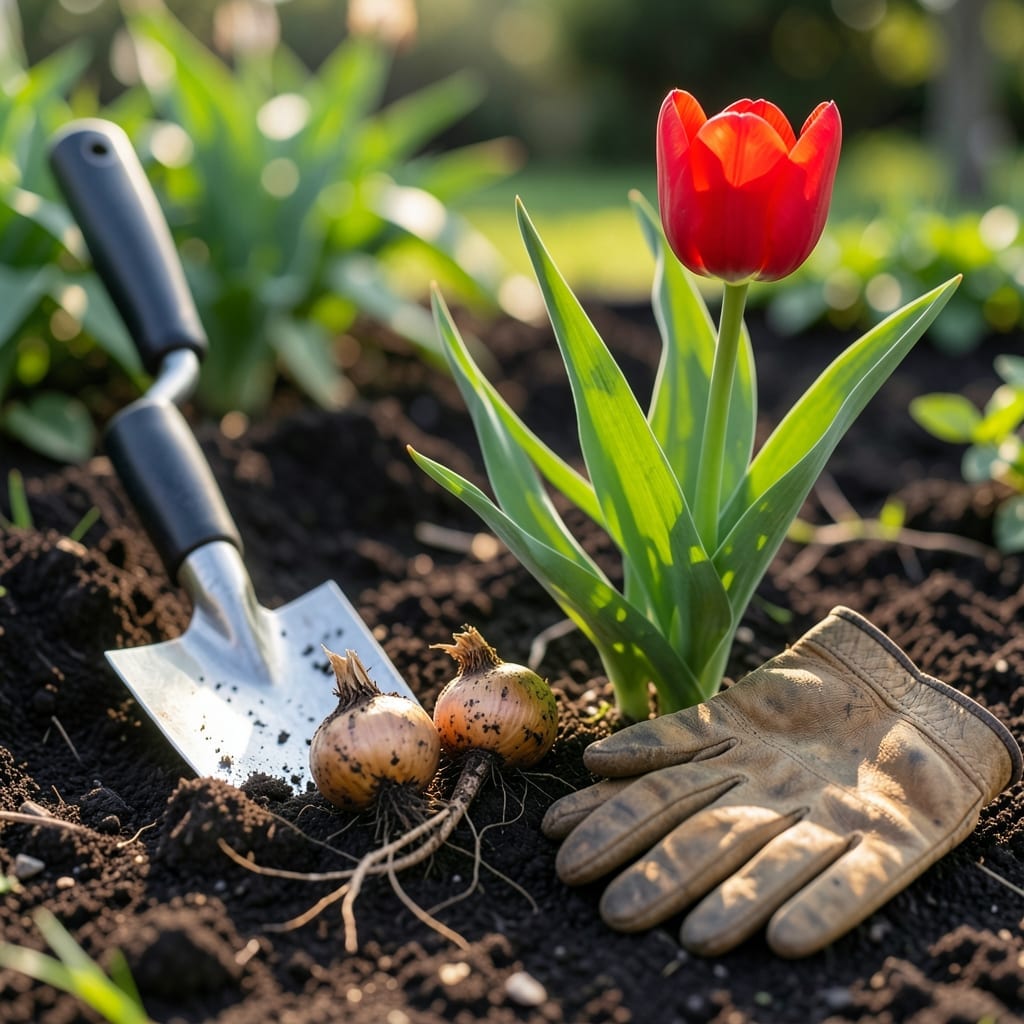
Knowing when to dig up tulip bulbs can mean the difference between a lackluster garden and a vibrant, blooming paradise next spring. Timing is everything to ensure healthy 🌷 bulbs and spectacular flowers.
I’ve learned that waiting for the foliage to yellow and die back is the key signal. This usually happens 6-8 weeks after blooming, giving the bulb time to store energy for next year.
Discover the exact signs to look for and how to properly care for your bulbs after digging. Let’s make your garden the envy of the neighborhood.
Timing your tulip bulb removal is critical for next year’s bloom. I’ve found that 6-8 weeks after flowering is the sweet spot, when the foliage starts to yellow and die back naturally.
This waiting period allows the tulip bulb to absorb all the nutrients from the dying leaves, storing energy for the next growing season. Digging too early can leave your bulbs weak and stunted.
| Stage | Sign | Action |
|---|---|---|
| Early | Green foliage still present | Wait longer |
| Ready | Foliage yellowed and wilted | Dig carefully |
| Late | Stems mushy or bulb soft | May be too late |
The yellowing process signals that photosynthesis has completed its work. I check my tulips weekly during this period to catch the perfect moment before the foliage completely disappears.
In warmer climates, this process might happen faster, while in cooler regions it could take the full 8 weeks. Always let the plant guide you rather than the calendar.
Remember that healthy bulbs feel firm to the touch when ready. If they’re still soft or spongy, they need more time in the ground to mature properly for storage.
I’ve made the mistake of digging too early before. The result? Smaller, weaker blooms the next year. That experience taught me to be patient and watch for those yellow leaves as my cue.
Another sign is when the stems collapse naturally. This indicates the bulb has finished its energy storage process and is ready for dormant storage until fall planting.
For container-grown tulips, the same rules apply. The foliage will still yellow and die back, signaling it’s time to dig up those bulbs for summer storage.
In my garden, I mark the bloom date on my calendar and set a reminder for 6 weeks later to start checking for readiness signs. This simple system has saved me from many timing mistakes.
This approach ensures your tulips will come back stronger and more vibrant year after year 🌷
Once your tulip foliage has completely yellowed, it’s time to carefully lift the bulbs. I always use a garden fork to gently loosen the soil around them, taking care not to pierce the bulbs.
Begin by watering the area lightly the day before digging. This softens the soil and makes it easier to lift the bulbs without damaging them.
After lifting, I remove excess soil by gently brushing the bulbs. Avoid washing them, as moisture can promote rot during storage. Let them dry in a well-ventilated area for a few days.
Once dry, trim the dead foliage and roots, leaving about an inch of stem. This helps prevent pests and diseases from taking hold during storage.
Store your bulbs in a cool, dry place with good airflow. I use mesh bags or cardboard boxes with holes. Never use plastic, as it can trap moisture.
Check your stored bulbs monthly for signs of rot or pests. Discard any that feel soft or show mold, as they can spread problems to healthy bulbs.
This careful process ensures your tulips will be ready for a vibrant return next spring 🌷