
Beautiful Plants For Your Interior
Beautiful Plants For Your Interior
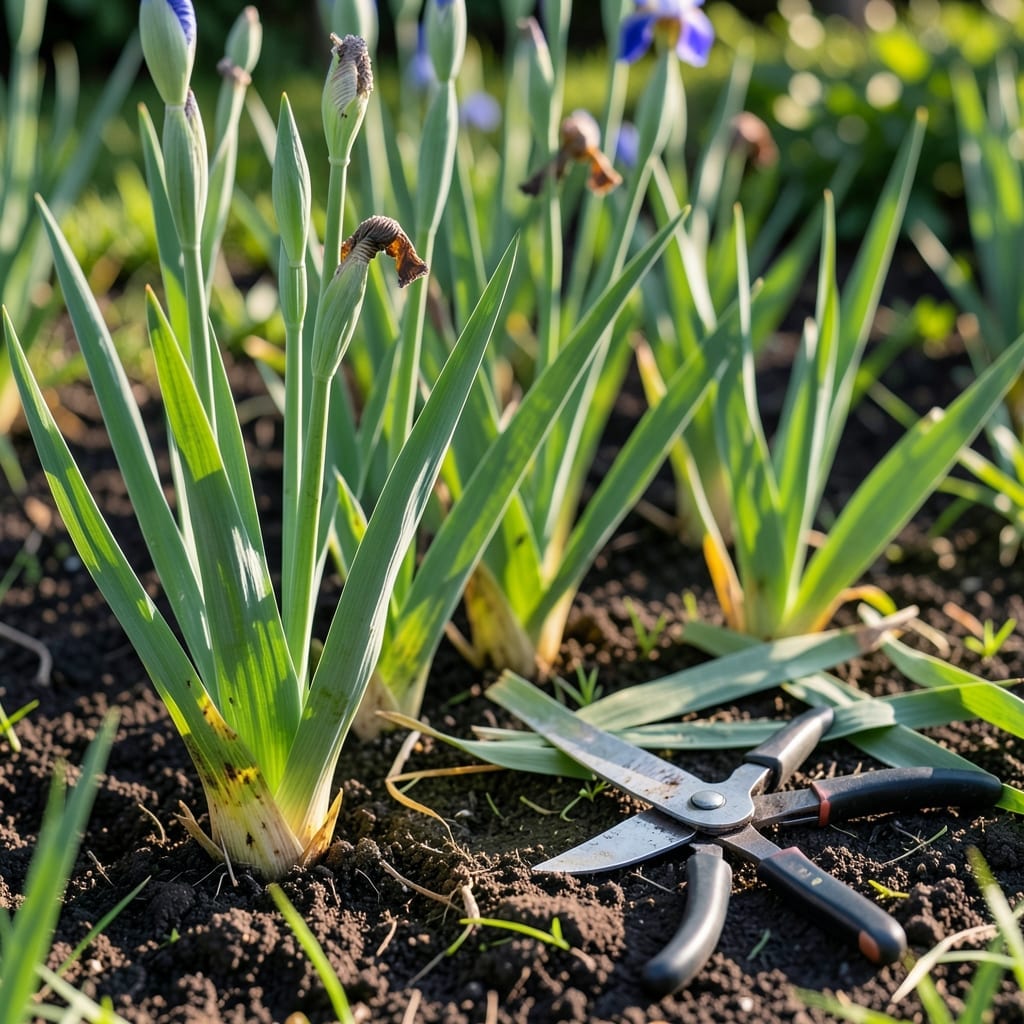
Timing your Iris leaf trimming perfectly can mean the difference between lackluster blooms and a spectacular display next season. This essential gardening task prevents disease and strengthens your 🌸 Iris for future growth.
I’ve learned through experience that cutting at the right moment is the key to vibrant, healthy plants. Get it wrong, and you risk stunting their performance or inviting problems.
Discover when to make the cut and why this timing matters so much for your garden’s success. Let me walk you through what works best.
Timing is everything when it comes to trimming iris leaves. I’ve found that cutting them too early can weaken the plant, while waiting too long risks disease spread in your garden. 🌸
The best window is 6-8 weeks after blooming, typically in late summer or early fall. This gives the iris rhizomes enough time to store essential nutrients for next year’s growth.
| Stage | Timing | Action |
|---|---|---|
| Post-Bloom | 6-8 weeks after flowering | Leave leaves to photosynthesize |
| Late Summer | August-September | Trim yellowing leaves to 6 inches |
| Fall Cleanup | After first frost | Remove all dead foliage |
Watch for visual cues like yellowing or browning leaves. When about half the foliage has died back, it’s a clear sign your irises are ready for trimming. This usually happens in September or October. ✂️
In warmer climates (USDA zones 8-9), you might wait until November. The key is ensuring the rhizomes have stored enough energy before you cut back the leaves.
I always check the weather forecast before trimming. A dry, sunny day is ideal because it allows the cuts to heal quickly, reducing the risk of rot or fungal infections.
Avoid cutting back healthy green leaves too early. These are still actively photosynthesizing and feeding the rhizome. Premature trimming can lead to smaller blooms next season. 🌿
For reblooming irises, the timing is slightly different. After their second bloom cycle, wait another 6 weeks before trimming to ensure they’ve gathered enough resources for their next flowering.
If you notice disease or pests on the leaves, it’s okay to remove affected foliage immediately. Just be sure to sterilize your tools between cuts to prevent spreading the problem to healthy plants.
Remember, the goal is to balance plant health with disease prevention. Proper timing ensures your irises will return stronger and more vibrant next spring. 🌷
Proper iris leaf trimming starts with the right tools. I always use sharp bypass pruners or clean scissors to make clean cuts that heal quickly. Dull tools can crush stems, inviting disease. ✂️
When you’re ready to trim, cut the leaves at a 45-degree angle about 6 inches above the rhizome. This height protects the plant while allowing it to continue gathering sunlight for a bit longer.
After cutting, remove all leaf debris from around the plant. Leaving it can harbor pests or diseases that might affect next year’s growth. I like to compost healthy trimmings but burn any diseased material. 🌿
For reblooming irises, wait until after the second flowering before trimming. These varieties need extra time to replenish their energy for the next bloom cycle. Cutting too soon can reduce future flowers.
Water lightly after trimming to help the plant recover. Avoid heavy watering, which can promote rot in the freshly cut areas. A dry environment helps the cuts callus over more quickly.
Finally, mark your calendar for next year. If you trim in mid-September this year, aim for the same time next season. Consistency helps your irises establish a healthy growing rhythm. 🌷