
Beautiful Plants For Your Interior
Beautiful Plants For Your Interior
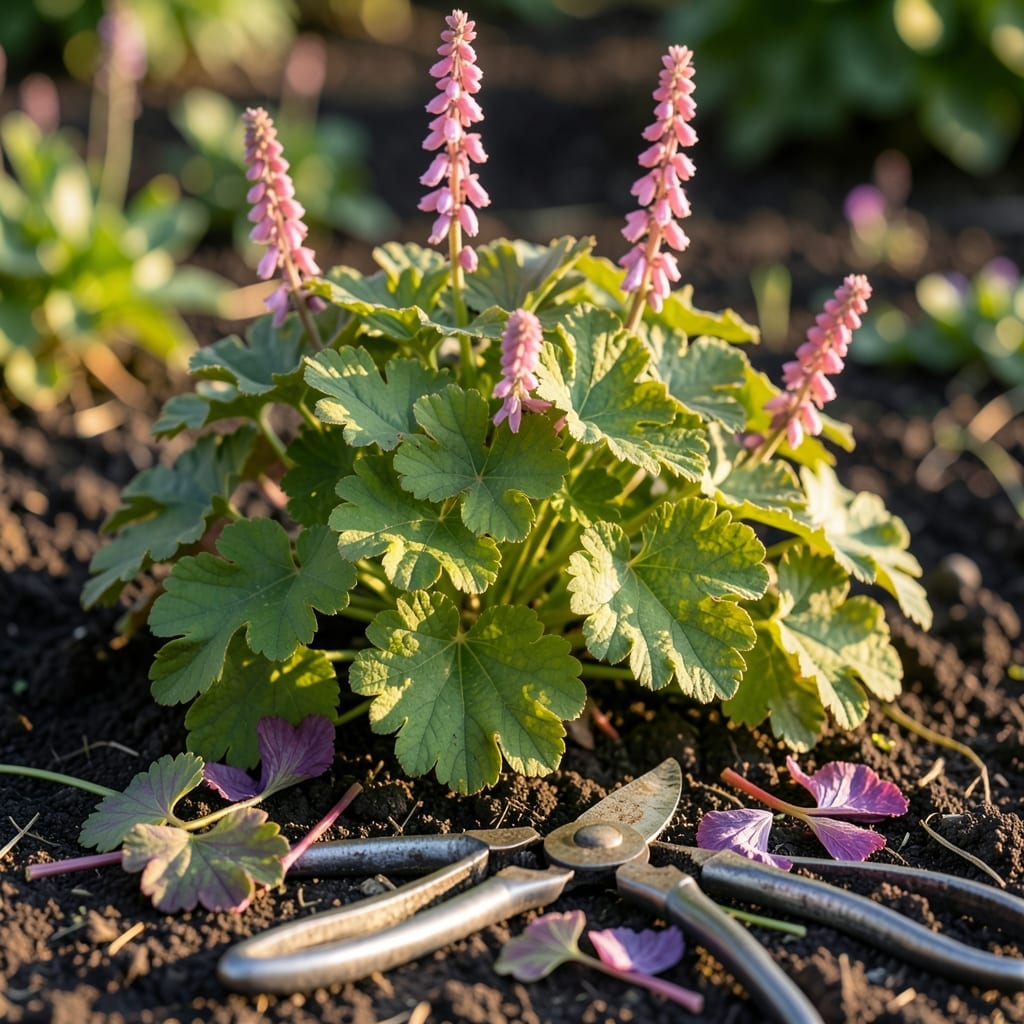
Coral Bells 🌸 are vibrant perennials that thrive with proper care, and knowing when to cut them back can make all the difference in their health and blooming potential.
I’ve learned that timing is everything—prune too early or too late, and you risk stunting their growth. Whether you’re in zone 4-9 or just starting out, this guide will help you get it right.
Let’s explore the best seasonal triggers and simple steps to keep your Coral Bells looking their best year after year.
I’ve found that timing your pruning of coral bells is the secret to vibrant foliage and strong growth. These perennials benefit most from a late winter or early spring trim, just as new growth begins to emerge.
This timing helps remove old or damaged leaves while encouraging fresh, healthy foliage. In colder climates, I wait until the last frost has passed to avoid shocking the plant. ✂️
| Stage | Action |
|---|---|
| Late Winter | Remove dead foliage |
| Early Spring | Trim to 3-4 inches |
| Post-Blooming | Deadhead spent flowers |
| Fall | Light cleanup only |
In warmer regions like USDA zones 7-9, I’ve noticed coral bells may hold their foliage year-round. Here, I focus on pruning in early spring to shape the plant and remove any winter damage.
For cold climates (zones 4-6), I recommend waiting until after the last frost. This prevents tender new growth from being damaged by late freezes. The ideal window is typically March to early April. 🌱
Another key moment is after flowering. I always deadhead spent blooms to redirect energy toward foliage growth. This also keeps the garden looking tidy and prevents self-seeding if that’s not desired.
If your coral bells have winter dieback, don’t panic. Simply trim back to healthy stems in spring. I’ve seen plants bounce back quickly with this approach.
For container-grown coral bells, I follow the same timing but pay extra attention to root health. Pruning the foliage also gives me a chance to check if the plant needs repotting.
Remember, sharp pruners are essential for clean cuts that heal quickly. I also like to mulch after pruning to protect the base and retain moisture as new growth emerges.
In my experience, coral bells pruned at the right time reward you with fuller plants and more vibrant colors. The key is consistency—mark your calendar for that late winter prune! 🌿
I always start by gathering the right tools: sharp bypass pruners and gardening gloves. Clean tools prevent disease, and gloves protect my hands from the plant’s slightly fuzzy leaves.
First, I remove any dead or damaged foliage at the base. This clears the way for new growth and keeps the plant looking tidy. Then, I trim back the entire plant to about 3-4 inches above the soil.
When making cuts, I angle my pruners at 45 degrees just above a leaf node. This helps water run off and prevents rot. I avoid cutting into the crown, as this can damage the plant’s growing point.
For overgrown coral bells, I may need to divide the clump while pruning. I dig up the plant, gently separate the roots, and replant the divisions. This rejuvenates the plant and gives me more to share! 🌱
After pruning, I apply a light layer of mulch to conserve moisture and protect the roots. This also suppresses weeds that might compete with my coral bells for nutrients.
Finally, I step back and admire my work. Proper pruning encourages bushier growth and more vibrant foliage colors. The best part? My coral bells reward me with stunning displays all season long. ✂️