
Beautiful Plants For Your Interior
Beautiful Plants For Your Interior
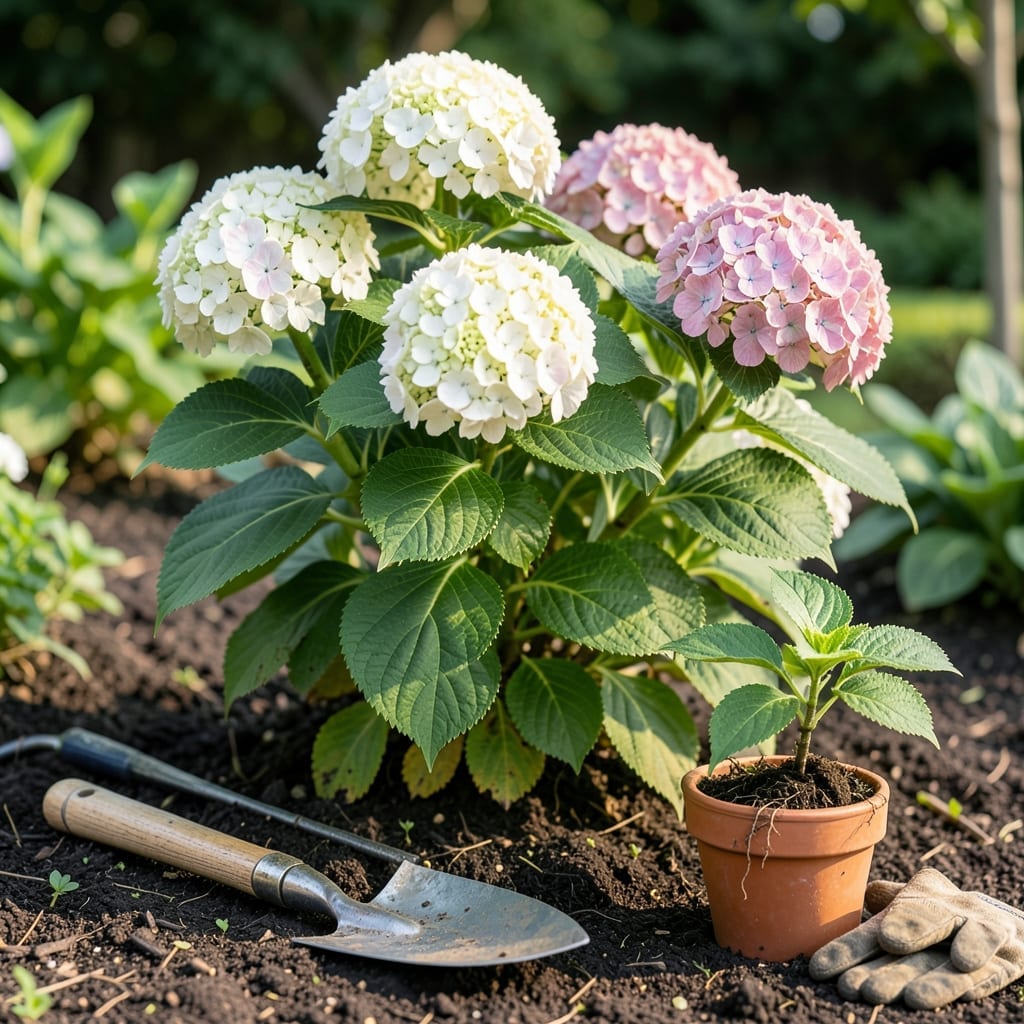
Transplanting hydrangeas at the wrong time can shock the plant and ruin next season’s blooms. Timing is everything for these delicate 🌸 shrubs.
I’ve learned the hard way that moving them during active growth or extreme weather can set back their progress. The key is choosing the right window when the Hydrangea can establish roots with minimal stress.
Discover the ideal seasons and conditions to ensure your Hydrangea thrives in its new home. Let’s get this right the first time.


Timing your hydrangea transplant is critical for success. I’ve found that early spring or late fall are the best windows for this delicate process. These periods allow the plant to establish roots before extreme temperatures hit.
In spring, aim for March to April, just as the soil begins to warm but before new growth appears. In fall, September to October works best, giving roots time to settle before winter dormancy.
| Season | Best Months | Key Benefit |
|---|---|---|
| Early Spring | March-April | Roots establish before heat |
| Late Fall | September-October | Cool temps reduce stress |
| Regions | Warmer: Feb/Mar, Cooler: Apr/May | Adjust for local frost |
For warmer climates (USDA zones 7-9), you can transplant as early as February. Cooler zones (3-6) should wait until April or May after the last frost. Always check your local frost dates for precision.
Avoid summer at all costs. The heat stress combined with active growth makes it the worst time. I’ve seen hydrangeas wilt dramatically when moved in July or August, even with extra watering.
Fall transplanting has an advantage: the soil stays warm while air temperatures cool. This combination helps roots grow without the plant putting energy into leaves or flowers. Just finish at least 4-6 weeks before your first frost.
If you miss the ideal windows, early summer (June) is your second-best option, but only in mild climates. You’ll need to be extra diligent with watering and shade during this period.
Pro tip: Transplant on a cloudy day or in the early morning to reduce immediate stress. I always prepare the new hole before digging up the plant to minimize root exposure time.
Remember that hydrangea varieties matter too. Bigleaf hydrangeas are more sensitive than panicle types, so they benefit most from these optimal timing windows.
After transplanting, give your hydrangea deep watering immediately and maintain consistent moisture for the first month. This is when the plant is most vulnerable to shock.
Watch for wilted leaves or dropping blooms—these are signs your timing might have been off or the plant needs more care during the transition 🌸
Moving hydrangeas requires careful preparation to prevent root damage. I always start by watering deeply 24 hours before transplanting to ensure the root ball stays intact during the move.
Begin by digging a wide hole in the new location—at least twice as wide as the root ball. This gives roots room to spread. I recommend mixing in compost or aged manure to boost soil fertility.
When digging up the hydrangea, I use a sharp spade to cut a 12-18 inch circle around the base. This ensures I capture most of the root system. Work slowly to avoid severing major roots.
Before placing in the new hole, I prune the top growth by about one-third. This reduces water loss and helps the plant focus energy on root establishment. It seems counterintuitive, but it works wonders.
Position the plant at the same depth it was growing before. The crown (where stems meet roots) should be level with the soil. Backfill with your amended soil, pressing gently to remove air pockets.
After planting, create a watering basin around the base to help direct water to the roots. I water immediately with 1-2 gallons of water, then add a 2-3 inch layer of mulch to retain moisture.
For the first month, I check soil moisture daily and water when the top inch feels dry. This consistent care is crucial for recovery and future growth 🌸