
Beautiful Plants For Your Interior
Beautiful Plants For Your Interior
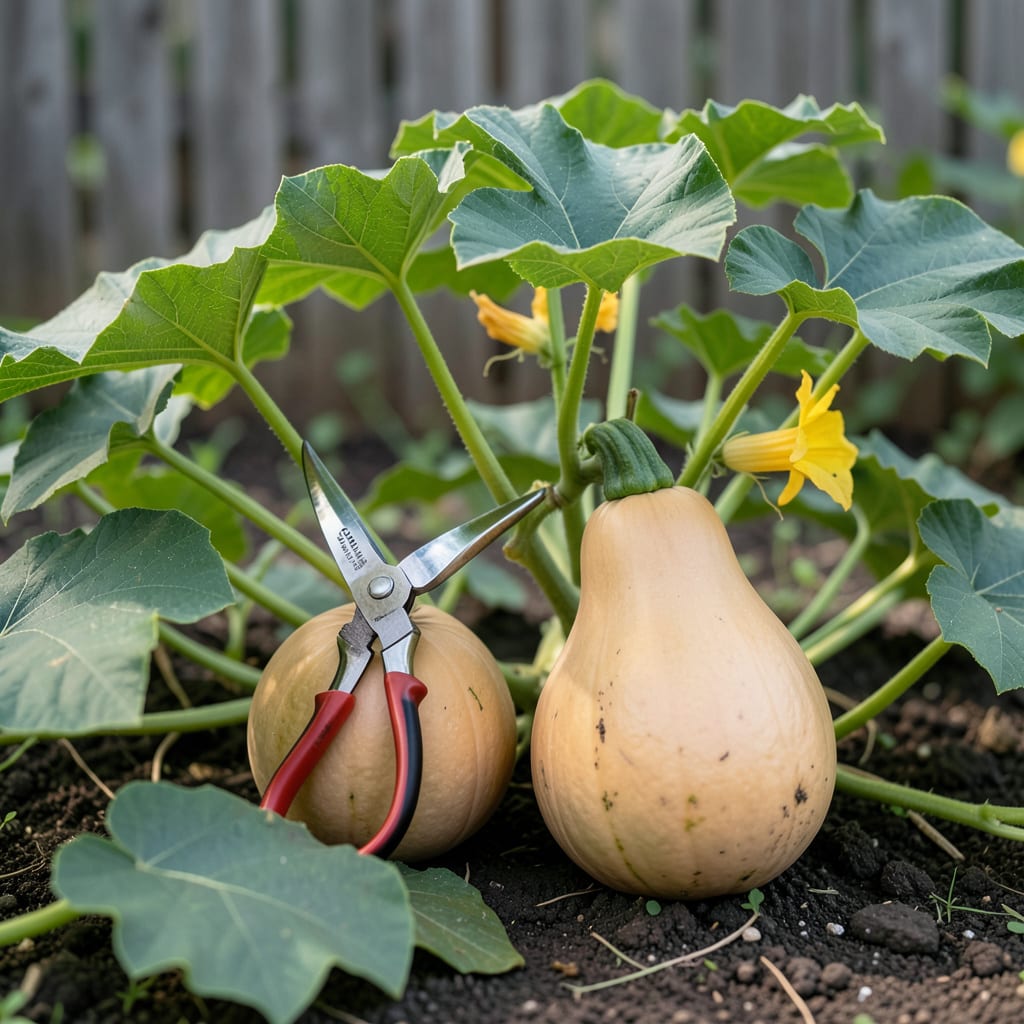
That moment when your Butternut Squash 🎃 is finally ready to pick is pure gardening magic. But knowing when to harvest can be tricky if you don’t recognize the signs.
I’ll show you the key indicators to look for – from color changes to stem hardness – so you can enjoy perfectly ripe squash every time. Let’s get started.


Timing your Butternut Squash harvest perfectly ensures the best flavor and storage life. I’ve found that watching for specific visual and physical cues takes the guesswork out of the process. The most reliable signs appear as the growing season winds down.
The rind color is your first clue – it should turn a deep tan all over, with no green patches remaining. This uniform color change signals the squash is nearing maturity and ready for the next checks.
| Harvest Sign | What to Look For |
| Rind Color | Deep tan, no green |
| Skin Hardness | Cannot pierce with thumbnail |
| Stem Condition | Dry, woody, corky |
| Vine State | Begins to die back |
| Size | 2-3 lbs average |
| Days to Maturity | 85-100 days |
Next, test the rind hardness by gently pressing your thumbnail into the skin. If it resists and doesn’t leave a mark, the squash is ready. This hardness develops as the squash matures and is crucial for long-term storage.
The stem condition offers another clear indicator. A mature butternut squash will have a dry, woody stem that’s corky to the touch. If the stem is still green and soft, the squash needs more time on the vine.
I also watch the vine itself for signs. When the main vine begins to die back and turn brown, it’s a strong signal that the squash has finished growing. This typically happens as the weather cools in early fall.
Size matters too. Most butternut squash varieties reach 2-3 pounds at maturity, though some larger types may weigh more. Check your seed packet for the expected size range for your specific variety.
For the most accurate timing, count the days to maturity from planting. Most butternut squash take 85-100 days to fully mature. Keep a gardening journal to track your planting date and estimated harvest window.
If you’re still unsure, try the tapping test. Gently tap the squash – a mature one will sound hollow. This method works well in combination with the other signs for confirmation.
Remember that early harvests often lack the full sweetness and storage potential. Patience pays off with butternut squash, as those extra days on the vine significantly improve flavor and keeping quality. ☀️
Harvesting Butternut Squash at the wrong time can ruin months of careful growing. I’ve seen gardeners make simple errors that lead to poor flavor or short storage life. The key is recognizing the difference between patience and procrastination.
One common mistake is picking too early. If the rind is still green or the stem is soft, the squash hasn’t developed its full sweetness. This often happens when gardeners get excited about the first color changes.
⚠️ Warning: Harvesting immature Butternut Squash leads to poor flavor and short storage life. Always check for hard rind and dry stem before picking. Never lift squash by the vine as this can damage both the plant and fruit.
Another error is waiting too long. If you leave squash on the vine past maturity, they may split or become overripe. This is especially risky if frost is in the forecast. I recommend checking daily once the first signs appear.
Improper cutting technique can also cause problems. Always use pruning shears or a sharp knife to cut the stem, leaving 1-2 inches attached. Pulling the squash off can damage the vine and reduce future harvests.
Many gardeners forget to check the vine condition. If the vine has completely died back, the squash may have passed its prime. Harvest before this happens for the best quality.
Finally, don’t ignore the tapping test. A mature squash sounds hollow when tapped, while an immature one sounds solid. This quick check can confirm your other observations and prevent mistakes.
By avoiding these common pitfalls, you’ll ensure your Butternut Squash reaches its full potential in both flavor and storage life. ✂️
Proper post-harvest care transforms good butternut squash into great ones. I always cure my harvest first to enhance sweetness and extend storage life. This simple step makes a noticeable difference in flavor.
Start by curing in a warm, dry location with good airflow. A sunny porch or garage works well. Keep squash there for 7-10 days at temperatures between 75-85°F to harden the skin further.
Cure in warm spot for 7-10 days
Store in cool, dark, dry place
After curing, move squash to a cool storage area (50-55°F). A basement or root cellar works perfectly. Ensure the space stays dry to prevent rot and has good air circulation.
Check stored squash weekly for soft spots or mold. One bad squash can spoil others quickly. I find that properly cured and stored butternut squash keeps for 2-3 months or longer.
Never store squash near apples or pears as they release ethylene gas which speeds ripening. Keep them on slatted shelves rather than concrete floors to prevent moisture buildup. 🌱
Look for a uniform deep tan color with no green patches. This consistent hue signals the squash has reached full maturity and is ready for harvest.
Gently press your thumbnail into the rind. If it resists and doesn’t leave a mark, the squash is ready. This hardness is crucial for proper storage and flavor development.
Early harvesting results in underdeveloped flavor and poor storage life. The squash won’t be as sweet and may spoil quicker. Always check for dry stem and hard rind first.
Cure butternut squash in a warm, dry location for 7-10 days at 75-85°F. This process enhances sweetness and extends storage life significantly.
