
Beautiful Plants For Your Interior
Beautiful Plants For Your Interior
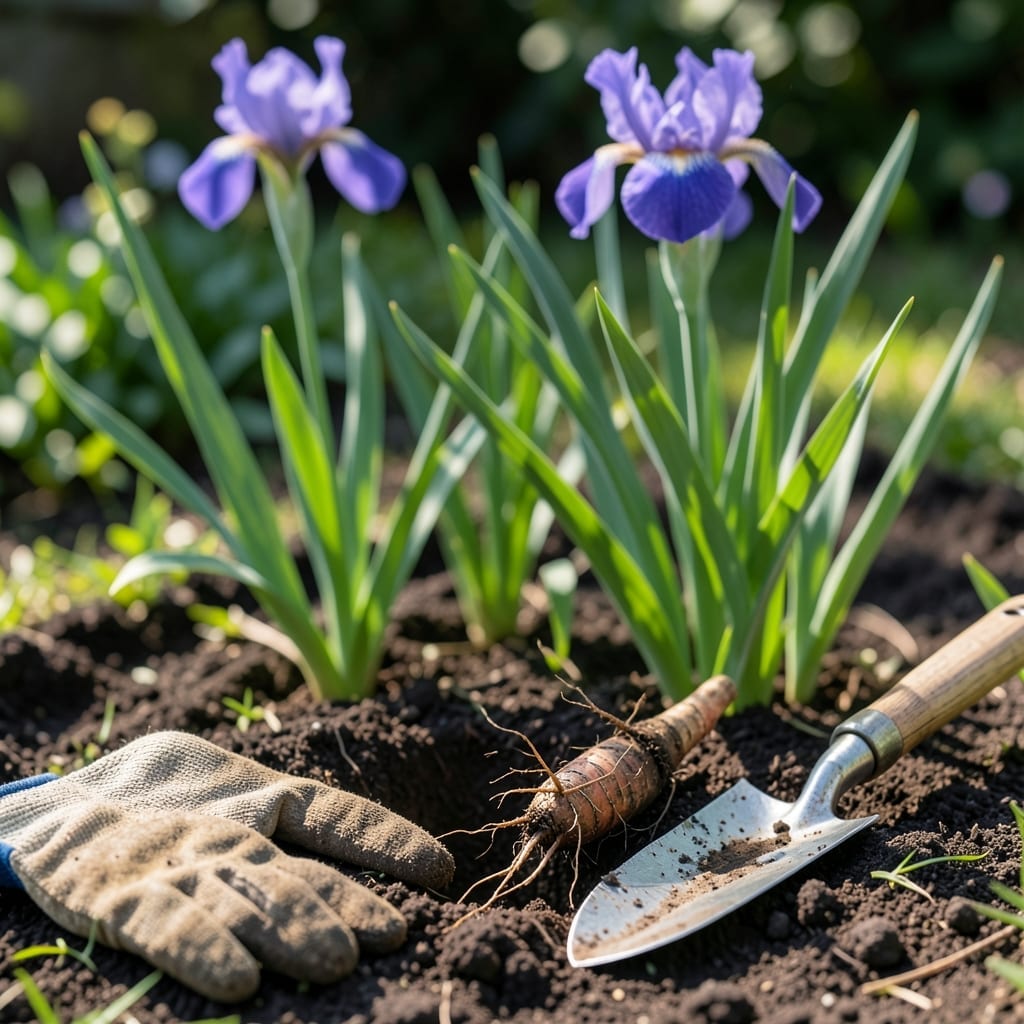
Timing is everything when it comes to moving your Iris 🌸. Get it wrong, and you risk stunting their growth or losing them entirely. But nail the timing, and you’ll be rewarded with vibrant blooms for years to come.
These hardy perennials thrive when transplanted at the right moment, giving their roots time to establish before winter. I’ve learned the hard way that rushing this process never pays off.
Discover the best season to relocate your Iris and the simple signs that say they’re ready. Let’s make your garden the envy of the neighborhood.
The ideal window for transplanting Iris is late summer to early fall, typically 6-8 weeks after blooming. This gives the rhizomes time to establish before winter dormancy.
I’ve found that July through August works best in most climates, but cooler zones may need to start earlier. The key is allowing 4-6 weeks of growth before the first frost.
| Timing Factor | Best Practice |
|---|---|
| Season | Late summer to early fall |
| Post-Bloom | 4-6 weeks after flowering |
| Foliage Sign | Begins to yellow or brown |
| Climate Adjust | Earlier in cold zones |
Watch for yellowing foliage as a natural signal that your Iris is ready. This indicates the plant is entering dormancy, making it the perfect time to move it without stress.
In warmer climates like USDA zones 8-10, you might transplant as late as September. But in colder areas, aim for August to ensure roots settle before frost.
Avoid spring transplanting unless absolutely necessary. Moving Iris during active growth can reduce blooming and stress the plant significantly.
If you must transplant in spring, do it immediately after blooming and provide extra water to help recovery. However, fall remains the gold standard for best results.
Another sign is overcrowded clumps. When you see fewer blooms or center dieback, it’s time to divide and transplant. This usually happens every 3-5 years.
Remember, well-draining soil is critical for Iris. Choose a sunny spot with good airflow to prevent rot. I always amend the soil with compost before replanting.
Finally, morning planting helps reduce transplant shock. The cooler temperatures and lower sun intensity give your Iris a gentler start in its new home. 🌸
Transplanting Iris successfully starts with proper preparation. I always begin by watering the plants deeply 24 hours before digging to reduce stress.
Use a sharp spade to carefully lift the rhizome clump from the soil. Be gentle to avoid damaging the fleshy roots or cutting the rhizomes themselves.
When dividing, ensure each new section has at least one healthy fan of leaves and a portion of strong rhizome. Discard any soft or diseased parts immediately.
Plant your Iris in a sunny location with well-draining soil. The rhizome should be partially above soil to prevent rot, with roots spread out below.
After planting, water deeply but avoid overhead watering to reduce disease risk. I like to add a light mulch to retain moisture while keeping the rhizome exposed.
For the first 2-3 weeks, keep the soil consistently moist but not soggy. This helps the roots establish in their new home. Avoid fertilizing until next spring.
By following these steps, your transplanted Iris will reward you with vibrant blooms in the next growing season. 🌸