
Beautiful Plants For Your Interior
Beautiful Plants For Your Interior
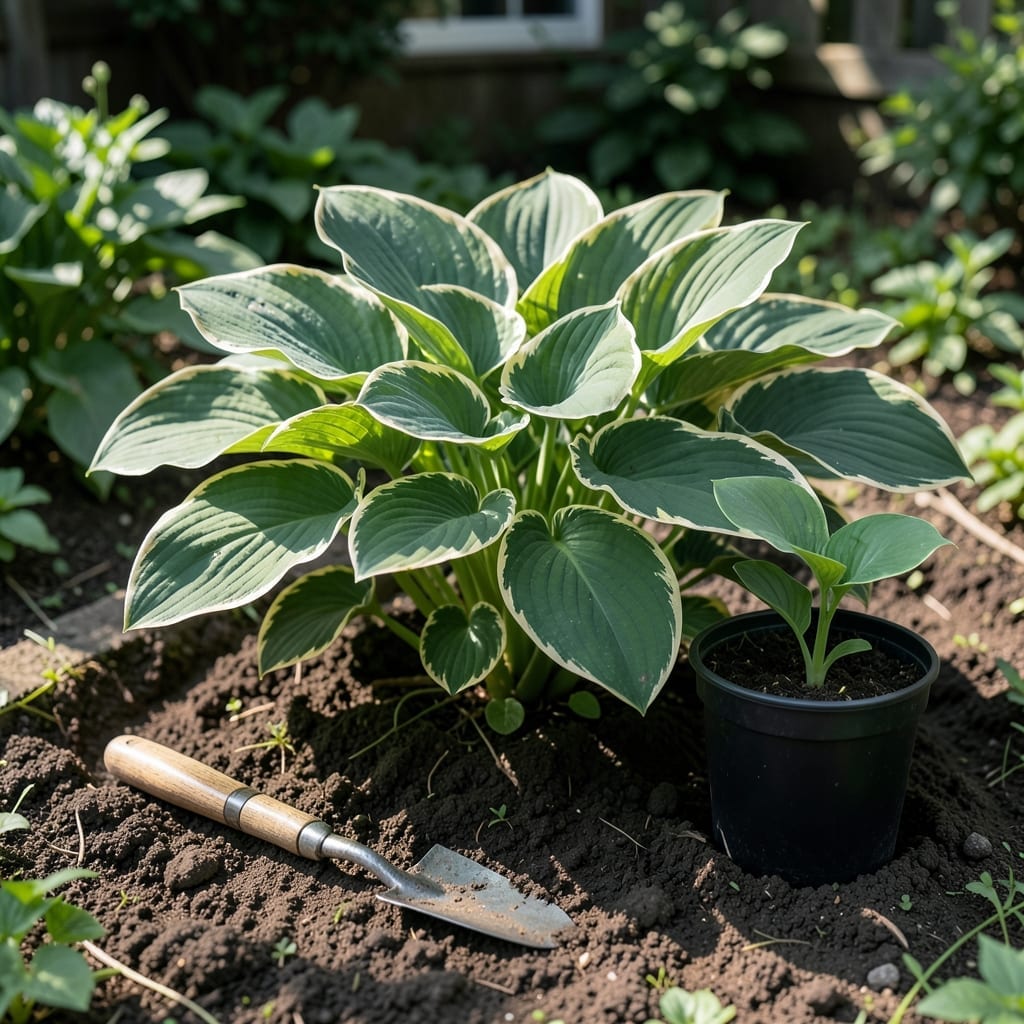
Transplanting hostas at the right time ensures they thrive in their new location with minimal stress. Timing is everything for these shade-loving 🌿 Hosta perennials.
I’ve learned that moving them during extreme heat or dormancy often leads to struggle. The key is choosing a period when conditions are just right for recovery.
Discover the best windows—early spring or early fall—when the soil is workable and the weather is mild. Your hostas will thank you with lush, healthy growth.
I’ve found that early spring and early fall are the golden windows for transplanting hostas. These periods offer mild temperatures and workable soil, reducing stress on the plants.
In early spring, hostas are just emerging from dormancy, making it easier for them to establish new roots. The cool weather and moist soil help minimize transplant shock.
| Season | Temperature Range | Soil Conditions |
|---|---|---|
| Early Spring | 40-60°F | Moist, workable |
| Early Fall | 50-70°F | Warm, well-drained |
The biological reason hostas adapt best during these times is their dormant or semi-dormant state. This means they’re not actively growing, so they can focus energy on root establishment.
Early fall is another ideal window, as the soil is still warm from summer, encouraging root growth. Cooler air temperatures also reduce stress on the foliage.
I always avoid transplanting during summer heatwaves or winter freezes. Extreme temperatures can shock the plant, leading to wilting or even death.
Another key factor is soil moisture. Hostas prefer consistently moist but well-drained soil. Transplanting in dry or waterlogged conditions can hinder their recovery.
If you’re in USDA zones 3-8, aim for March-April or September-October. These months typically offer the best conditions for a smooth transition.
I’ve also noticed that transplanting on a cloudy day or in the early morning can further reduce stress. Less direct sunlight means less moisture loss through the leaves.
Finally, always water deeply after transplanting to help settle the soil around the roots. This step is crucial for eliminating air pockets and ensuring good root-to-soil contact.
With the right timing and care, your hostas will reward you with lush foliage and vibrant growth in their new home. 🌿
I always start by preparing the new site before digging up my hostas. The hole should be twice as wide as the root ball but no deeper. This gives roots room to spread easily.
Next, I water the hosta thoroughly 1-2 days before moving it. Moist soil helps the root ball hold together during the transplant, reducing damage to the delicate roots.
I’ve found that using a sharp spade helps create clean cuts around the root ball. This minimizes root damage and ensures a healthier transition to the new location.
After transplanting, I mulch around the base with 2-3 inches of organic material. This helps retain moisture and keeps soil temperatures stable during recovery.
For the first week, I check soil moisture daily and water if the top inch feels dry. Hostas need consistent moisture to establish new roots, especially in their new home.
Finally, I avoid fertilizing immediately after transplanting. Wait 2-3 weeks to let the plant recover before adding any nutrients to prevent burning the tender new roots.
With this method, my hostas typically show new growth within 2-3 weeks, proving the transplant was successful. 🌿