
Beautiful Plants For Your Interior
Beautiful Plants For Your Interior
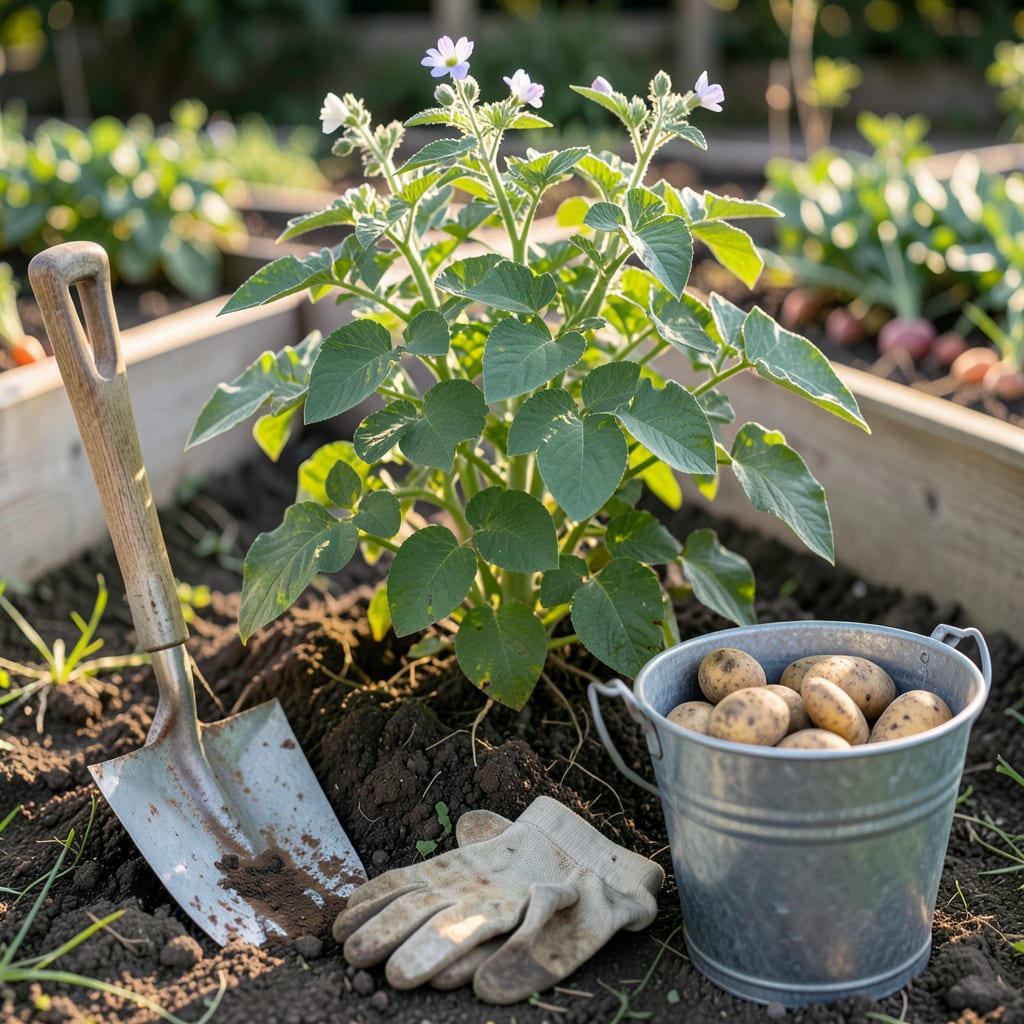
There’s nothing quite like the moment you finally get to pull those perfect potatoes from the soil—after months of waiting, will they be ready? That first dig can feel like a gamble, especially when your 🥔 plants seem to be sending mixed signals about their readiness.
I’ve learned the hard way that timing makes all the difference between a disappointing handful of tiny tubers and a basket overflowing with firm, flavorful spuds. Let me show you the foolproof signs to watch for—so you’ll know exactly when to grab your fork and start harvesting.


If you’re standing over your potato patch wondering whether it’s time to harvest, the plants themselves will give you clear signals. The most reliable indicator is the foliage condition—when leaves turn yellow and start dying back, your potatoes are nearing readiness. This typically happens 90-120 days after planting for most varieties.
But not all potatoes follow the same timeline. New potatoes (those tender baby spuds) can be harvested as early as 60-70 days, while maincrop varieties like Russets need the full season. The key is knowing what to look for with each type. Let’s break down the visual cues so you’ll never second-guess your harvest timing again.
| Variety | Days to Maturity | Foliage Signs | Tuber Signs | Best For |
|---|---|---|---|---|
| New Potatoes | 60-70 days | Plants still flowering | Small, thin-skinned | Immediate eating |
| Early Varieties (Yukon Gold, Red Norland) | 70-90 days | Lower leaves yellowing | Firm skin, 1-2″ size | Boiling, salads |
| Mid-Season (Kennebec, Purple Majesty) | 90-110 days | 75% foliage died back | Thick skin, 2-3″ size | Baking, roasting |
| Late Varieties (Russet, Fingerling) | 110-135 days | All foliage brown/dead | Very firm, 3″+ size | Storage, frying |
For new potatoes, you don’t need to wait for dying foliage—these are meant to be harvested young. I start checking when plants begin flowering by gently feeling around the base. If you find marble-sized tubers, they’re perfect for immediate use. Just be careful not to disturb the roots too much if you want the plant to keep producing.
The skin test is my go-to for determining readiness. Gently rub a harvested potato’s skin with your thumb—if it stays intact, they’re ready. If the skin peels easily, give them another week or two. This simple test prevents the heartbreak of digging up an entire plant only to find the potatoes aren’t quite mature.
Weather plays a bigger role than many gardeners realize. In hot climates, potatoes may mature faster, while cool northern gardens might need the full 120 days. I’ve found that Russet potatoes in my Zone 6 garden consistently need that extra time, while Yukon Golds are usually ready by day 85 if we’ve had warm summers.
Here’s a pro tip: If you’re growing multiple varieties, label your rows with planting dates and expected maturity ranges. I use color-coded popsicle sticks—red for early varieties, blue for late. This takes the guesswork out of harvest timing, especially when you’ve got different types maturing at different rates.
Don’t forget about the flower factor. Most potato varieties flower about 2-3 weeks before new potatoes are ready to harvest. When you see those pretty little blooms, start checking for baby potatoes weekly. For maincrop varieties, wait until after flowering when the plants start to decline.
If frost threatens before your potatoes are fully mature, you’ll need to act fast. Light frost won’t kill the tubers, but hard frost can turn them to mush. In this case, harvest immediately regardless of maturity. I once lost half my crop to an unexpected October freeze—now I keep row covers handy just in case.
Remember that storage potatoes need fully mature skins to keep well. If you’re planning to store your harvest for months, wait until all foliage has completely died back. The extra week or two makes a huge difference in how long your potatoes will last in storage.
Even when you know the general timeline for your potato variety, it’s smart to test for readiness before digging up the entire plant. I’ve developed a simple 3-step method that lets me check maturity without damaging the plant or sacrificing my harvest. The key is starting your tests at the right time.
For most varieties, begin testing when you see the first signs of foliage yellowing or about 2 weeks after flowering. Early varieties like Yukon Gold may be ready as soon as 70 days after planting, while maincrop types need closer to 120 days. Mark your calendar with these milestones so you
Carefully push your hand 6-8 inches into the soil near the plant’s base. Feel for tubers—if they’re walnut-sized or larger, they’re likely ready. For new potatoes, marble to golf-ball size is perfect. Use this test 2-3 weeks before your expected harvest date.
Gently rub the skin of a test potato with your thumb. If the skin stays intact, it’s mature. If it peels easily, wait 1-2 more weeks. This test works best for storage potatoes where skin toughness matters most. Thin skins mean they won’t store well.
Compare your test potatoes to the expected size for their variety. Early varieties should be 1-2 inches in diameter, while maincrop types reach 2-3 inches. Fingerlings are ready when they’re 3-4 inches long. Always check multiple tubers for consistency.
Examine the plant’s leaves—70% yellowing indicates early varieties are ready, while complete browning means maincrop potatoes can be harvested. If flowers are still present, new potatoes may be available but main tubers need more time. Cut back watering when foliage starts dying to toughen skins.
I always perform these tests on a dry, sunny morning when the soil is workable but not soggy. Wet soil can make potatoes appear softer than they are, leading to false readings. If your test potatoes pass all checks, you’re ready for full harvest. If not, mark the calendar to retest in 5-7 days.
For container-grown potatoes, the testing process is even easier. Simply tip the container slightly and peek at the soil surface—you’ll often see tubers poking through. Gently brush away soil to check size and skin firmness. Container potatoes typically mature 1-2 weeks faster than in-ground plants due to warmer soil temperatures.
Remember that weather conditions can accelerate or delay maturity. In my Zone 6 garden, a hot July might bring Yukon Golds to readiness by day 75, while a cool, wet summer could push Russets to 130 days. Keep a garden journal noting weather patterns and harvest dates to refine your timing each year.
Here’s my pro tip: When testing, always check plants from different parts of your garden. Microclimates can create variation—south-facing rows often mature 3-5 days earlier than north-facing ones. This approach ensures you don’t harvest an entire section prematurely based on one test plant.
Even experienced gardeners sometimes get potato harvest timing wrong, and I’ve made my share of mistakes over the years. The most common error is harvesting too early, which gives you potatoes with thin skins that don’t store well. I once dug up an entire row of Yukon Golds at 60 days, only to find they bruised easily and rotted within weeks.
On the flip side, waiting too long can be just as problematic. Overmature potatoes often develop thick, woody skins and may start rotting in the ground, especially in wet conditions. In my Zone 6 garden, I learned this lesson when a sudden September rainstorm turned my late-harvested Russets into a mushy mess overnight.
Another critical mistake is ignoring weather forecasts during harvest season. I always check the 10-day outlook when my potatoes are nearing readiness. If temperatures are dropping below 28°F (-2°C), I harvest immediately, even if the foliage isn’t completely dead. Potatoes can survive light frost, but hard freezes will ruin your crop.
Uneven harvesting across your garden can also cause problems. Different areas of your plot may have microclimates that affect maturity. I divide my potato patch into sections and test each separately. The south-facing rows often mature 3-5 days earlier than north-facing ones in my garden, so I adjust my harvest schedule accordingly.
Many gardeners forget that watering practices in the final weeks dramatically affect harvest quality. I stop watering completely when foliage starts yellowing to allow skins to toughen. Continuing to water keeps the skins thin and makes potatoes more susceptible to damage during harvest and storage. This simple change improved my storage life from 2 months to 5 months.
Finally, don’t overlook the importance of proper harvesting tools. Using a regular shovel instead of a digging fork can pierce and damage tubers. I switched to a potato fork with wide, flat tines and saw my usable yield increase by 20%. The right tool makes all the difference in preserving your hard-earned crop. 🪴
Check the foliage first—the leaves should be yellowing and dying back for mature potatoes. For new potatoes, look for flowers on the plant, which typically appear about 2 weeks before they’re ready. The skin test works too: gently rub a small dug potato—if the skin stays intact, they’re ready.
Early harvesting gives you potatoes with thin, delicate skins that bruise easily and won’t store well. They’ll also be smaller than their full potential size. These are fine for immediate eating as “new potatoes,” but won’t keep for more than a week or two.
You can leave them for 1-2 weeks after foliage dies to let skins toughen, but don’t wait longer. Overmature potatoes may develop thick skins or start rotting, especially in wet soil. In frost-prone areas, harvest immediately after plant death to prevent freeze damage.
Early varieties like Yukon Gold mature in 70-90 days, while late varieties like Russets need 110-135 days. New potatoes can be harvested at 60-70 days regardless of variety. Always check your seed packet for specific timelines.
Harvest on a dry, sunny morning when soil is workable but not soggy. This makes digging easier and helps potatoes dry quickly after harvest. Avoid harvesting when soil is wet—this makes tubers more prone to damage and rot during storage.
