
Beautiful Plants For Your Interior
Beautiful Plants For Your Interior
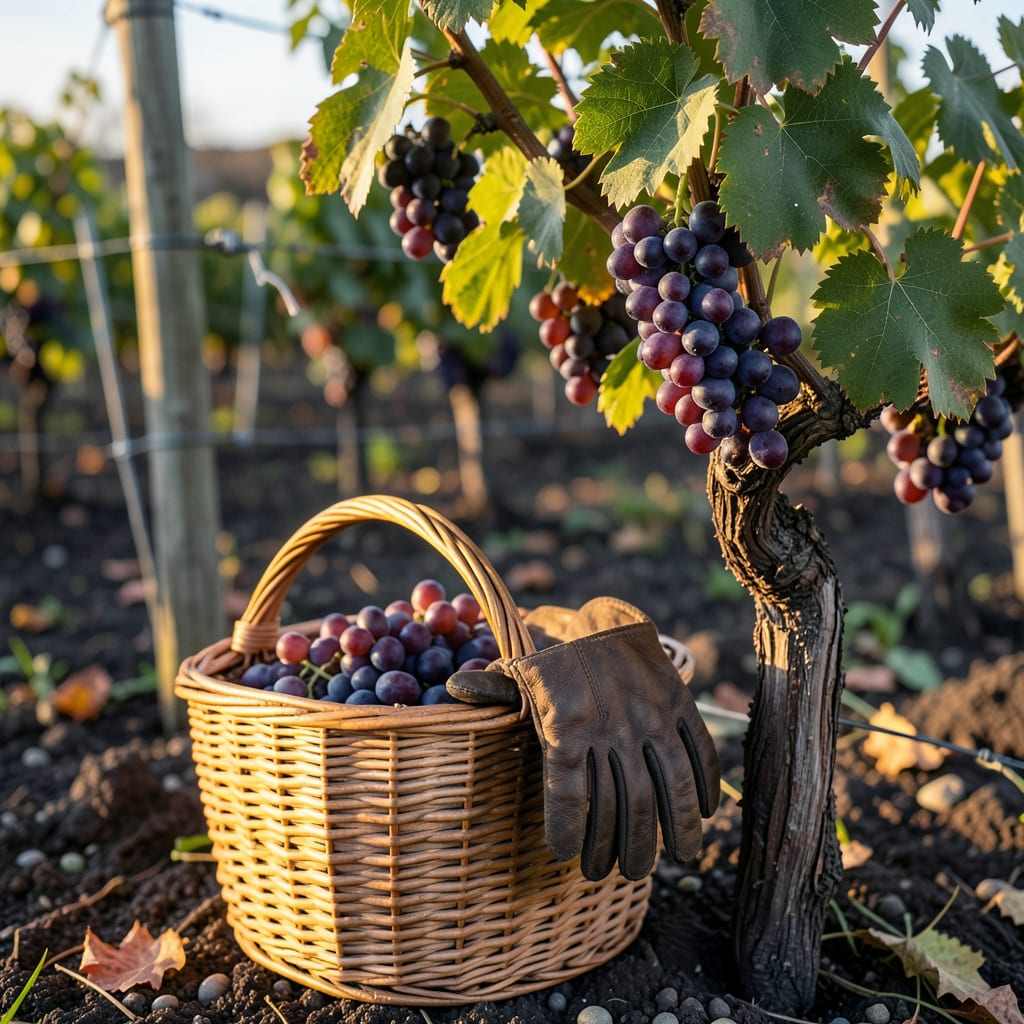
There’s nothing quite like biting into a perfectly ripe grape—bursting with sweetness and juicy flavor. But knowing exactly when to pluck those clusters from the vine? That’s where many gardeners get stuck, especially when dealing with different varieties like table grapes or wine grapes.
Timing is everything. Pick too early, and you’ll end up with tart, underwhelming fruit. Wait too long, and you risk overripe berries that spoil quickly. I’ll walk you through the key signs of ripeness and simple tests to ensure your 🍇 harvest is nothing short of delicious.


Knowing when your 🍇 are perfectly ripe starts with observing their color, texture, and taste. Table grapes and wine grapes have different cues, but most varieties share common signs. Look for a uniform deep color—no green patches—and berries that easily detach from the stem.
For red and purple grapes, the skin should shift from green to a rich, even hue. White grapes turn from green to golden or pale yellow. Taste testing is the best confirmation: ripe grapes are sweet, not tart, with a slight softness when gently squeezed.
| Variety | Ripeness Signs | Harvest Time |
|---|---|---|
| Thompson Seedless | Golden-yellow, sweet taste, soft texture | Late August to early September |
| Concord | Deep purple, easy stem separation | Mid-September |
| Cabernet Sauvignon | Dark red, high sugar (Brix 22+) | Late September to October |
| Muscat | Amber color, strong floral aroma | Early September |
Wine grapes often require higher sugar levels (Brix 20-25), while table grapes are best at Brix 15-18. Use a refractometer for precision, or simply taste a few berries from different clusters—consistency is key.
Check the stem and vine too. Ripe grapes have brown, woody stems, not green. The vine’s leaves may start yellowing slightly, signaling the plant’s energy is shifting from growth to fruit maturation.
For early varieties like Flame Seedless, harvest may start in late July. Late-season grapes, such as Zinfandel, might not be ready until October. Always adjust based on your local climate and growing conditions.
If birds or pests are a problem, consider netting your vines a few weeks before harvest. This protects clusters while allowing sunlight and airflow—critical for final ripening stages.
After picking, store grapes in a cool, ventilated space to maintain freshness. Avoid washing until ready to eat, as moisture speeds up spoilage. For wine grapes, process them within 24 hours for best results.
Remember, weather impacts timing. A hot, dry summer may speed up ripening, while cool, wet conditions can delay it. Keep notes each year to refine your harvest schedule.
Finally, don’t forget to prune vines post-harvest to prepare for next season. Remove old canes and thin out excess growth to improve airflow and sunlight penetration for next year’s crop.
Even when grapes look ready, I always double-check with these three foolproof tests. The taste test is my go-to—simply pop a berry in your mouth! Ripe grapes burst with sweetness and juice, while underripe ones taste tart or bland.
The squeeze test is another quick trick. Gently press a grape between your fingers. If it gives slightly (like a ripe peach), it’s ready. Too firm? It needs more time. Too mushy? You’ve waited too long.
For serious growers, a refractometer measures sugar content (Brix levels). Table grapes are perfect at 15-18 Brix, while wine grapes need 20-25 Brix. These tools are affordable and take the guesswork out of harvesting.
Don’t forget the stem test! Ripe grapes detach easily with a gentle tug. If they resist, wait a few days. For wine grapes, I also check the skin thickness—thinner skins mean higher sugar concentration.
Timing matters too. Test grapes in the late morning when sugars peak. Avoid testing after rain, as excess water dilutes flavor. I like to sample from multiple clusters since ripening can vary across the vine.
Finally, trust your senses. Ripe grapes have a sweet, fruity aroma near the stem. If the cluster smells fresh and vibrant, it’s likely ready. With practice, you’ll recognize the perfect harvest window every time!
Even experienced gardeners can sabotage their 🍇 harvest with a few common blunders. The biggest mistake? Picking too early because of impatience. Underripe grapes lack sweetness and won’t improve after picking—so resist the urge to harvest prematurely.
Another critical error is ignoring weather conditions. Heavy rain before harvest dilutes sugar content, while extreme heat can cause berries to shrivel. I always check the forecast and adjust my harvest timing accordingly—especially for delicate varieties like Muscat.
Many gardeners also overlook post-harvest care. Never wash grapes until ready to eat—moisture accelerates rot. Store them in shallow containers with ventilation to prevent crushing. For wine grapes, process within 24 hours to avoid fermentation starting prematurely.
Avoid the temptation to harvest all clusters at once. Grapes on the same vine can ripen unevenly, especially in shady spots. I sample berries from different areas and harvest in multiple passes over 1-2 weeks for the best quality.
Finally, don’t neglect your vines after picking. Post-harvest pruning removes old canes and improves airflow, reducing disease risk for next season. I also apply a light balanced fertilizer (10-10-10) to help vines recover before dormancy.
Remember, patience pays off with grapes. That extra week on the vine can mean the difference between mediocre and extraordinary flavor. Keep tasting, observing, and adjusting—your taste buds will thank you! 🪴
Sample a few berries from different clusters. Ripe grapes should taste sweet with no tartness and have a juicy, plump texture. If they still taste green or sour, wait a few more days and test again.
Not always! Grapes in sunnier spots often ripen faster than those in shade. Check clusters individually and harvest in multiple passes over 1-2 weeks for the best quality. This ensures every bunch reaches peak sweetness.
Rain can dilute sugar content and make berries prone to splitting. If rain is forecast, harvest before the storm if possible. If grapes get wet, let them dry completely before picking to avoid mold during storage.
You can’t rush nature, but you can remove leaves shading clusters to increase sunlight exposure. Avoid over-watering, as dry stress concentrates sugars. If frost threatens, harvest and use grapes for jelly or wine instead.
