
Beautiful Plants For Your Interior
Beautiful Plants For Your Interior
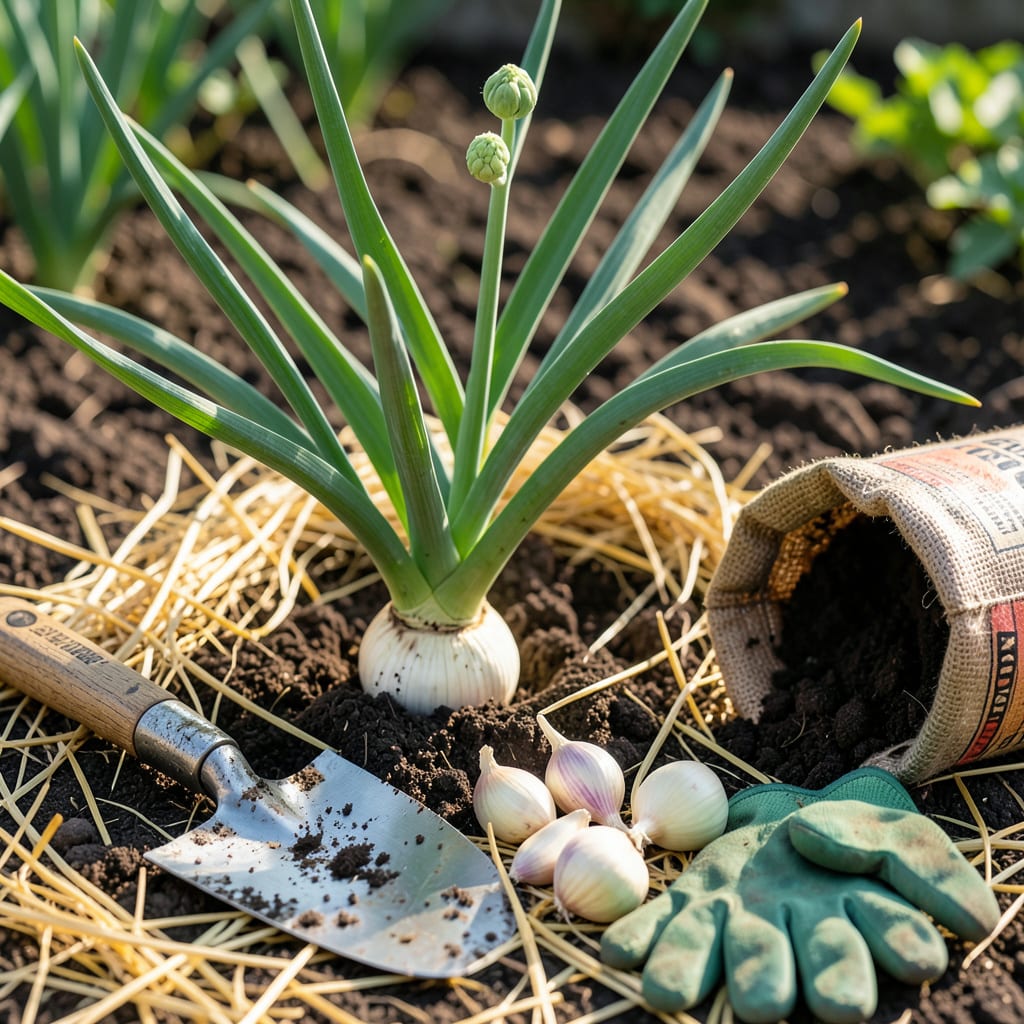
Imagine pulling up plump, golden garlic bulbs next summer—twice the size of spring-planted cloves. The secret? Getting them in the ground this fall, when soil is still warm but winter’s chill is coming. Most gardeners don’t realize that autumn planting gives roots a head start, leading to bigger, more flavorful harvests.
But timing is everything. Plant too early, and sprouts emerge before frost; too late, and roots won’t establish. I’ll walk you through the exact window for your zone, plus the 3 critical steps to ensure success—from clove selection to mulching. Let’s get those bulbs off to the perfect start.
If you want bigger garlic bulbs next summer, fall planting is non-negotiable. The secret? Timing it so cloves develop strong roots before winter but don’t sprout prematurely. I’ve found that 4-6 weeks before your first frost is the sweet spot—late enough to avoid heat stress but early enough for root establishment.
Soil temperature matters more than calendar dates. Aim for 40-50°F soil at planting depth. Too warm, and cloves may sprout too soon; too cold, and roots won’t form. In my Zone 6 garden, mid-October is perfect, but I adjust yearly based on weather forecasts. Always check your local first frost date and count backward!
| Zone | Planting Window | First Frost Guide | Adjustments |
|---|---|---|---|
| 3-4 | Late Sept – Oct 1 | 6-8 weeks before frost | Add extra mulch (8-12″) |
| 5-6 | Oct 1 – Oct 31 | 4-6 weeks before frost | Use straw mulch (4-6″) |
| 7-8 | Nov 1 – Nov 30 | 2-4 weeks before frost | Plant deeper (3-4″) |
| 9-10 | Dec 1 – Jan 15 | After first frost | Pre-chill cloves 1 week |
*Soil temp should be 40-50°F at 2″ depth for all zones. Use a soil thermometer for accuracy.
In warmer zones (7-10), you might plant as late as December or even January. The key is ensuring cloves experience 30-60 days of cool soil (below 50°F) to trigger bulbing. I’ve had success in Zone 9 by pre-chilling cloves in the fridge for 10 days before planting—this mimics winter for the bulbs.
For cold climates (Zones 3-5), don’t wait until the last minute. Early planting gives roots time to grow 6-8 inches deep before the ground freezes. I once planted too late in Zone 4, and the cloves barely rooted—resulting in tiny, split bulbs come harvest. Learn from my mistake!
Watch the 10-day forecast before planting. If unseasonably warm weather is predicted, delay planting or choose a shadier spot to prevent premature sprouting. Conversely, if an early cold snap is coming, plant immediately and mulch heavily (8-12 inches of straw or leaves).
Pro tip: Use hardneck varieties (like ‘German White’ or ‘Music’) for colder zones—they’re more winter-hardy. In milder climates, softnecks (like ‘Silverskin’) often perform better. I always plant a mix to hedge my bets against unpredictable weather.
If you’re unsure about your timing, here’s my foolproof test: Plant a few cloves in early fall, then another batch 2-3 weeks later. This staggers your harvest and ensures at least one batch thrives. Just label your rows so you can track which timing worked best in your microclimate!
Remember, garlic is forgiving but not indestructible. Even if your timing isn’t perfect, proper mulching and soil prep can save the crop. I’ve rescued late-planted garlic by piling on 12 inches of leaves and adding a low tunnel for extra insulation during cold snaps.
Finally, mark your planting date on a calendar. Next summer, you’ll know exactly when to expect harvest—typically 8-9 months after planting. In my garden, October-planted garlic is ready by late July, just in time for fresh pesto and preserving the extras!
Fall-planted garlic thrives when you give it the right start. I’ve found that planting depth and soil prep are the two biggest factors in determining whether you’ll harvest jumbo bulbs or disappointing, undersized cloves next summer. The goal? Get those cloves rooted before winter hits.
Start by selecting healthy seed garlic—never grocery store bulbs, which may be treated to prevent sprouting. Break apart the bulb into individual cloves, keeping the papery husk intact. Larger cloves yield bigger bulbs, so prioritize those for planting. Now, let’s dig into the details of getting them in the ground correctly.
Plant cloves 2-3 inches deep, with the pointy end up. Space them 6 inches apart in rows 12 inches apart to allow room for growth. After planting, cover beds with 4-6 inches of straw mulch to insulate soil and prevent winter heaving.
Soil preparation can’t be overlooked. Garlic craves loose, well-draining soil with plenty of organic matter. I work in 2-3 inches of compost and a balanced fertilizer (like 10-10-10) before planting. Avoid fresh manure—it’s too high in nitrogen and can cause rot or excessive leaf growth at the expense of bulb formation.
Water your newly planted cloves deeply once to settle the soil, then hold off on watering again until springs arrives—unless you’re in a dry climate. Overwatering in fall can lead to rot, especially if your soil doesn’t drain well. Trust me, garlic is more drought-tolerant than you think once established.
If you’re wondering about mulch choices, straw is my top pick—it’s lightweight, insulates well, and won’t compact like leaves. In colder zones (3-5), add an extra 2 inches of mulch after the ground freezes for added protection. Come spring, you’ll see green shoots emerging through the mulch, a sign your garlic is off to a strong start.
Finally, resist the urge to fertilize in fall. Garlic focuses on root growth first, not leaves. Save the nitrogen boost for early spring when tops start growing actively. By following these steps, you’ll set the stage for harvesting robust, flavorful bulbs by mid-summer. 🌱
Even experienced gardeners can sabotage their garlic crop with simple oversights. I’ve made (and fixed) every mistake on this list—so you don’t have to. The most common blunder? Planting grocery-store garlic. Those cloves are often treated to prevent sprouting, leading to stunted or rotten bulbs.
Another frequent issue is ignoring soil drainage. Garlic hates wet feet! I lost an entire row one year because I planted in a low spot where water pooled. Now I always test drainage by digging a 12-inch hole, filling it with water, and timing how long it takes to empty. If it’s slower than 1 hour, amend with compost or plant in raised beds.
*Bonus: If sprouts emerge before winter, don’t panic—just add extra mulch!
I see gardeners skimp on mulch every year, and their garlic pays the price. A thin layer won’t protect cloves from freeze-thaw cycles, which can push them out of the soil. I use 6 inches of straw in Zone 6—enough to insulate but not so much that it smothers sprouts in spring. Leaves work too, but avoid matting (they can block airflow).
Overwatering is another silent killer. After planting, I water once thoroughly to settle the soil, then stop. Fall rains and winter snow provide all the moisture needed. Soggy soil invites rot and fungal diseases. If your area gets heavy winter rain, consider planting in raised beds or sloped rows to improve drainage.
Here’s a mistake I didn’t realize I was making for years: planting cloves too close. Crowded garlic competes for nutrients, resulting in small, misshapen bulbs. I now space cloves 6 inches apart in rows 12 inches apart. This gives each plant room to expand and ensures good airflow, reducing disease risk. Use a ruler or planting grid for precision.
Finally, don’t forget to label your rows! I once mixed up my hardneck and softneck varieties and harvested them at the wrong times. Use weatherproof plant tags or popsicle sticks with permanent marker. Note the variety and planting date—this helps track which types perform best in your garden and predicts harvest time next summer.
Planting too early can cause cloves to sprout prematurely before winter. This weakens the plants, as tender green shoots may get damaged by frost. Aim for 4-6 weeks before your first frost when soil temps drop to 40-50°F.
No, grocery store garlic is often treated to prevent sprouting. Use seed garlic from reputable suppliers instead. Varieties like ‘Music’ or ‘Chesnok Red’ are bred for garden success and produce larger, healthier bulbs.
Plant cloves 2-3 inches deep, with the pointy end facing up. In warmer zones (7-10), go slightly deeper (3-4 inches) to protect against winter temperature swings. Proper depth ensures strong root development before dormancy.
Straw is ideal—it’s lightweight, insulates well, and won’t compact. Apply 4-6 inches after planting, adding more in colder zones. Avoid heavy materials like wood chips that can smother emerging spring shoots.
Fall-planted garlic typically matures in 8-9 months, usually by mid-summer. Look for brown lower leaves and firm bulbs as harvest indicators. Mark your planting date to predict timing accurately.
