
Beautiful Plants For Your Interior
Beautiful Plants For Your Interior
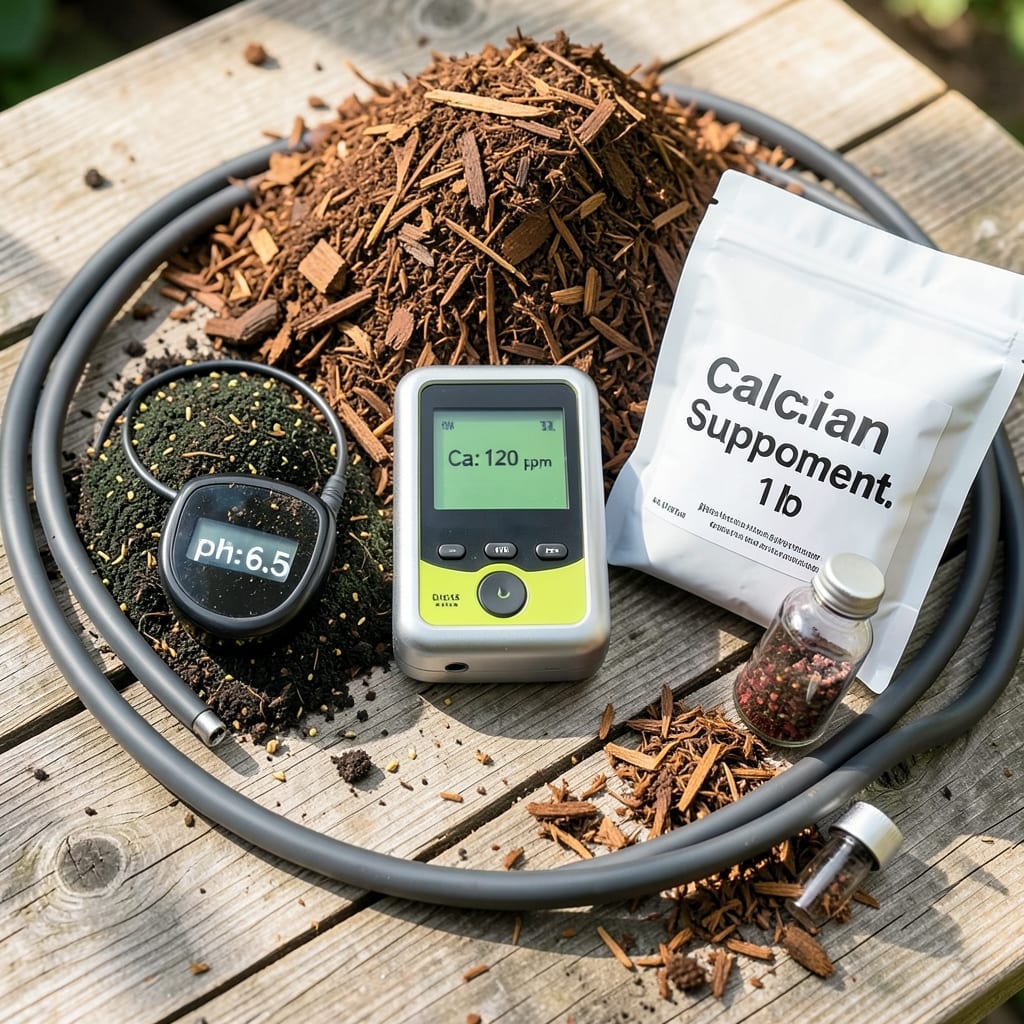
I lost half my tomato crop to blossom rot last season. It starts with small brown spots on the bottom of fruits, then spreads fast—ruining what looked like a perfect harvest.
Turns out, it’s usually calcium deficiency or inconsistent watering. The fix is simpler than you’d think: steady moisture and a calcium boost. I’ve adjusted my routine and haven’t seen it since.
Nothing exotic—just tools to diagnose and fix blossom rot before it spreads.
| Ingredient | Amount | Notes |
|---|---|---|
| Calcium Supplement 🪨 | 1 lb | Gypsum or crushed eggshells |
| Soil Test Kit 🧪 | 1 piece | Checks calcium levels |
| Drip Irrigation System 💧 | 1 piece | Consistent watering tool |
| Mulch 🪵 | 2 bags | Retains soil moisture |
| Organic Compost 🌾 | 1 bag | Improves soil structure |
| pH Meter 🌡️ | 1 piece | Monitors soil acidity |
| Pruning Shears ✂️ | 1 piece | Removes affected fruit |
| Watering Can 💧 | 1 piece | For manual watering |
[recipeingredientscaler]
A soil test kit is your first defense—Home Depot or Amazon carry reliable ones for under $20. Calcium supplements like gypsum are cheap and last years (the good stuff, not the bagged-up dirt from a sale). Drip irrigation systems ensure even moisture, and Lowe’s has basic kits for small gardens.
No drip system? A watering can works if you’re consistent—just water deeply twice a week. Crushed eggshells substitute for gypsum but act slower. Mulch can be straw or wood chips (or whatever drainage gravel you’ve got). pH meters are optional but helpful for fine-tuning.
Store calcium supplements in a dry place—they clump if damp. Keep soil test kits sealed to avoid contamination. I label everything with the date so I know when to retest next season.
Here’s the straightforward method I use to correct the issue and prevent it from happening again.
Use the soil test kit to check calcium levels first. This is the most common cause and the easiest to fix. Follow the kit instructions carefully—you’ll get results in 10-15 minutes that show whether your soil is lacking this essential nutrient.
While you’re at it, use the pH meter too. Blossom end rot thrives in soil that’s too acidic. You want a reading between 6.0 and 7.0 for most vegetables. If your pH is off, you’ll need to amend the soil even after adding calcium.
If the test confirms low calcium, work the 1 lb Calcium Supplement into the top 2-3 inches of soil around your plants. I use gypsum because it dissolves quickly and won’t alter your pH. crushed eggshells work too, but they take 2-3 months to break down, so they’re better for prevention next season.
Water the area thoroughly with the watering can after applying. This helps the calcium reach the root zone faster. Don’t just sprinkle it on the surface—you need it where the roots can access it immediately.
Fluctuations in soil moisture are the second biggest trigger. Set up the drip irrigation system to deliver water directly to the roots. Aim for 1-2 inches per week, depending on your climate. The key is consistency—dry spells followed by heavy watering stress the plant and disrupt calcium uptake.
Spread the 2 bags Mulch around your plants to help retain moisture. I use 2-3 inches of organic mulch, which also improves soil structure over time. Check the soil with your finger—it should feel evenly moist, not soggy or bone dry.
Work the 1 bag Organic Compost into the top 6 inches of soil. Compost improves drainage in heavy soils and water retention in sandy soils, both of which help prevent calcium uptake issues. Do this gently to avoid disturbing the roots.
Use the pruning shears to remove any fruit already showing signs of rot. I know it’s hard to sacrifice your harvest, but leaving affected fruit on the plant only diverts energy from healthy growth. Sterilize the shears with rubbing alcohol between cuts to prevent spreading disease.
To store leftovers affected by blossom rot safely, place them in airtight containers or sealed plastic bags. This prevents moisture loss and contamination. Refrigerated leftovers typically stay fresh for 3-4 days. Keep the temperature at or below 40°F (4°C) to slow bacterial growth and preserve quality.
For longer storage, wrap leftovers tightly in heavy-duty aluminum foil, plastic wrap, or freezer-safe bags. Properly wrapped food can last 2-3 months in the freezer without significant quality loss. Label containers with the date to track freshness, and maintain a freezer temperature of 0°F (-18°C) or lower.
Reheat leftovers thoroughly to an internal temperature of 165°F (74°C) to ensure safety. Use an oven preheated to 350°F (175°C) for even heating, or microwave in short intervals, stirring occasionally. For a smoky flavor, reheat in a smoker at 225°F (107°C) for 10-15 minutes, checking frequently.
To retain moisture and texture, add a splash of water or broth before reheating, especially for meats or sauces. Thaw frozen leftovers overnight in the refrigerator for best results, avoiding room-temperature thawing to prevent bacterial growth. Pro tip: Use a meat thermometer to verify doneness and avoid overcooking.
