
Beautiful Plants For Your Interior
Beautiful Plants For Your Interior
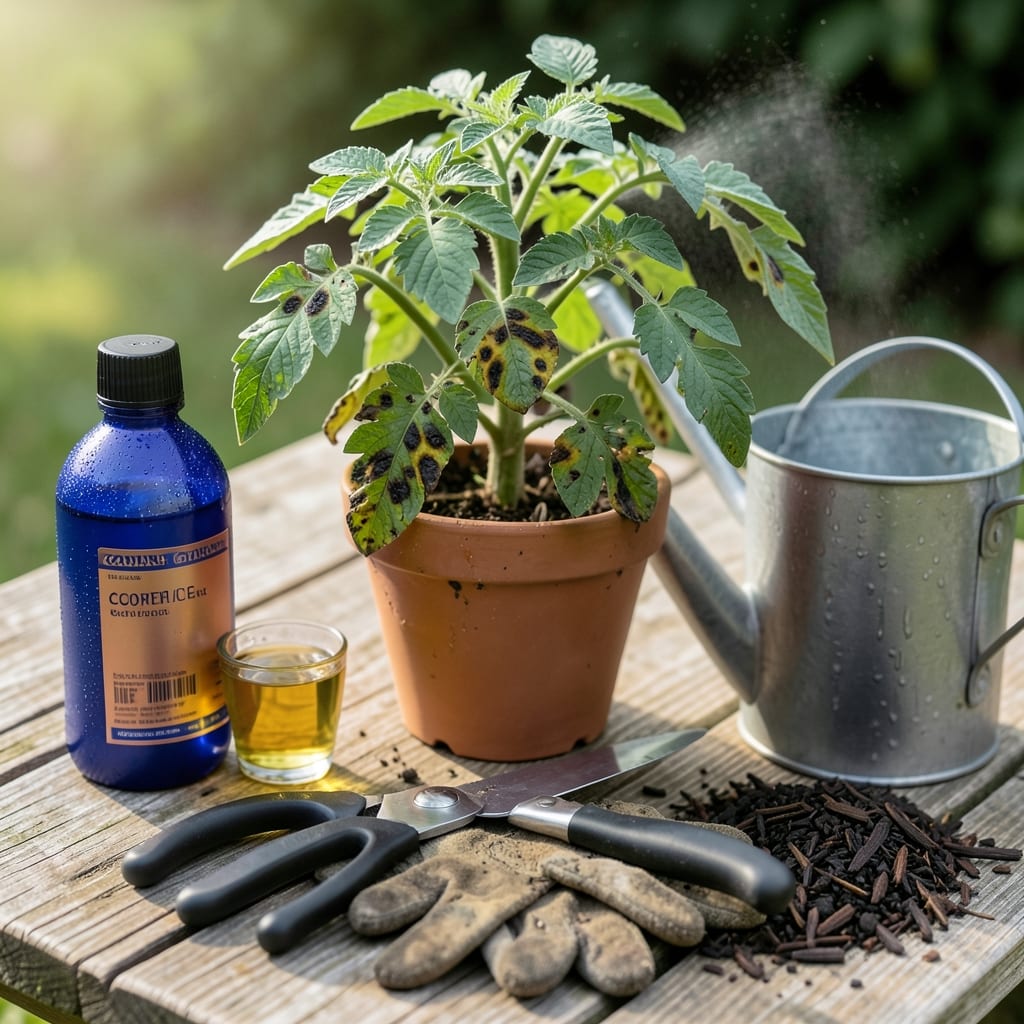
Those black spots on your tomato leaves aren’t just ugly—they’re a warning. I’ve seen entire plants defoliate overnight from ignoring early signs.
Good news: most causes are fixable with quick action. Fungal diseases, bacteria, or even watering habits could be to blame, and each leaves distinct clues.
Short list for diagnosis and treatment. Most are kitchen or garage staples.
| Ingredient | Amount | Notes |
|---|---|---|
| Copper Fungicide Spray 💧 | 1 piece | For fungal issues |
| Neem Oil 🌿 | 1 piece | Organic bacterial control |
| Pruning Shears ✂️ | 1 piece | Sterilize between cuts |
| Garden Gloves 🧤 | 1 pieces | Protect hands from pathogens |
| Watering Can 💧 | 1 piece | Avoid wetting foliage |
| Mulch 🪵 | 2 bags | Prevents soil splash |
| Compost 🌾 | 1 bag | Boosts plant health |
| Soil Test Kit 🧪 | 1 piece | Checks nutrient balance |
| Drip Irrigation System 💧 | 1 piece | Keeps leaves dry |
| Baking Soda Solution 💧 | 1 piece | DIY fungal treatment |
[recipeingredientscaler]
Copper fungicide is a game-changer for fungal spots (the good stuff, not the cheap dollar-store knockoffs). Bonide or Garden Safe brands at Home Depot work reliably. Neem oil doubles for bacteria—just mix with water and a drop of soap. Look for 100% cold-pressed neem for best results.
No copper spray? A baking soda solution (1 tbsp per gallon of water) works in a pinch. Pruning shears must be sharp—dull blades crush stems. If you lack mulch, straw or shredded leaves prevent soil splash just as well. Drip irrigation is ideal, but careful hand-watering at soil level works too.
Store fungicides in a cool, dry shed. Neem oil lasts 1-2 years unopened. Always sterilize pruning tools after use (rubbing alcohol works). I keep a spray bottle of soapy water ready to clean shears between plants.
Here’s the method I use to diagnose and fix black spots before they spread.
Put on the garden gloves and use the pruning shears to snip off leaves with black spots at their base. Sterilize the shears between cuts with rubbing alcohol to prevent spreading pathogens. I always remove these leaves immediately—even one infected leaf can spread fungal or bacterial spores to the entire plant within days.
Dispose of the infected foliage in a sealed bag, not in your compost pile. This prevents the disease from reinfecting your garden later. Check the plant thoroughly, as early spots can be tiny and easy to miss.
Move the affected plant away from others to prevent contamination. Tomato plants need good airflow to discourage fungal growth. I space my plants at least 18-24 inches apart to ensure air moves freely between them.
If your plants are crowded, thin them out. Use the pruning shears to remove some inner branches, focusing on opening the center of the plant to light and air. This simple step makes a noticeable difference in preventing further spread.
For fungal issues, spray the plant thoroughly with the copper fungicide spray, covering both the tops and bottoms of the leaves. I apply this in the early morning so the solution has time to dry before the heat of the day.
For bacterial problems, use the neem oil as a natural treatment. Mix it according to the package instructions and apply it every 7-10 days until the spots stop spreading. The baking soda solution also works as a DIY option—spray it on leaves as a preventive measure.
Switch to the drip irrigation system to water at the base of the plant, keeping the foliage dry. Wet leaves are a breeding ground for fungal spores. I water in the morning so any accidental splashes have time to dry.
Use the soil test kit to check for nutrient imbalances, which can weaken plants and make them more susceptible to disease. Spread the 2 bags mulch around the base to prevent soil from splashing onto leaves during rain or watering. Mix in the 1 bag compost to boost overall plant health and resilience.
Combat early blight (a common cause of black spots) by planting resistant tomato varieties like Mountain Merit or Defiant PhR. These hybrids are bred to withstand fungal infections. Mix 1 tablespoon of baking soda and 1 teaspoon of neem oil in 1 gallon of water for a natural spray. Apply weekly to leaves for prevention. 💡
Improve soil health to prevent nutrient deficiencies that lead to black spots. Add 2 inches of compost and 1 cup of worm castings per plant to the soil before planting. This enriches the soil with microbes that fight pathogens. Water with 1 tablespoon of fish emulsion per gallon monthly for an extra nutrient kick. 🌿
Adjust sunlight exposure to reduce stress-related black spots. If leaves scorch in intense heat, provide 30% shade cloth during peak afternoon hours (12 PM–3 PM). Ensure plants still get 6–8 hours of sunlight daily for optimal growth. Proper spacing (18–24 inches apart) improves air circulation, lowering fungal risks. ☀️
Avoid overhead watering to prevent fungal spores from spreading. Use a drip irrigation system or soaker hose to deliver water directly to the roots. Water deeply 2–3 times per week (1–1.5 inches total) in the morning to allow foliage to dry quickly. Mulch with 2–3 inches of straw to retain moisture and block soil-borne spores. 💧
