
Beautiful Plants For Your Interior
Beautiful Plants For Your Interior
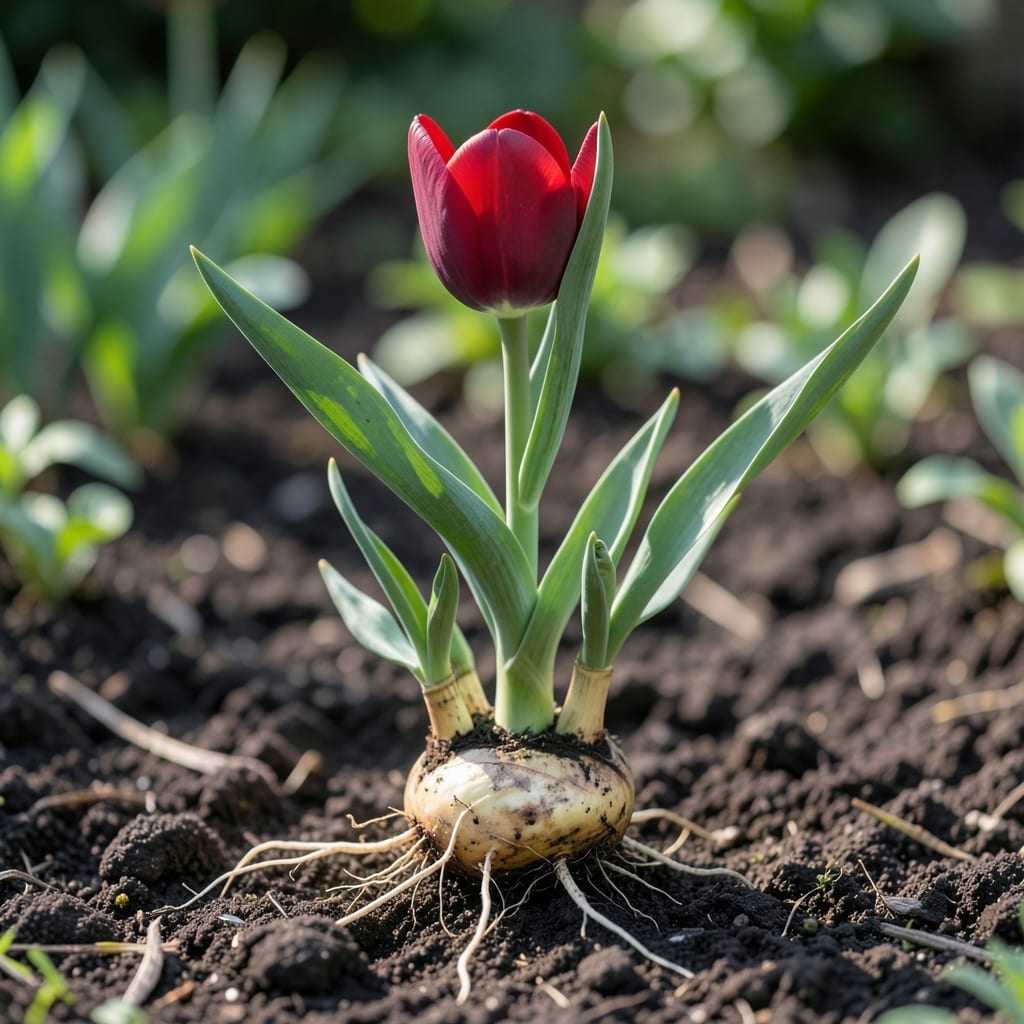
Tulip bulb offsets are nature’s way of giving gardeners free plants. These tiny clones emerge beside the mother bulb, promising more blooms with zero extra cost.
The 🌷 Tulip naturally produces offsets as it matures. In zones 3-8, you can separate and replant them to expand your garden effortlessly.
I’ll show you how to identify, dig up, and prepare these offsets for replanting. It’s a simple process that rewards you with a fuller display next spring.
Discover the step-by-step method to multiply your tulips and fill your garden with vibrant colors year after year.
Spotting tulip bulb offsets is easier than you think. Look for small bulbs clustered around the mother bulb when digging up your tulips after blooming.
The best time to dig is when the foliage turns yellow and dies back naturally. This signals the plant has stored enough energy for next year’s growth.
I always use a garden fork instead of a shovel to minimize damage. The tines slide under the bulbs more gently, reducing the risk of cutting through them.
Once the soil is brushed away, you’ll see the offsets clearly. They look like miniature versions of the parent bulb, often attached by thin stems.
The ideal time to dig is late spring or early summer, after the flowers have faded and the leaves begin to yellow. This timing ensures the mother bulb has transferred enough energy to the offsets.
In USDA zones 3-8, this process works best when the soil is dry and the weather is mild. Avoid digging in wet conditions, as this can make the bulbs more prone to rot.
If the foliage is still green, wait a little longer. Digging too early can stunt the offsets’ growth and reduce their ability to thrive when replanted.
Once you’ve lifted the clump, inspect the offsets for firmness. Healthy offsets should feel solid and plump, not mushy or shriveled. These are the ones worth saving for replanting.
Remember, patience is key. Letting the foliage die back naturally ensures the offsets have stored enough nutrients to grow into strong, blooming tulips next season.
Once you’ve dug up your tulip bulb offsets, the next step is separating them from the mother bulb. I gently brush off excess soil to expose the offset clusters attached to the base.
Use your hands to twist and pull the offsets away. If they resist, a clean knife or shears can help, but avoid cutting through the basal plate. This is where the magic happens. 🌱
⚠️ Handle with Care
Never separate immature offsets—they won’t survive. Only remove those that easily detach from the parent bulb.
After separation, I clean the offsets by removing any remaining soil and dry them in a well-ventilated area for 1-2 days. This curing step prevents rot when replanted.
Store them in a cool, dark place until planting season. A mesh bag or paper bag works well to allow airflow. Avoid plastic, as it can trap moisture and cause mold growth.
Inspect each offset for damage or disease before storing. Discard any that feel soft or mushy, as these won’t produce healthy blooms. Only the firm, plump offsets are worth keeping. 🌿
Properly prepared offsets will thrive when replanted in fall. I’ve found that those cured and stored correctly often bloom in their first year, giving you an early reward for your efforts.