
Beautiful Plants For Your Interior
Beautiful Plants For Your Interior
I used to be terrified of trimming orchid roots—until I realized it’s the secret to those jaw-dropping blooms we all want. The first time I worked up the courage to snip those tangled roots, my Phalaenopsis rewarded me with double the flowers the next season. Turns out, orchids aren’t fragile; they’re just waiting for us […]
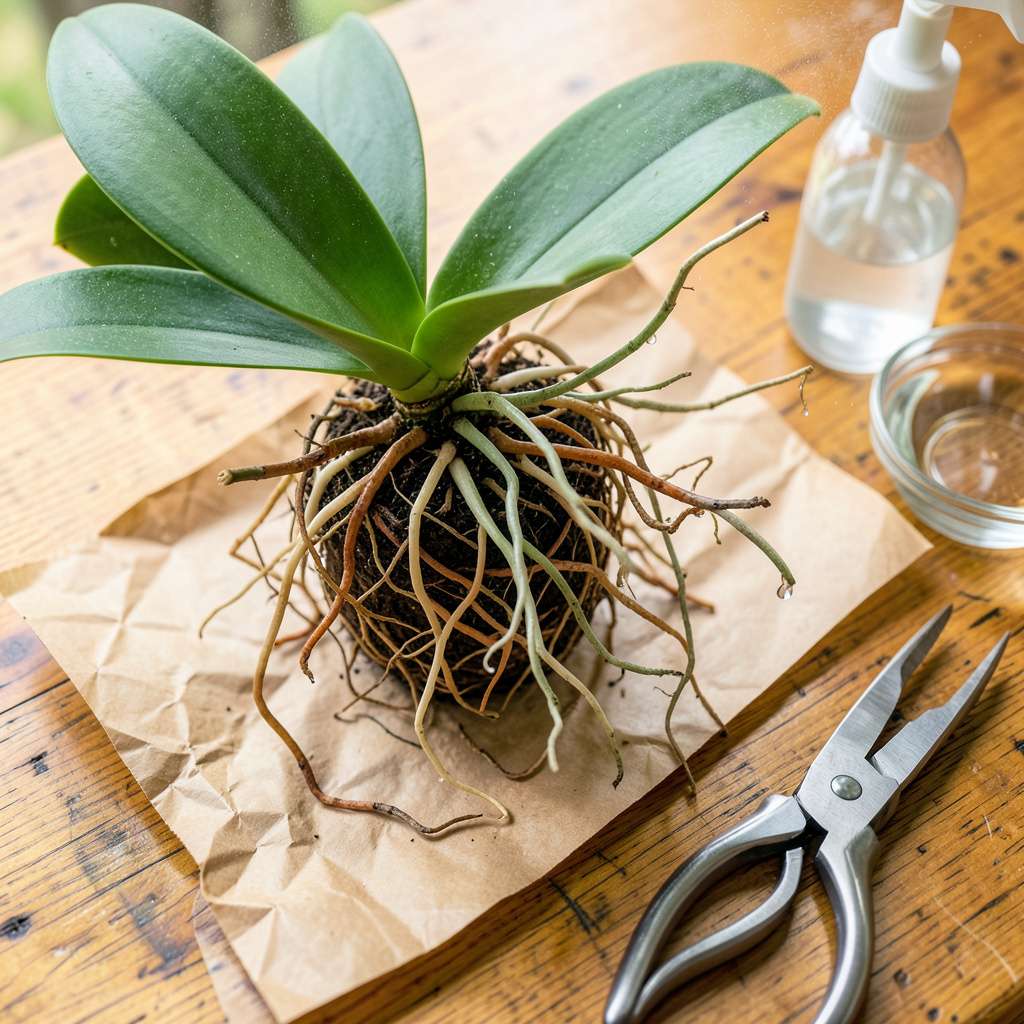
I used to be terrified of trimming orchid roots—until I realized it’s the secret to those jaw-dropping blooms we all want. The first time I worked up the courage to snip those tangled roots, my Phalaenopsis rewarded me with double the flowers the next season. Turns out, orchids aren’t fragile; they’re just waiting for us to help them thrive.
Here’s the thing—healthy roots mean healthy plants. When roots get too long or damaged, they stop absorbing nutrients efficiently. I’ve seen orchids with root systems so overgrown they actually choked themselves. A simple trim every 12-18 months keeps everything balanced, prevents rot, and sets the stage for those vibrant blooms we’re all after.
The process is simpler than you’d think. No fancy tools required—just sharp scissors, some rubbing alcohol for sterilization, and about 20 minutes of your time. What you’re left with is an orchid that can finally focus its energy on growing strong leaves and stunning flowers instead of maintaining a mess of roots.
Fair warning: the first cut feels scary. But once you see those fresh green root tips emerging after trimming, you’ll understand why this becomes my go-to orchid reset. The plants bounce back faster than you’d expect, and the difference in their growth is undeniable. Let me walk you through exactly how to do it safely.
📚 In This Guide
This simple process will revive your orchid and set it up for stronger growth and more vibrant blooms.
Start by gently squeezing the sides of the plastic pot to loosen the root ball. If the roots are tightly packed, you may need to run a butter knife around the inner edge to help release them. Tip the plant sideways and carefully slide it out—don’t pull on the leaves or stems, as they break easily.
Once removed, place the orchid on a clean surface. You’ll likely see a mix of healthy green/silver roots and some that are brown, mushy, or hollow. This is normal after months in the same pot. Shake off any loose bark or debris so you can see the root system clearly.
Healthy orchid roots are firm and plump, with a green or silver color when dry. The ones you need to remove will be brown, black, or yellow, often mushy or papery to the touch. Use your fingers to gently test each root—if it collapses or slips off when pinched, it’s dead and should be trimmed.
Look for roots that are completely dried out (hollow and brittle) or those with dark, waterlogged sections. Even if part of a root looks healthy, trim back to where the tissue is firm and green. I always check the center of the root ball too, as rot often starts there where moisture collects.
Wipe your scissors or pruners with rubbing alcohol to prevent spreading disease. Make each cut at a 45-degree angle, about 1/4 inch above where the healthy tissue begins. This angled cut helps prevent water from pooling on the fresh wound, which could lead to new rot.
Work slowly and methodically—it’s better to make several precise cuts than to rush and damage healthy roots. If you accidentally nick a good root, don’t worry; just make a clean second cut to remove the damaged portion. I usually end up removing about 30% of the root mass on neglected plants.
After trimming, rinse the remaining roots with lukewarm water to remove any debris or hidden pests. This also helps you spot any missed damaged areas. Pat the roots dry with a paper towel, being gentle with the new growth tips.
Let the plant sit bare-root for 2-3 hours before repotting. This gives the cut ends time to callous over, which prevents bacterial infections when you return it to moist bark. You’ll notice the healthy roots plump up slightly during this time—a good sign they’re ready for their fresh home.
Here’s what we’ve learned from years of trimming orchid roots—small details that make a big difference.
Root Inspection Tip: In Step 2, don’t just look at the outer roots. We always check the center of the root ball where moisture collects and rot often starts. Gently separate the roots with your fingers to examine all sides—healthy roots should feel firm and plump, not hollow or mushy. This thorough check prevents leaving hidden rot behind.
Cutting Technique: When making those 45-degree angle cuts in Step 3, position your scissors so the angled cut faces outward from the plant. This directs any moisture away from the fresh wound. We’ve found this small adjustment reduces the chance of new rot developing at the cut site by preventing water from pooling.
Drying Time Wisdom: The 2-3 hour drying period in Step 4 isn’t just about callousing—it’s when you’ll see healthy roots plump up as they absorb moisture from the air. We place our orchids on a clean towel in indirect light during this time. If your home is very dry, you might notice the roots need the full 3 hours to properly callous before repotting.
Tool Preparation: Between each cut in Step 3, we wipe our scissors with a fresh alcohol pad. This might seem excessive, but it prevents transferring any potential pathogens from one cut to another. We’ve seen how this simple habit dramatically reduces the chance of post-trimming infections in our orchids.
It’s best to avoid trimming roots during active blooming—wait until after the flowers fade. Pruning while blooming can stress the plant and shorten bloom life. Focus on post-bloom care (late fall/early winter) for minimal disruption. If roots are severely rotted, trim carefully but expect potential bud drop.
Healthy roots are firm and green/silver when dry. Dead roots turn mushy, brown/black, or hollow—these need trimming. Dormant roots (often in winter) may look shriveled but stay firm; don’t cut them! Test by gently squeezing: if it collapses, it’s dead. When in doubt, wait and monitor for new growth.
Use sterilized sharp scissors or pruning shears (alcohol/rubbing alcohol works for sterilization). Avoid dull tools—they crush roots, increasing infection risk. For thick roots, a clean razor blade gives precision. Never use household scissors (they harbor bacteria).
Trim only when necessary—typically every 1–2 years during repotting. Over-trimming stresses the plant. Inspect roots during routine care: remove rotted/damaged sections immediately. Healthy roots? Leave them be! Phalaenopsis orchids may need more frequent checks than hardier types like Cattleyas.
Blackening post-trim usually signals infection or overwatering. Causes: unclean tools, cutting into healthy tissue, or poor drainage. Act fast: remove affected roots, sterilize tools, and repot in fresh orchid mix. Reduce watering until recovery. Prevent future issues with hydrogen peroxide soaks (1:10 ratio) for cuts.
Trimming your orchid’s roots doesn’t have to be intimidating—it’s a simple yet powerful way to boost health, encourage vibrant blooms, and extend your plant’s lifespan. 🌱 By removing dead or damaged roots and providing proper aftercare, you’re setting the stage for stronger growth and stunning flowers.
Now that you’re equipped with the know-how, grab your sterilized tools and give your orchid the refresh it deserves! For next steps, check your plant’s roots every 6–12 months or repot it with fresh mix to keep it thriving. Happy growing! 🌸
