
Beautiful Plants For Your Interior
Beautiful Plants For Your Interior
Great vegetable gardens start from the ground up—literally. I’ve seen too many gardeners struggle with weak plants and poor harvests because they skipped the most important step: building the right foundation with quality topsoil. The difference between “meh” and “wow” often comes down to what’s happening beneath your plants’ roots. After years of testing different […]
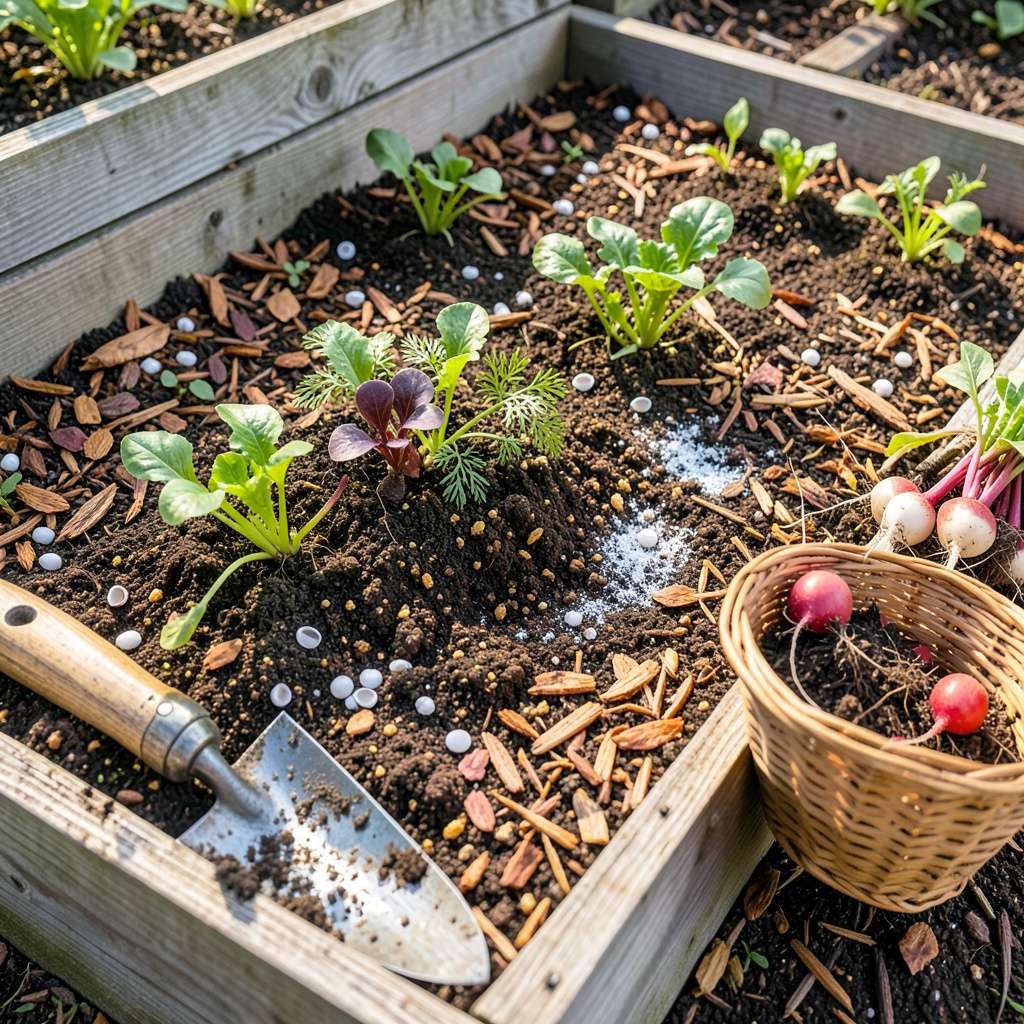
Great vegetable gardens start from the ground up—literally. I’ve seen too many gardeners struggle with weak plants and poor harvests because they skipped the most important step: building the right foundation with quality topsoil. The difference between “meh” and “wow” often comes down to what’s happening beneath your plants’ roots.
After years of testing different soil mixes, I’ve landed on a simple formula that works for everything from tomatoes to carrots. The key is balancing texture, nutrients, and drainage—no fancy equipment needed. A basic soil test (you can get kits for $10 at garden centers) tells you exactly what your soil needs before you even plant.
You’ll know you’ve got it right when your seedlings establish quickly, leaves stay vibrant, and harvests come in heavier than expected. I still remember the first time my bell peppers doubled in size after switching to a proper topsoil blend. That season changed how I approach every garden bed.
Whether you’re working with raised beds, in-ground plots, or containers, this approach adapts easily. The best part? You can improve existing soil over time—no need to start from scratch. Let’s dig into what makes topsoil work for your vegetables.
📚 In This Guide
Perlite or vermiculite (1–2 cups per 10 sq ft) for drainage.
Garden fork or tiller (for turning soil).
Cleared garden bed (remove weeds/debris).
Building rich, productive topsoil is simpler than you think—here’s how I transform ordinary dirt into a vegetable powerhouse.
Before adding anything, grab a handful of your garden soil and squeeze it. If it crumbles easily when dry or forms a loose ball when damp, you’re starting with decent structure. I always do this simple test first—it tells me more than any fancy kit about whether my soil is too sandy, too clay-heavy, or just right.
For a more precise reading, use a basic soil test kit to check pH (vegetables thrive in 6.0-7.0 range) and nutrient levels. Don’t skip this—what looks like poor soil might just need minor adjustments rather than a complete overhaul. Most extension offices offer free or low-cost testing if you want professional results.
With a garden fork or broadfork, loosen the top 8-12 inches of soil when it’s slightly damp but not wet. Work in sections, lifting and turning the soil rather than just stirring it. This creates channels for air, water, and roots without destroying the soil structure like a rototiller would.
I’ve found that working when the soil is too wet compacts it further, while bone-dry soil just crumbles into dust. The right moisture level means the soil holds together briefly when squeezed but breaks apart easily. This single step improves drainage and root penetration more than any amendment you could add.
Spread a 2-3 inch layer of well-aged compost or rotted manure over the loosened soil. For a 100 square foot garden, that’s roughly 2-3 cubic feet of material. Work it in gently with a rake or by hand—you’re blending, not burying. The goal is to create a gradual transition between the organic matter and existing soil.
Here’s the thing—fresh manure or unfinished compost will burn your plants and introduce weeds. I learned this the hard way my first season when eager to “feed” my garden. Stick with materials that look and smell like rich, dark, crumbly soil. You’ll know it’s ready when you can’t recognize the original ingredients.
If your soil test showed deficiencies, now’s the time to address them. For low phosphorus, I work in 1-2 cups of bone meal per 50 square feet. For potassium needs, ½ cup greensand does wonders. Always follow package rates—more isn’t better with minerals. These amendments last for years, so think of them as long-term investments in your soil.
Sprinkle the amendments evenly over the surface, then lightly scratch them into the top 1-2 inches of soil. A fine mesh screen helps distribute powdered amendments evenly. Water the area lightly afterward to start the integration process. You’ll see the difference in plant vigor within weeks.
Finish with a 1-2 inch layer of organic mulch like straw or shredded leaves. This isn’t just for looks—it prevents compaction from rain, reduces evaporation, and feeds your soil as it breaks down. Keep mulch an inch away from plant stems to prevent rot.
Real talk: Your beautiful new topsoil will degrade quickly if left bare. I refresh my mulch every 4-6 weeks during growing season, or whenever I can see bare soil peeking through. This simple habit maintains moisture, suppresses weeds, and keeps your soil biology active year-round.
Transforming ordinary dirt into productive garden soil is both science and art—here’s what I’ve learned through seasons of trial and error.
Moisture Timing: In Step 2, when loosening the soil, the “slightly damp but not wet” condition is everything. I check by grabbing a handful—if it holds shape briefly when squeezed but crumbles when poked, it’s perfect. Working too wet creates clumps that harden like concrete; too dry means you’re just making dust. This single moisture check prevents more problems than any amendment could fix.
Compost Quality: For Step 3, don’t trust the label “finished compost” blindly. I always do the sniff test—properly aged compost smells earthy and sweet, never sour or ammonia-like. If you see recognizable food scraps or it feels warm, it needs more time. Fresh compost can rob nitrogen from your plants, setting your garden back weeks.
Amendment Distribution: When adding bone meal or greensand in Step 4, I use this trick: mix the powder with dry sand first (1:1 ratio) before broadcasting. This prevents clumping and ensures even coverage. A fine mesh screen stretched over a bucket works perfectly for sifting. The difference in plant growth from even distribution is astonishing.
Mulch Maintenance: That 4-6 week mulch refresh in Step 5 isn’t just about looks. I’ve found that mulch breaks down faster in hot weather, so I check weekly during summer. When the mulch layer thins to ½ inch, it’s time to add more. This simple habit keeps soil temperatures stable and moisture consistent, which means fewer stressed plants.
For most veggies, aim for 6–8 inches of quality topsoil. Calculate volume by multiplying garden length × width × depth (in feet), then divide by 27 for cubic yards. For example, a 10×10-foot garden at 6 inches deep needs ~1.85 cubic yards. Pro tip: Buy 10–15% extra to account for settling!
Yes! Bagged topsoil (like Miracle-Gro Garden Soil or Black Kow) works well for small gardens or raised beds. Look for labels like “organic” or “vegetable-friendly.” Bulk is cheaper for large areas, but bags are convenient and often pre-mixed with compost. Check for weeds/seeds in cheap brands!
Add topsoil 2–4 weeks before planting (early spring or fall) to let it settle and integrate with native soil. For fall gardens, amend soil 6–8 weeks before the first frost. Avoid working soggy soil—it compacts easily!
Mix in 2–3 inches of compost or peat moss to improve moisture retention. Mulch with straw or shredded leaves (1–2 inches thick) to slow evaporation. For clay-heavy topsoil, add perlite or sand to prevent cracking.
No! Topsoil is for in-ground gardens (denser, less aerated), while potting soil is lightweight and designed for containers. Using potting soil in-ground can dry out too fast; topsoil in pots may compact and suffocate roots. Never swap them!
Choosing the right topsoil for vegetable gardens is your first step toward a thriving, productive plot! 🌱 With nutrient-rich soil, proper drainage, and a little TLC, you’ll set the stage for healthier plants and bigger harvests. Whether you’re amending existing soil or starting fresh, quality topsoil makes all the difference.
Now that you’re equipped with the know-how, grab your gardening gloves and get started! Test your soil, pick the best topsoil blend for your veggies, and watch your garden flourish. Happy planting—your future self (and dinner plate) will thank you! 🥕🍅
