
Beautiful Plants For Your Interior
Beautiful Plants For Your Interior
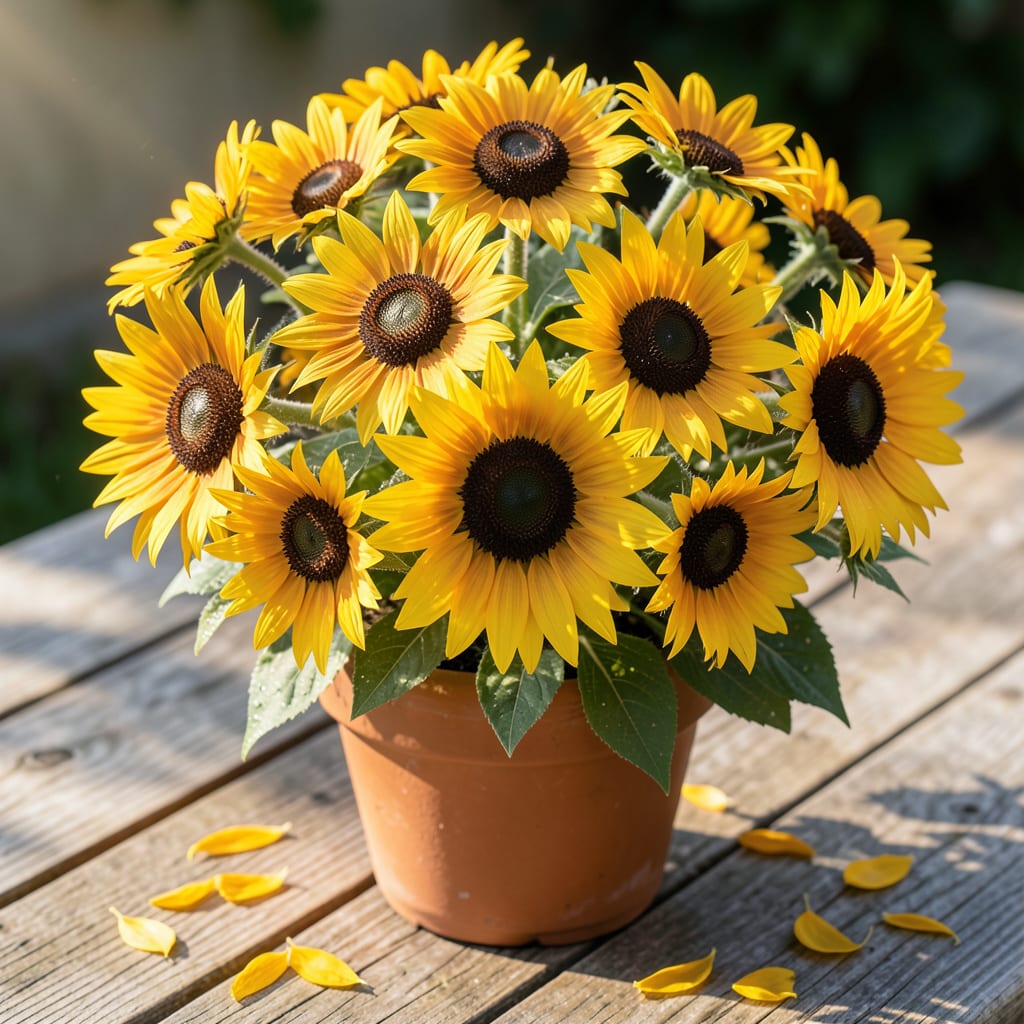
Bright yellow daisies that bee-loving gardens adore. Sweet Black Eyed Susan brings vibrant color and pollinator traffic with almost zero fuss.
Plant in full sun with average soil, and you’ll get months of blooms that laugh at drought. I’ve watched these thrive in neglected corners while fancier flowers wilted next door.
📚 In This Guide
Here’s the method I rely on for establishing these cheerful, pollinator-magnet plants in your garden.
Choose a spot with full sun exposure—at least 6-8 hours of direct sunlight daily. Sweet black eyed susans thrive in bright conditions and will produce the most vibrant golden-yellow blooms with adequate light. Avoid low-lying areas where water pools after rain, as these plants prefer well-drained conditions.
Test your soil by digging a 1-foot-deep hole and filling it with water. If it drains completely within 1 hour, you have good drainage. If it takes longer, work in compost to improve the soil structure before planting.
Loosen the soil to a depth of 12-15 inches, removing any weeds, rocks, or debris that could impede root growth. These plants adapt to various soil types but perform best in moderately fertile, loamy soil. I always mix in a 2-3 inch layer of organic matter like compost to boost nutrient content and drainage.
Space plants 18-24 inches apart to allow for air circulation and future growth. Crowding can lead to powdery mildew, especially in humid climates. Mark your planting spots with small flags or sticks to maintain consistent spacing.
Dig a hole approximately twice as wide and just as deep as the root ball. For container-grown starts, gently remove the plant and loosen the roots if they’re tightly bound. Place the plant in the hole so the top of the root ball sits level with the surrounding soil surface.
Backfill with the amended soil, pressing lightly to eliminate air pockets. Water thoroughly after planting to help settle the soil around the roots. You’ll know it’s properly hydrated when the top 1-2 inches of soil feels moist to the touch.
Water deeply 1-2 times per week during the first growing season, allowing the soil to dry slightly between waterings. Mature plants have good drought tolerance but produce more blooms with consistent moisture. Apply water at the base to keep foliage dry and prevent fungal issues.
Apply a 2-3 inch layer of organic mulch around the base to retain moisture and suppress weeds. Keep mulch 1 inch away from the plant stems to prevent rot. These plants are relatively low-maintenance but respond well to an annual application of balanced fertilizer in early spring.
Here are the key insights I’ve gathered to help your garden thrive with these vibrant blooms.
Sunlight Essentials: In Step 1, the requirement for 6-8 hours of direct sunlight daily isn’t just a suggestion—it’s the secret to achieving those radiant golden-yellow flowers. If your garden has partial shade, prioritize the sunniest spots for planting. These flowers will still grow in less light, but the blooms won’t be as prolific or vibrant.
Drainage Check: The 1-hour soil drainage test in Step 1 is critical. If water lingers beyond that timeframe, amending the soil with compost or sand will save you from root rot down the line. I once skipped this step and lost half my plants to soggy soil—don’t make my mistake.
Spacing for Success: In Step 2, spacing plants 18-24 inches apart might seem excessive, but it’s non-negotiable for air circulation. Crowding leads to mildew, especially in humid climates. Use sticks or flags to mark your spots before digging to keep spacing consistent.
Mulching Technique: In Step 4, the 1-inch gap between mulch and plant stems isn’t just about aesthetics—it prevents rot. I learned this the hard way after losing a few plants to overzealous mulching. Keep that buffer zone clear, and your plants will thank you with healthier growth.
Start seeds indoors 6–8 weeks before the last frost, or sow directly in well-drained soil after frost risk passes. Lightly cover seeds and keep moist. Germination takes 7–14 days.
Expect vibrant yellow blooms from mid-summer to early fall, typically July through September. Deadhead spent flowers to encourage longer blooming.
Pair with purple coneflowers, Russian sage, or bee balm for a pollinator-friendly display. These combinations enhance color contrast and attract more beneficial insects.
Brown leaves often signal overwatering or poor drainage. Ensure the soil is well-draining and reduce watering. Fungal issues can also cause browning—remove affected foliage promptly.
Yes, it’s generally deer-resistant due to its coarse foliage. However, hungry deer may still nibble, so use fencing or repellents in high-pressure areas.
