
Beautiful Plants For Your Interior
Beautiful Plants For Your Interior
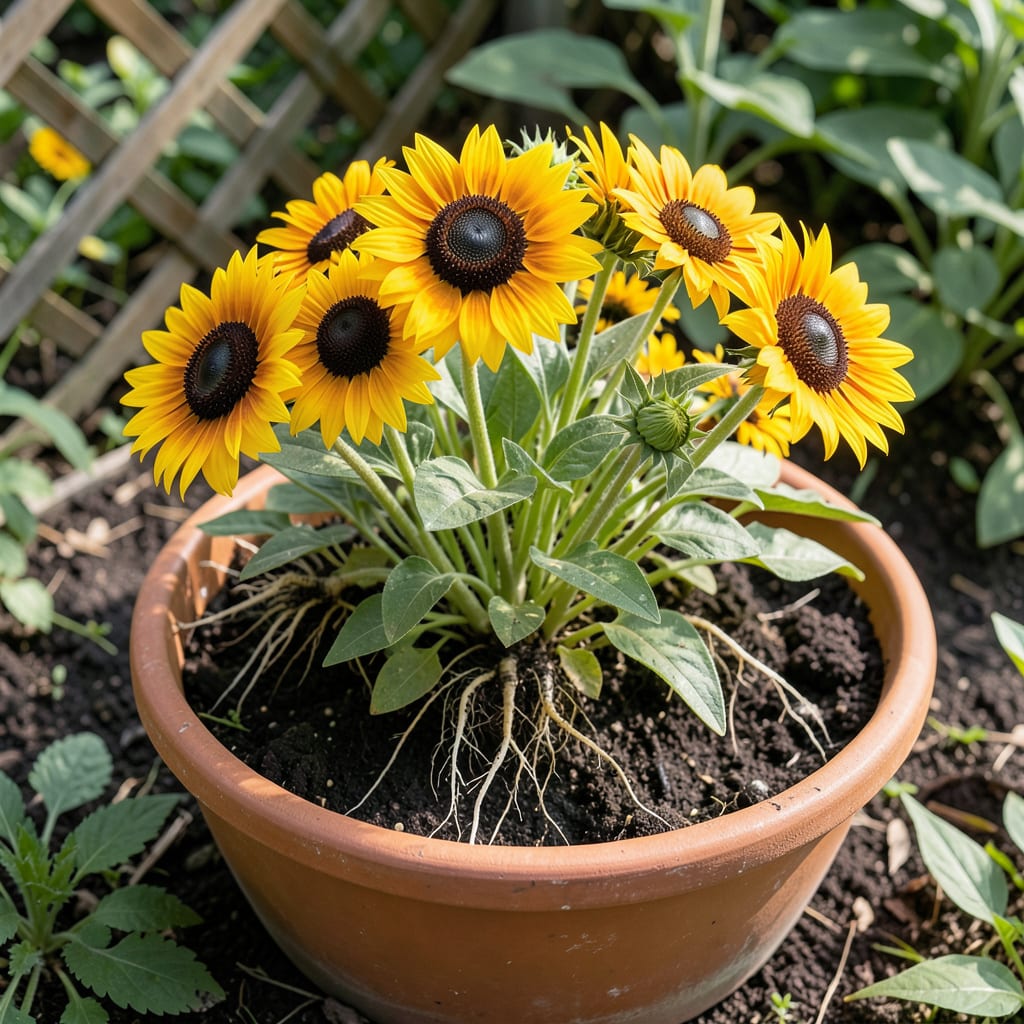
Every 3-4 years, my black-eyed Susans get crowded. Splitting them solved my overgrown garden beds and gave me free plants for new spots.
It’s a simple process that rejuvenates the clumps and spreads color across your yard. You’ll get healthier blooms and double your plants with minimal effort.
📚 In This Guide
To split your black-eyed Susans successfully, gather these materials and tools: Rudbeckia hirta plants (mature, 2–3 years old), a sharp garden spade or shovel, pruning shears, and a garden fork for root separation. You’ll also need garden gloves for protection and a watering can or hose for post-division hydration. 🌱
For replanting, prepare well-draining potting mix or compost (about 1–2 gallons per division) and small pots or planting holes (6–12 inches deep). Optional but helpful: a tarp to keep your workspace clean and rooting hormone (for faster establishment).
Here’s the straightforward method I use every few years to keep my clumps vigorous and blooming.
Early spring or early fall is ideal—avoid dividing during summer heat or while the plant is actively blooming. The day before, water the clump deeply so roots are hydrated and soil holds together. This makes the entire process cleaner and reduces transplant shock.
Cut back the foliage to 6 inches above the crown to minimize moisture loss and make the root ball easier to handle. Use sharp pruners for clean cuts that won’t fray stems. You’ll see the center of the clump may have some dead material—this is normal for mature plants.
Insert a spade or garden fork in a circle around the clump, about 6-8 inches from the base, to loosen the roots. Work your way around, then gently rock the clump until it lifts free. If the soil is compacted, you may need to lever the fork underneath to pry it up without breaking roots.
Once out, shake off excess soil to expose the root system and crown. You’ll notice the clump has natural divisions—these are your guides. Don’t worry about a little soil remaining; it helps protect the roots during handling.
For a large, healthy clump, I use two pitchforks back-to-back in the center and gently pry the clump apart. Smaller clumps can often be pulled apart by hand. Each division should have at least 3-5 shoots and a healthy portion of roots attached. Discard any sections with rotten or mushy roots.
If the center is woody or dead, it’s not unusual—simply cut away the non-viable portions with your pruners. The outer sections with fresh growth are the most vigorous and will establish quickly. Aim for divisions that are roughly 8-12 inches across for best results.
Dig a hole slightly larger than the root ball of each division and place it at the same depth it was growing before. Space new plants 18-24 inches apart to allow for future growth. Backfill with native soil and firm gently to remove air pockets.
Water each division thoroughly after planting, soaking the soil to settle it around the roots. Keep the soil consistently moist (but not waterlogged) for the first 2-3 weeks while the plants re-establish. You’ll see new growth within a week if conditions are right.
These practical insights will help ensure your divisions thrive after splitting.
Timing Wisdom: Early spring or early fall is ideal for this process, as mentioned in Step 1. I’ve learned that dividing during summer heat or active blooming can stress the plants and reduce their chances of re-establishment. Stick to these seasons for the best results.
Preparation Tip: In Step 1, cutting back the foliage to 6 inches above the crown isn’t just about making the root ball easier to handle—it also minimizes moisture loss during the process. This small step makes a big difference in reducing transplant shock.
Division Technique: When dividing the clump in Step 3, using two pitchforks back-to-back works like a charm for large clumps. For smaller ones, pulling apart by hand is often sufficient. Each division should have at least 3-5 shoots and a healthy portion of roots attached to ensure vigorous regrowth.
Replanting Insight: In Step 4, spacing new plants 18-24 inches apart allows for future growth without overcrowding. Watering thoroughly after planting and keeping the soil consistently moist for the first 2-3 weeks helps the roots settle and re-establish more effectively.
Early spring or fall is ideal, as cooler temperatures reduce stress on the plants. Avoid splitting during extreme heat or while the plant is actively blooming.
Divide every 3–4 years to maintain vigor and prevent overcrowding. If the center looks bare or blooms decrease, it’s time to split!
It’s possible but risky due to heat stress. If necessary, do it on a cloudy day, water deeply afterward, and provide shade to help them recover.
A sharp spade or garden fork, pruners, and gloves are essential. A trowel helps with replanting, and a watering can ensures roots stay hydrated.
Check for root damage, poor soil, or insufficient water. Ensure each division has healthy roots and is planted at the same depth as before.
