
Beautiful Plants For Your Interior
Beautiful Plants For Your Interior
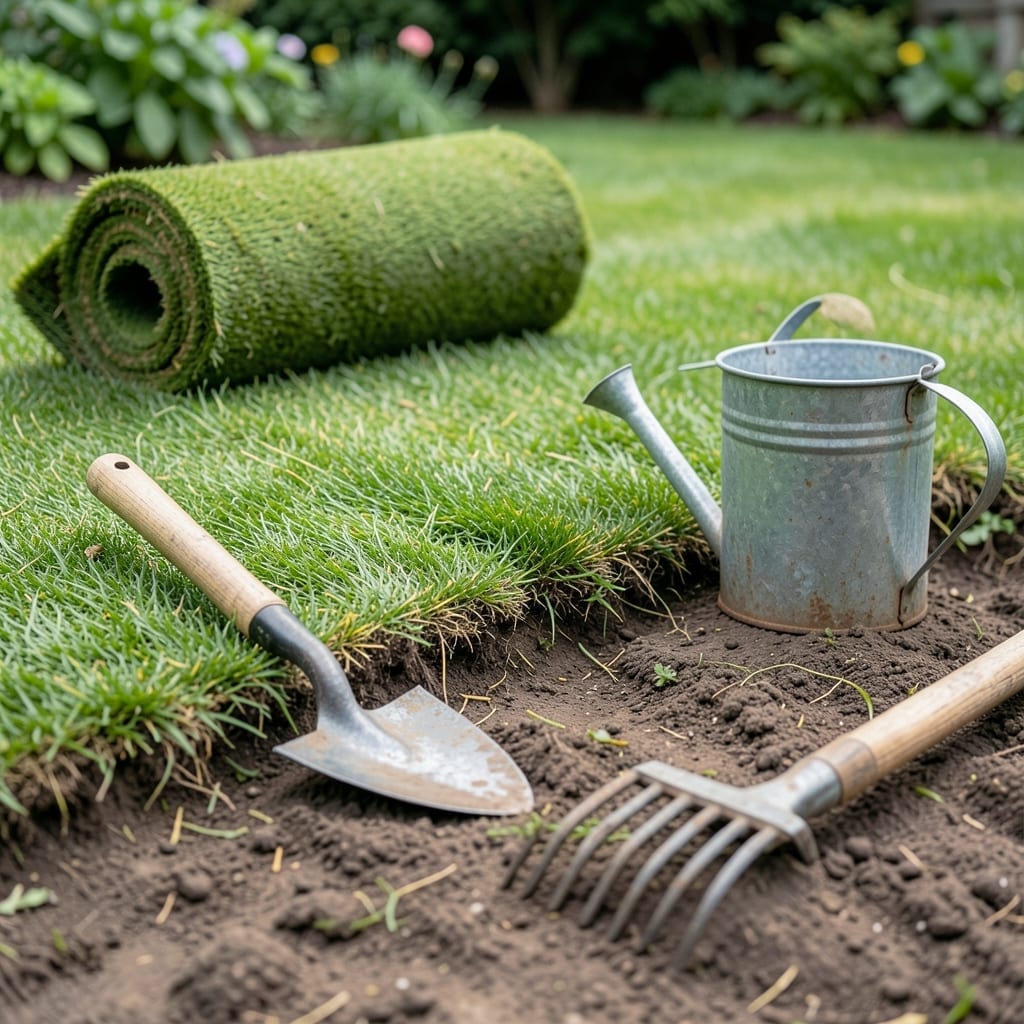
Watching sod struggle to take root is frustrating. I’ve been there—peeling back corners to find brown, lifeless roots instead of the white, fibrous network you want.
The usual culprits are simple: too much or too little water, compacted soil, or ignoring the first 2 weeks of critical care. Fix these, and your lawn transforms from a sad patch to a thriving carpet.
You’ll know it’s working when the sod resists a gentle tug. That’s the moment the roots have anchored in, and your yard starts looking like it’s always been there.
Works for new installations or repairs, in any climate. Here’s how to get it right.
Sod struggles to establish roots when key environmental or installation factors aren’t met. Below are the most common causes, explained with actionable insights to help you troubleshoot.
Sod is sensitive to heat or cold stress during the critical rooting phase (first 2–4 weeks). Soil temperatures above 85°F (29°C) can desiccate roots, while frost or soil below 50°F (10°C) slows metabolic activity, halting growth. Warm-season grasses (e.g., Bermuda, Zoysia) fare worse in cool soil, while cool-season types (e.g., Kentucky Bluegrass) suffer in heat. Fix: Install sod during the species’ optimal season—spring/fall for cool-season, late spring/early summer for warm-season—and use shade cloth or irrigation to moderate extremes.
Over- or under-watering disrupts root development. Shallow watering (e.g., daily light sprinkles) encourages roots to stay near the surface, making sod vulnerable to drought. Conversely, soggy soil (from overwatering or poor drainage) suffocates roots by reducing oxygen availability. Fix: Water deeply (4–6 inches of soil moisture) 2–3 times daily for the first week, then taper to 1–2 times daily. Use a moisture meter to ensure the top 2 inches stay damp but not waterlogged.
Hard, compacted soil or heavy clay prevents roots from penetrating deeply. Sod laid on unprepared ground (e.g., hardpan or construction debris) lacks the loose, aerated structure needed for root expansion. Fix: Till the top 4–6 inches of soil and amend with compost (2–3 inches) to improve porosity. Test drainage by digging a 6-inch hole—if water pools for >1 hour, aerate or add sand.
Gaps between sod pieces or uneven ground create air pockets, which dry out roots or block nutrient uptake. Loose sod (not rolled or pressed firmly) fails to make full contact with the soil, delaying rooting. Fix: Lay sod on a smooth, raked surface, staggering seams like brickwork. Use a lawn roller (filled with water) to press sod firmly, ensuring 100% soil contact.
New sod demands phosphorus (for root growth) and nitrogen (for shoot development). Low phosphorus levels (common in sandy or depleted soils) stunt root formation, while excess nitrogen promotes leafy growth at the expense of roots. Fix: Apply a starter fertilizer (e.g., 10-20-10 NPK ratio) at installation, then retest soil pH (6.0–7.0) and amend if needed.
If your sod isn’t taking root, don’t panic—there are clear fixes for the most common issues. Below, we map each problem to a practical solution, plus prevention tips to keep your lawn thriving.
Fix: Adjust your watering schedule. New sod needs consistent moisture—water lightly (about ¼ inch) daily for the first 7–10 days, then taper to every other day. Use a moisture meter or the “finger test” (stick your finger 2 inches into the soil—if dry, water). Avoid soggy conditions, which suffocate roots.
Prevent: Install a rain gauge or smart sprinkler system to automate watering. Early morning is ideal to reduce evaporation.
Fix: Loosen compacted soil with a garden fork or tiller to 4–6 inches deep. Mix in 2–3 inches of compost or topsoil to improve drainage and nutrient content. Re-lay sod, pressing edges tightly together.
Prevent: Always test soil pH (aim for 6.0–7.5) and amend with lime or sulfur if needed before laying sod.
Fix: Shield new sod with shade cloth (30–50% coverage) during peak sun hours. Water twice daily (morning and late afternoon) in heatwaves. Apply a light layer of straw mulch to retain moisture.
Prevent: Lay sod in spring or early fall when temperatures are milder. Avoid mid-summer installations if possible.
Fix: Lift sod pieces, re-level the base, and ensure seams are staggered like brickwork. Roll the lawn with a water-filled lawn roller to improve soil contact. Add rooting hormone (like mycorrhizal fungi) to speed up establishment.
Prevent: Lay sod within 24 hours of delivery to prevent drying out. Avoid walking on it for 2–3 weeks.
Fix: Apply a starter fertilizer (high in phosphorus, e.g., 10-20-10) immediately after laying sod. Follow up with a balanced fertilizer (like 16-4-8) after 4–6 weeks.
Prevent: Conduct a soil test annually and amend with organic matter or targeted nutrients as needed.
💡 Pro Tip: Walk on your sod after 2 weeks—if it stays firm, roots are establishing. If it lifts, keep troubleshooting!
Water lightly for 7-10 days, keeping soil moist but not soggy. Use the finger test: if the top 2 inches feel dry, it’s time to water.
No, always remove old grass first. Till the soil 4-6 inches deep and add compost for best results. This prevents competition and air pockets.
Spring and early fall offer ideal conditions. Avoid summer heat or winter frost, which stress new roots. 60-75°F soil temps are perfect.
Gently lift a corner after 2 weeks. If it resists, roots are growing. White fibers indicate healthy development.