
Beautiful Plants For Your Interior
Beautiful Plants For Your Interior
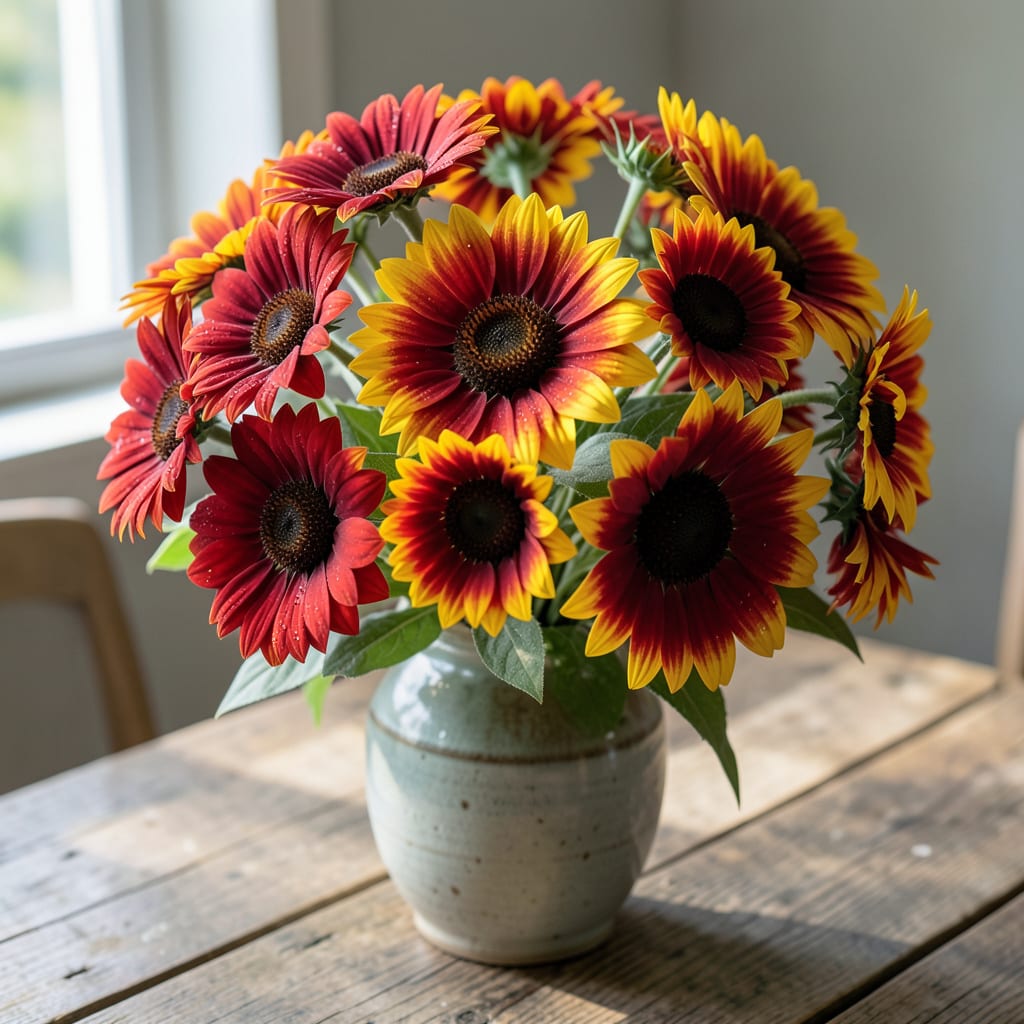
Sunny borders need these fiery blooms. I planted my first rudbeckia patch three summers ago, and the vibrant red-and-yellow daisies still stop me in my tracks every July.
They thrive in full sun with well-drained soil, asking only for occasional water once established. You’ll get months of bold color that laughs at summer heat and attracts pollinators by the dozen.
📚 In This Guide
Here’s the method I use to ensure vibrant, long-lasting bicolor blooms that thrive through summer heat.
Choose a location with full sun exposure—at least 6-8 hours of direct sunlight daily. Rudbeckia tolerates partial shade but produces fewer flowers and less vibrant color in low light. Test your soil’s drainage by digging a 12-inch deep hole and filling it with water. If it drains completely within 2-3 hours, you’re good to go.
Work the soil to a depth of 12-15 inches, removing rocks and breaking up clumps. Mix in 2-3 inches of compost to improve fertility and drainage. The ideal pH range is 6.0-7.0—test if you’re unsure. Here’s the thing—these plants hate soggy roots, so a slightly elevated bed or slope helps prevent waterlogging.
Dig planting holes twice as wide as the root ball but no deeper. Set the plant in the hole so the crown (where roots meet stems) sits 1 inch above soil level to prevent rot. Space plants 18-24 inches apart—they’ll fill in beautifully by mid-summer.
Backfill with native soil, pressing gently to eliminate air pockets. Water thoroughly after planting to settle the soil. I always create a small berm around each plant to help direct water to the roots during the first few weeks. Don’t fertilize at planting—wait until you see new growth.
Water deeply 1-2 times per week during the first month, providing 1-1.5 inches of water each time. After establishment, Rudbeckia is quite drought-tolerant. Reduce watering to once every 10-14 days unless you’re experiencing extreme heat or prolonged dry spells.
Always water at the base of the plant, keeping foliage dry to prevent fungal diseases. The best time is early morning. You’ll know it’s time to water when the top 1-2 inches of soil feel dry. Mulch with 2 inches of organic material to retain moisture and suppress weeds.
Remove spent flowers regularly by cutting the stem back to the next set of leaves or bud. This encourages the plant to produce more blooms rather than setting seed. I do this every 3-4 days during peak blooming season for maximum flower production.
For taller varieties, pinch back the main stems by one-third when plants reach 12 inches tall. This promotes branching and creates a fuller, bushier plant with more flowers. Real talk: skipping this step results in fewer, larger blooms on lanky stems that often flop over.
After the first hard frost, cut back stems to 6 inches above ground level. Leave this stubble in place through winter to provide some protection to the crown. In early spring, remove the old growth before new shoots emerge.
Divide clumps every 3-4 years in early spring or fall to maintain vigor. Dig up the entire plant, separate into sections with at least 3-4 healthy shoots each, and replant. This prevents overcrowding and ensures continued robust blooming. You’ll notice the center of older clumps becomes woody and less productive.
The details that transform good gardens into spectacular ones.
Sunlight Priority: Those 6-8 hours of direct sunlight daily aren’t just a suggestion—they’re the difference between vibrant bicolor blooms and lackluster flowers. I learned this the hard way after planting a test batch in partial shade. The color intensity and flower quantity dropped dramatically. Trust me on this.
Drainage Test: When you dig that 12-inch deep hole for drainage testing, make sure to fill it completely with water and time it precisely. If it doesn’t drain within 2-3 hours, your Rudbeckia will suffer from root rot. A slightly elevated bed solved this for me in a problematic clay soil area.
Planting Depth: That 1 inch above soil level for the crown isn’t just good advice—it’s critical. Planting too deep leads to crown rot, which I’ve seen kill established plants overnight. Create that small berm I mentioned in Step 2; it’s a game-changer for directing water to roots during establishment.
Pruning Timing: When your plants hit 12 inches tall, don’t hesitate to pinch back by one-third. I skipped this once and ended up with tall, floppy stems that required staking. The bushier, more compact plants from proper pinching produce far more blooms and look tidier in the garden.
Rudbeckia thrives in full sun and well-drained soil. Water moderately, allowing the soil to dry between waterings. Deadhead spent blooms to encourage continuous flowering and apply a balanced fertilizer in spring for vibrant growth.
Plant Rudbeckia in early spring or fall, ensuring the soil is warm and frost-free. This timing allows roots to establish before extreme heat or cold, promoting strong, healthy blooms throughout the growing season.
Pair Rudbeckia with purple coneflowers, ornamental grasses, or Russian sage for a striking contrast. These companions enhance visual appeal while attracting pollinators like bees and butterflies to your garden.
Yellowing leaves may indicate overwatering, poor drainage, or nutrient deficiencies. Check soil moisture and drainage first, then adjust watering habits. If needed, test soil pH and amend with compost or fertilizer.
