
Beautiful Plants For Your Interior
Beautiful Plants For Your Interior
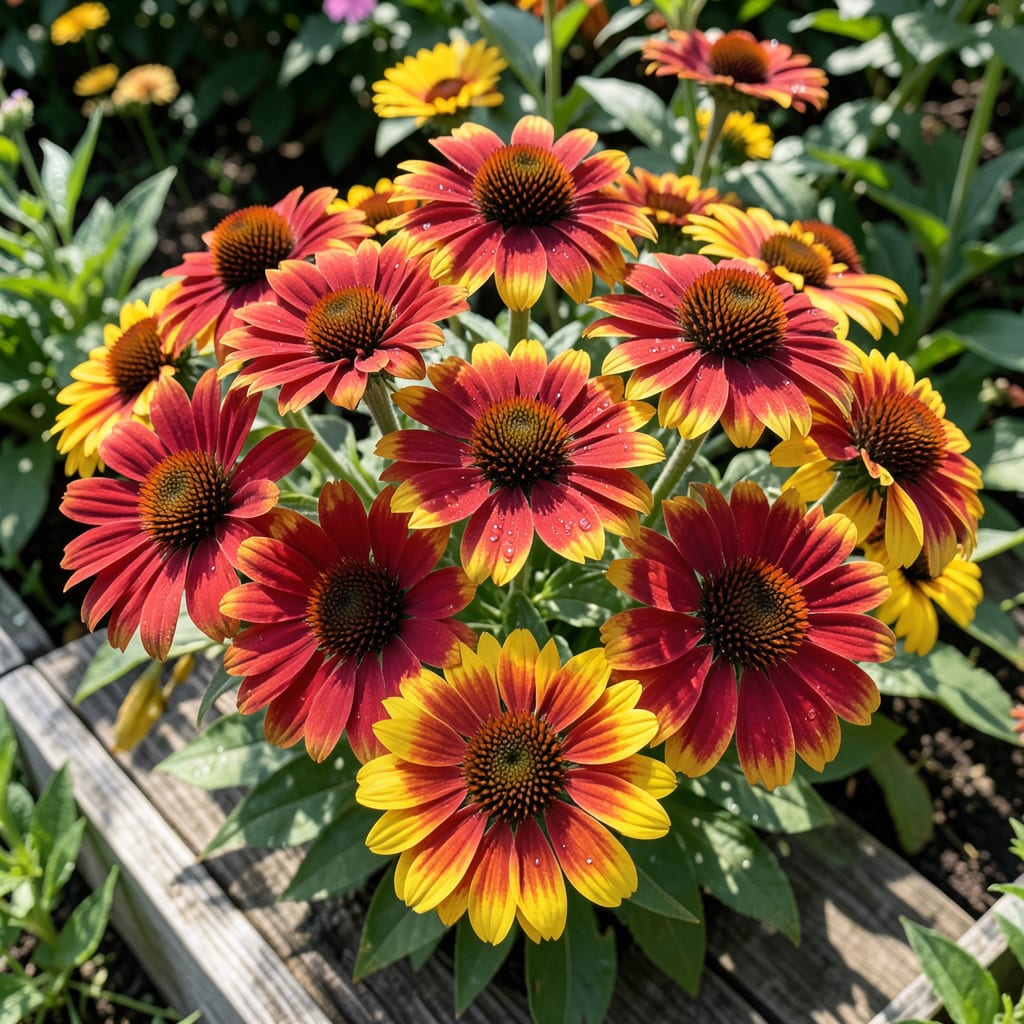
These bold, daisy-like blooms stop me in my tracks every summer. Red and yellow coneflowers bring non-stop color from June to frost, and the pollinators can’t resist them.
I’ve grown them in clay, loam, and even dry corners of my yard. They thrive with minimal care—just full sun and well-draining soil. By year two, you’ll have a self-seeding patch that comes back bigger and brighter.
📚 In This Guide
Here’s my proven method for establishing these vibrant perennials that return bigger and brighter each year.
Select a spot with full sun exposure, as coneflowers thrive with at least 6-8 hours of direct sunlight daily. The soil should be well-draining—these plants dislike soggy roots. I test drainage by digging a 12-inch hole, filling it with water, and ensuring it empties within 4 hours.
While they tolerate a range of soil types, coneflowers prefer slightly acidic to neutral pH (6.0-7.0). If your soil is heavy clay, amend it with compost to improve structure. Avoid low-lying areas where water pools after rain.
Loosen the soil to a depth of 12-15 inches, removing any weeds or debris. Mix in a 2-3 inch layer of organic matter like compost or aged manure to boost fertility. This step ensures roots can penetrate easily and access nutrients throughout the growing season.
Space plants 18-24 inches apart to allow for air circulation, which reduces the risk of fungal diseases. If planting from seed, scatter them lightly over the soil surface and press them in—don’t bury them deeply, as they need light to germinate.
Dig a hole twice as wide as the root ball but no deeper. Place the plant in the hole, ensuring the crown (where roots meet stems) sits slightly above soil level to prevent rot. Backfill with soil and press gently to remove air pockets.
Water deeply after planting so the soil settles around the roots. Provide 1-1.5 inches of water per week for the first month, then taper off as the plant establishes. You’ll know it’s time to water when the top 1-2 inches of soil feel dry.
Apply a 2-3 inch layer of organic mulch, such as shredded bark or straw, around the base of the plant. This retains moisture, suppresses weeds, and regulates soil temperature. Keep mulch 1 inch away from the stem to prevent rot.
Deadhead spent blooms regularly to encourage continuous flowering. In late fall, leave the seed heads intact to provide food for birds over winter. Cut back the foliage in early spring before new growth emerges.
Every 3-4 years, divide mature clumps in early spring or fall to rejuvenate the plants and propagate new ones. Dig up the clump and gently separate it into smaller sections, each with a portion of roots and shoots. Replant the divisions immediately, spacing them as before.
You’ll notice the center of older clumps may die out, which is a sign it’s time to divide. This process keeps your coneflowers vigorous and ensures a steady supply of blooms for your pollinator garden.
Small adjustments in planting and care can dramatically improve your coneflowers’ health and bloom production.
The Sunlight Factor: Those 6-8 hours of direct sunlight daily aren’t just a suggestion—they’re critical for vibrant blooms and strong stems. I’ve noticed plants in partial shade grow leggy and produce fewer flowers. If your garden has limited sun, prioritize morning light over afternoon.
Drainage Test Insight: The 4-hour drainage test from Step 1 is your best insurance against root rot. If water lingers longer than this in your test hole, consider raised beds or amending with sand and compost. Coneflowers will tolerate dry soil but won’t survive waterlogged conditions.
Planting Depth Precision: In Step 3, that instruction about keeping the crown slightly above soil level is non-negotiable. I learned this the hard way after losing several plants to stem rot. The crown should sit about 1/4 inch above the surrounding soil to allow for settling while preventing moisture buildup.
Maintenance Timing: The 3-4 year division schedule in Step 5 isn’t arbitrary—it’s when coneflowers start to decline. I mark my calendar in early spring when new growth is just emerging, as this gives divisions the full growing season to establish. Don’t wait until you see that dead center; by then, the plant is already stressed.
These hardy perennials thrive in full sun and well-drained soil. Water moderately, avoiding soggy conditions, and deadhead spent blooms to encourage more flowers. They’re drought-tolerant once established!
Plant in early spring or fall for best results. This gives roots time to establish before extreme heat or cold. Space plants 18-24 inches apart to allow for air circulation.
Yes! Their coarse texture and strong scent typically deter deer, making them a great choice for gardens in deer-prone areas.
Lack of sunlight, over-fertilizing, or excessive water can delay blooms. Ensure they get 6+ hours of sun daily and avoid high-nitrogen fertilizers.
Absolutely! Choose a large pot with drainage holes, use quality potting mix, and place it in full sun. Container-grown coneflowers may need more frequent watering.
