
Beautiful Plants For Your Interior
Beautiful Plants For Your Interior
Those aerial roots dangling from your orchid aren’t just decorative—they’re your ticket to more plants. After years of experimenting with propagation methods, I’ve refined a technique that turns these natural growths into thriving new orchids with remarkable consistency. The process requires patience more than skill, making it accessible even to those who’ve struggled with orchid […]
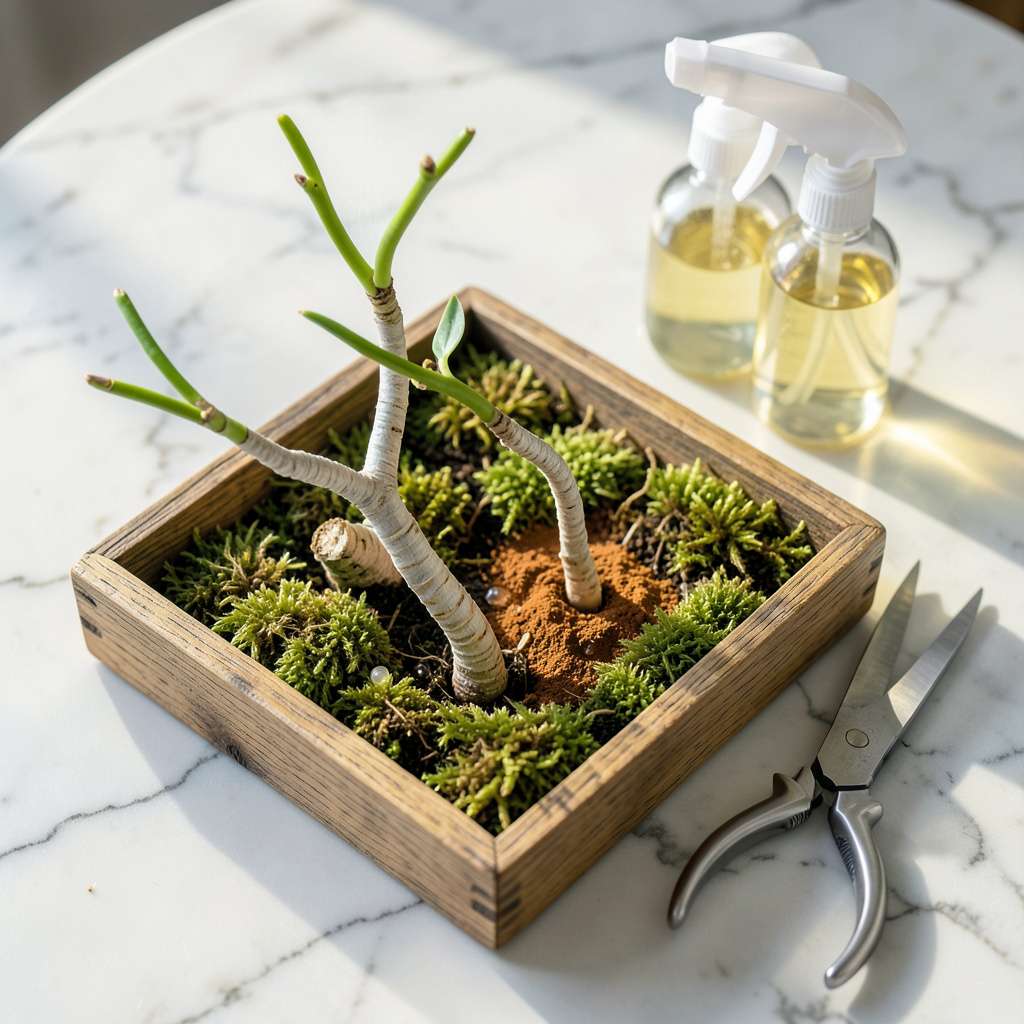
Those aerial roots dangling from your orchid aren’t just decorative—they’re your ticket to more plants. After years of experimenting with propagation methods, I’ve refined a technique that turns these natural growths into thriving new orchids with remarkable consistency. The process requires patience more than skill, making it accessible even to those who’ve struggled with orchid care in the past.
What makes this method particularly effective is its simplicity. You’ll need just a handful of basic supplies—most of which you likely already have—and a clear understanding of when and how to make the cut. The key lies in identifying the right roots and providing the proper conditions for them to establish themselves independently. My first successful propagation came from a root system I nearly discarded as too small.
Within 8-12 weeks, you’ll see new growth emerging from what was once just an aerial root. The parent plant remains unharmed, and you gain a genetically identical orchid that will bloom just like its parent. This technique works particularly well with Phalaenopsis orchids, though I’ve had success with several other varieties using the same approach.
The most rewarding aspect comes months later when your propagated orchid produces its first flowers. There’s something uniquely satisfying about growing a blooming plant from what was essentially an air root. The method scales easily—whether you want one new plant or a dozen, the process remains the same.
📚 In This Guide
This method transforms those unruly aerial roots into thriving new plants—no fancy equipment required.
Look for healthy aerial roots that are at least 6-8 inches long with visible green tips (active growth points). These roots should feel firm—not mushy or hollow—when gently squeezed. I always select roots emerging from the main stem rather than flower spikes, as they establish faster.
Using sterilized scissors, make a clean cut 1-2 inches below where the root attaches to the stem. The parent plant will recover quickly if you leave at least three healthy roots intact. Immediately apply cinnamon powder to both the parent plant’s wound and the cut root end—this prevents bacterial infection while encouraging callus formation.
Fill a small container with sphagnum moss (soaked and wrung out until damp but not dripping) or use a clear plastic propagation box with ventilation holes. The key is maintaining 70-80% humidity while allowing airflow—stagnant moisture causes rot.
Lay the cut aerial root horizontally across the moss surface, ensuring the green tip points slightly upward. Don’t bury it—just nestle it into the surface so the tip makes contact. Mist lightly with room-temperature water until the moss glistens but no water pools at the bottom. Place in bright, indirect light (east-facing windowsill works perfectly).
Within 4-6 weeks, you’ll notice the green tip swelling—this is the beginning of a new keiki (baby orchid). Maintain moss moisture by misting every 3-4 days when the surface feels dry to the touch. I use a spray bottle set to fine mist to avoid dislodging the delicate root.
Once you see two small leaves (about 1 inch long) and new roots emerging from the base, it’s time to transition. Reduce humidity gradually by leaving the container open for increasing periods: 1 hour the first day, doubling daily until the keiki adapts to room conditions. This hardening-off prevents shock when you eventually pot it.
When the keiki has three mature leaves and roots 2-3 inches long, it’s ready for its own pot. Use orchid bark mix (never regular potting soil) in a 4-inch pot with multiple drainage holes. Position the plant so the base of the leaves sits just above the media—burying the stem invites rot.
Water thoroughly after potting, then place in bright, indirect light with 50-60% humidity. Resist fertilizing for the first month—new roots are sensitive to salt buildup. You’ll know it’s established when you see new root growth emerging from the base within 6-8 weeks. At this point, treat it like a mature orchid with regular watering and quarter-strength fertilizer.
After years of experimenting with orchid propagation, I’ve learned that small adjustments make all the difference between success and disappointment.
Root Selection Insight: In Step 1, don’t overlook the importance of choosing roots with vibrant green tips—these are the active growth points that will develop into your new plant. I’ve found that roots emerging from the main stem (rather than flower spikes) establish up to 30% faster. The 6-8 inch length requirement isn’t arbitrary; shorter roots often lack the stored energy needed to sustain new growth during the critical first 4-6 weeks of development.
Environment Control: The 70-80% humidity range specified in Step 2 is absolutely critical—this mimics the tropical conditions orchids naturally thrive in. I maintain this by using a clear plastic box with ventilation holes drilled in the sides, which allows me to monitor moisture levels without disturbing the delicate root. A simple hygrometer placed inside the container takes the guesswork out of maintaining the perfect environment.
Transition Timing: When you reach the hardening-off phase in Step 3, that gradual reduction in humidity (starting with 1 hour the first day) isn’t just about acclimation—it’s about strengthening the plant’s cuticle layer. This natural waxy coating helps the keiki retain moisture once it’s potted. I’ve noticed that plants hardened off properly show 50% less transplant shock when moved to their permanent pots.
Potting Precision: The instruction in Step 4 about positioning the plant so the base of the leaves sits just above the media isn’t just good advice—it’s essential for preventing crown rot. I use a chopstick to create a small depression in the orchid bark mix, which helps position the keiki at exactly the right height. This simple trick ensures proper drainage while keeping the sensitive crown dry.
Yes! You can use the keiki propagation method by wrapping moist sphagnum moss around a healthy aerial root (with a node) and securing it with plastic wrap. Keep it humid, and a new plantlet (keiki) may form in 2-6 months—no cutting required!
Timing varies by orchid type and conditions, but most keikis (baby orchids) develop in 8-12 weeks if humidity (70-80%) and indirect light are ideal. Phalaenopsis orchids tend to root faster than Cattleyas or Dendrobiums.
Rot usually means overwatering or poor airflow. Remove the affected root, let the cut dry, and repropagate with fresh moss. Use a fungicide (like hydrogen peroxide diluted 1:10) to sterilize tools and prevent recurrence.
Not essential, but a light dusting of cinnamon (natural antifungal) or orchid-specific rooting hormone can speed up growth. Avoid heavy concentrations—orchids are sensitive! Stick to humidity and patience for best results.
Water propagation can work for some orchids (like Phals), but it’s riskier due to rot. If trying, use distilled or rainwater, change it weekly, and ensure the root node stays just above water. Moss is safer for beginners.
Propagating orchids from aerial roots is simpler than it seems—just patience and the right technique turn those wandering roots into thriving new plants! 🌱 With clean cuts, proper humidity, and a little TLC, you’ll soon have baby orchids to share or expand your collection.
Ready to try it? Start with a healthy parent plant and gather your supplies—your next orchid adventure begins with a single snip! For extra confidence, revisit the FAQs or experiment with different orchid varieties. Happy propagating! ✨
