
Beautiful Plants For Your Interior
Beautiful Plants For Your Interior
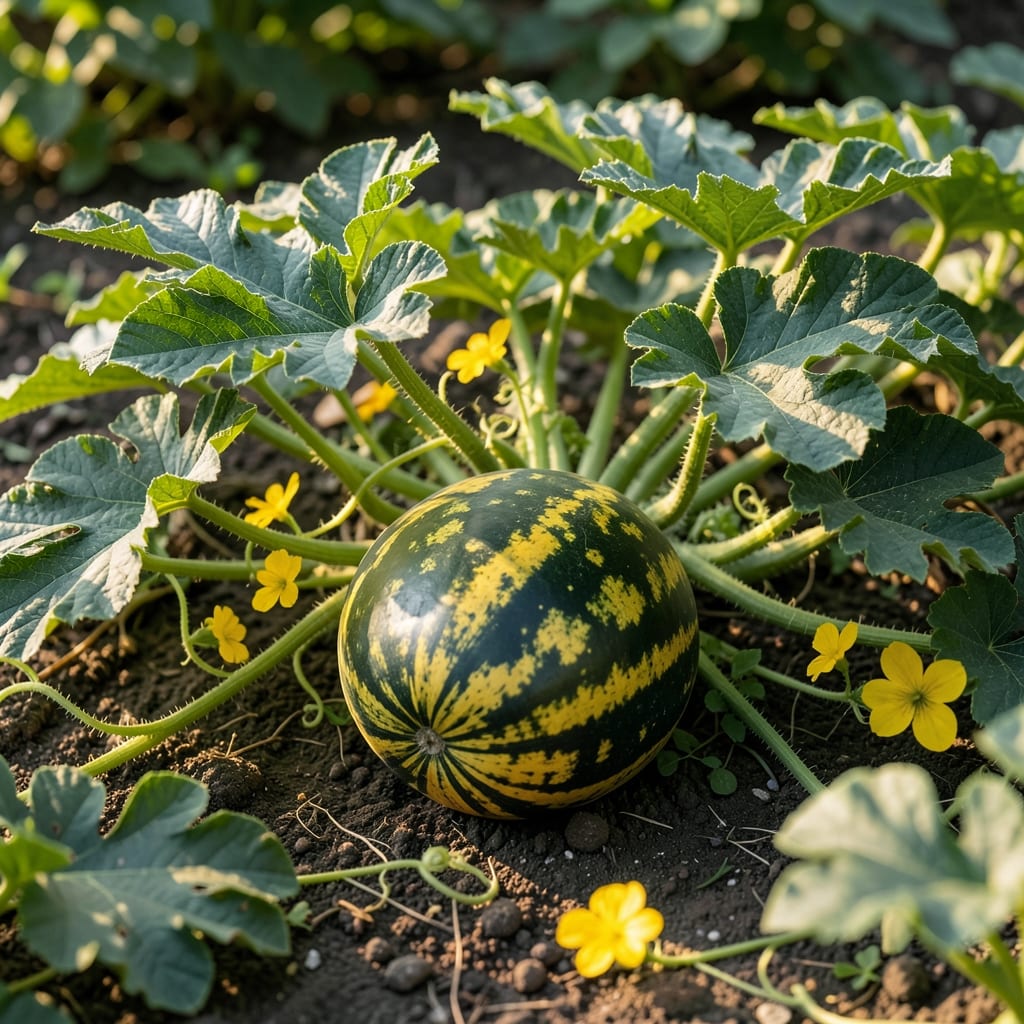
I first grew Pony Yellow watermelons three summers ago, and the sweet, buttery flavor ruined me for store-bought varieties forever.
These compact vines produce 8-10 pound fruits with golden flesh that stays crisp for 2 weeks after picking. They thrive in 90-100 days, need full sun, and handle heat better than most red watermelons. The secret is consistent watering during fruit set.
📚 In This Guide
This method delivers sweet, compact melons perfect for small gardens or containers.
Choose a location with full sun exposure, as these melons require at least 8-10 hours of direct sunlight daily. The soil should be well-draining, loose, and rich in organic matter. I always amend the bed with 2-3 inches of compost worked into the top 6-8 inches of soil to ensure proper drainage and fertility.
Test the soil pH—it should be between 6.0 and 6.8 for optimal growth. If your soil is too acidic, add lime to raise the pH. Conversely, if it’s too alkaline, incorporate sulfur. A soil test kit makes this step simple and precise.
Directly sow seeds outdoors only after the last frost date, when soil temperatures have reached at least 70°F. Plant seeds 1 inch deep and space them 2-3 feet apart in rows that are 5-6 feet apart. This spacing allows the vines room to spread without competition.
If you’re using seedlings, transplant them carefully to avoid disturbing the roots. Dig a hole slightly larger than the root ball, place the seedling in, and backfill with soil. Water immediately after planting to help settle the soil and eliminate air pockets around the roots.
Keep the soil consistently moist but not waterlogged, especially during the first few weeks after planting. Once the vines begin to spread, reduce watering slightly but ensure the soil never dries out completely. I water deeply 1-2 times per week, depending on rainfall, to encourage strong root development.
Apply a 2-3 inch layer of organic mulch, such as straw or wood chips, around the plants to retain moisture, suppress weeds, and regulate soil temperature. Mulching also helps prevent the fruit from resting directly on the soil, reducing the risk of rot.
Once the vines start to run, apply a balanced fertilizer, such as a 10-10-10, following the package instructions. Avoid over-fertilizing with nitrogen, as this can lead to excessive leaf growth at the expense of fruit production. I prefer to side-dress the plants with compost every 3-4 weeks for a steady supply of nutrients.
For smaller gardens, consider training the vines onto a trellis to save space. Use soft ties or old nylons to secure the vines gently as they grow. This also improves air circulation, reducing the risk of fungal diseases.
Pony Yellow watermelons typically mature in 70-80 days after planting. To determine ripeness, check the tendril near the stem—it should turn brown and dry. Additionally, the underside of the melon, where it touches the ground, should change from white to a creamy yellow color.
Harvest by cutting the stem with a sharp knife, leaving 1-2 inches of stem attached to the fruit. Store harvested melons in a cool, dry place and consume within 1-2 weeks for the best flavor. Real talk: the sweetness peaks right after picking, so try to enjoy them fresh.
Small adjustments in your approach can make a big difference in yield and sweetness.
The Sunlight Factor: Those 8-10 hours of direct sunlight daily are non-negotiable for sugar development. If your garden gets partial shade, prioritize morning sun over afternoon. I’ve found that melons receiving only 6 hours of sun produce noticeably less sweet fruit, even with perfect soil conditions.
Soil Preparation Insight: When amending with 2-3 inches of compost into the top 6-8 inches of soil, focus on creating a loose, friable texture. Compacted soil restricts root growth, and these melons develop extensive root systems. I use a garden fork to loosen the soil before adding compost for best results.
Temperature Matters: The 70°F soil temperature requirement at planting is critical for germination. Cold soil causes seeds to rot rather than sprout. Use a soil thermometer to check—your local weather app’s air temperature won’t tell you what’s happening at root level where it counts.
Watering Wisdom: That 1-2 times per week watering schedule should be deep and thorough, saturating the top 6 inches of soil each time. Shallow watering encourages shallow roots, making plants more vulnerable to drought stress. I water in the early morning to reduce evaporation and prevent fungal issues.
Pony yellow watermelons are smaller, with bright yellow flesh and a sweeter, honey-like flavor. They’re easier to grow in small spaces and mature faster than traditional varieties.
Pony yellow watermelons typically ripen in 70-80 days after planting. Look for a creamy yellow spot on the rind and a hollow sound when tapped to confirm ripeness.
Yes! Use a 5-gallon container or larger with well-draining soil. Ensure the trellis is sturdy for support, as the vines can spread up to 6 feet.
Lack of sweetness often results from under-ripening or poor sunlight. Ensure plants get 6-8 hours of sun daily and avoid harvesting too early.