
Beautiful Plants For Your Interior
Beautiful Plants For Your Interior
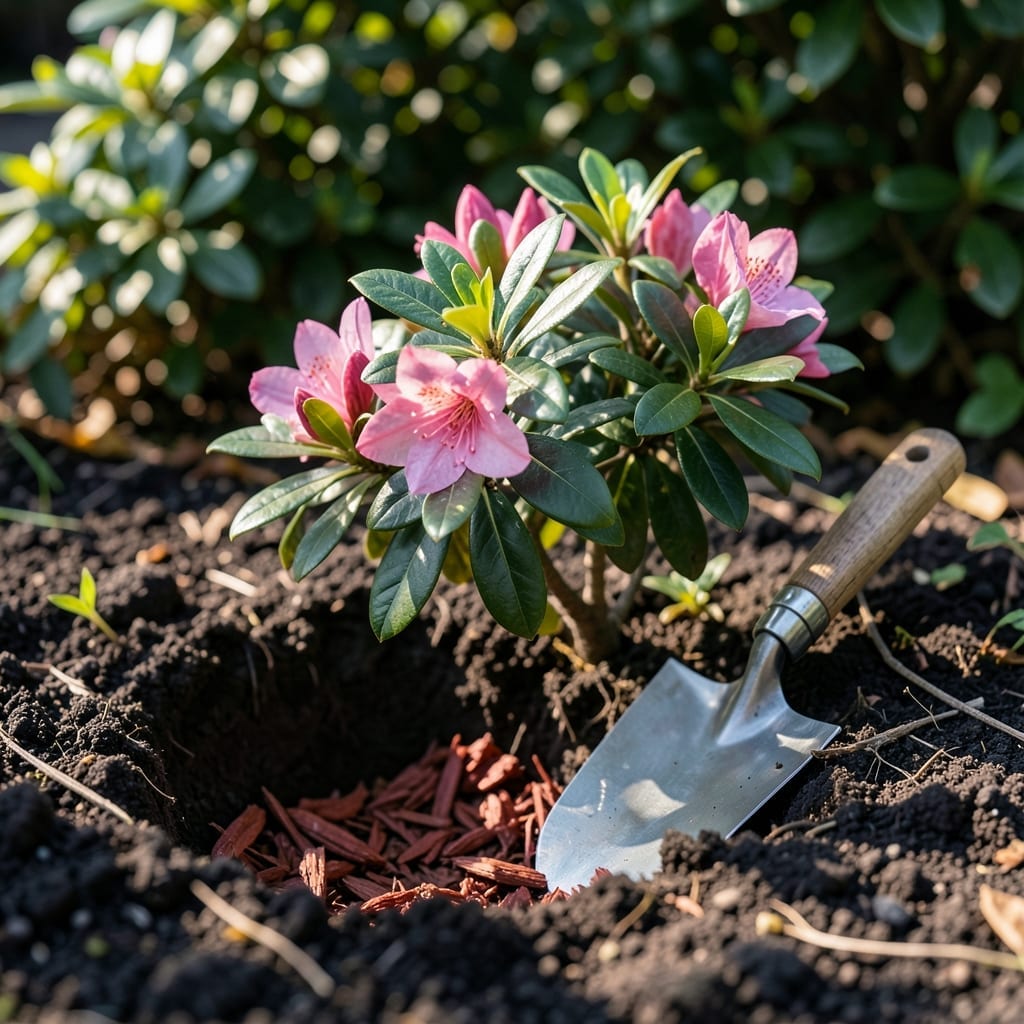
There’s something magical about watching 🌸 Azaleas burst into color after a long winter. I’ve found that fall planting gives these shrubs the perfect head start for next year’s spectacular display.
Many gardeners don’t realize that cooler temperatures actually help azaleas establish stronger root systems before winter. This means they’ll be ready to explode with blooms when spring arrives.
I’ll share the exact timing and techniques that work best for Zone 6a gardeners. You’ll discover why September through October is the sweet spot for planting.
Whether you’re new to azaleas or looking to expand your collection, this approach will set you up for success. Let’s get those roots growing before the first frost hits.
I’ve found that fall planting gives azaleas a major advantage over spring planting. The cooler temperatures reduce transplant shock, allowing roots to establish without heat stress. This is critical for these acid-loving shrubs to thrive before winter dormancy sets in.
By planting in early fall, you give your azaleas 6-8 weeks to develop strong root systems before the first frost. This head start means they’ll be ready to explode with vibrant blooms come spring, rather than struggling to recover from transplant stress.
| Aspect | Fall Planting | Spring Planting |
|---|---|---|
| Root Establishment | Faster in cool soil | Slower in warm soil |
| Transplant Shock | Minimal stress | Higher heat stress |
| Water Needs | Moderate | High |
| Spring Blooms | More vibrant | Potentially delayed |
The soil conditions in fall are often ideal for azaleas. After summer’s heat, the ground retains warmth while air temperatures cool, creating perfect conditions for root growth. This balance helps prevent the root rot that can occur in spring’s often soggy soil.
I always recommend testing your soil pH before planting. Azaleas prefer acidic soil between 4.5-6.0 pH. Fall is the perfect time to amend your soil with sulfur or peat moss if needed, as these amendments need time to take effect.
Another advantage of fall planting is reduced pest pressure. Many garden pests become less active as temperatures drop, giving your new azaleas a chance to establish without as much risk of insect damage or disease.
In my experience, September through early October is the sweet spot for most zones. This timing gives plants enough warmth to grow but avoids the stress of summer heat or winter freezes. Always check your local frost dates to be sure.
Fall-planted azaleas also benefit from autumn rains, which help settle the soil and keep the root ball moist without requiring as much supplemental watering. This natural irrigation can be especially helpful for newly planted shrubs.
I’ve noticed that azaleas planted in fall often develop a stronger root system than those planted in spring. This is because they can focus all their energy on root development rather than supporting both roots and new foliage growth.
Finally, nursery selection is often better in fall. Many garden centers discount their stock at season’s end, allowing you to find high-quality azaleas at lower prices. Just be sure to choose plants with healthy root systems and vibrant foliage.
This approach sets your garden up for spectacular spring color with less effort and better results. 🌸
I always start by selecting the perfect spot with partial shade and well-draining acidic soil. Azaleas thrive when they get morning sun and afternoon protection, especially in our Zone 6a climate.
The hole should be twice as wide as the root ball but no deeper. This gives roots room to spread while preventing sinking. I use a garden fork to loosen the sides of the hole for better root penetration.
I can’t stress enough how important it is to maintain the same depth as the plant was in its container. Planting too deep can suffocate the roots and lead to poor growth or even plant death.
After placing the azalea in the hole, I backfill with a mix of native soil and organic matter. This helps with both drainage and nutrient availability. Then I gently tamp down the soil to remove air pockets.
The first watering is critical – I give each new azalea 1-2 gallons of water to settle the soil. Then I apply a 2-3 inch layer of mulch, keeping it away from the trunk to prevent rot.
For the first few weeks, I check soil moisture daily and water when the top inch feels dry. This consistent care helps establish roots before winter arrives.
With proper fall planting, you’ll be rewarded with vibrant spring blooms that make all the effort worthwhile 🌸