
Beautiful Plants For Your Interior
Beautiful Plants For Your Interior
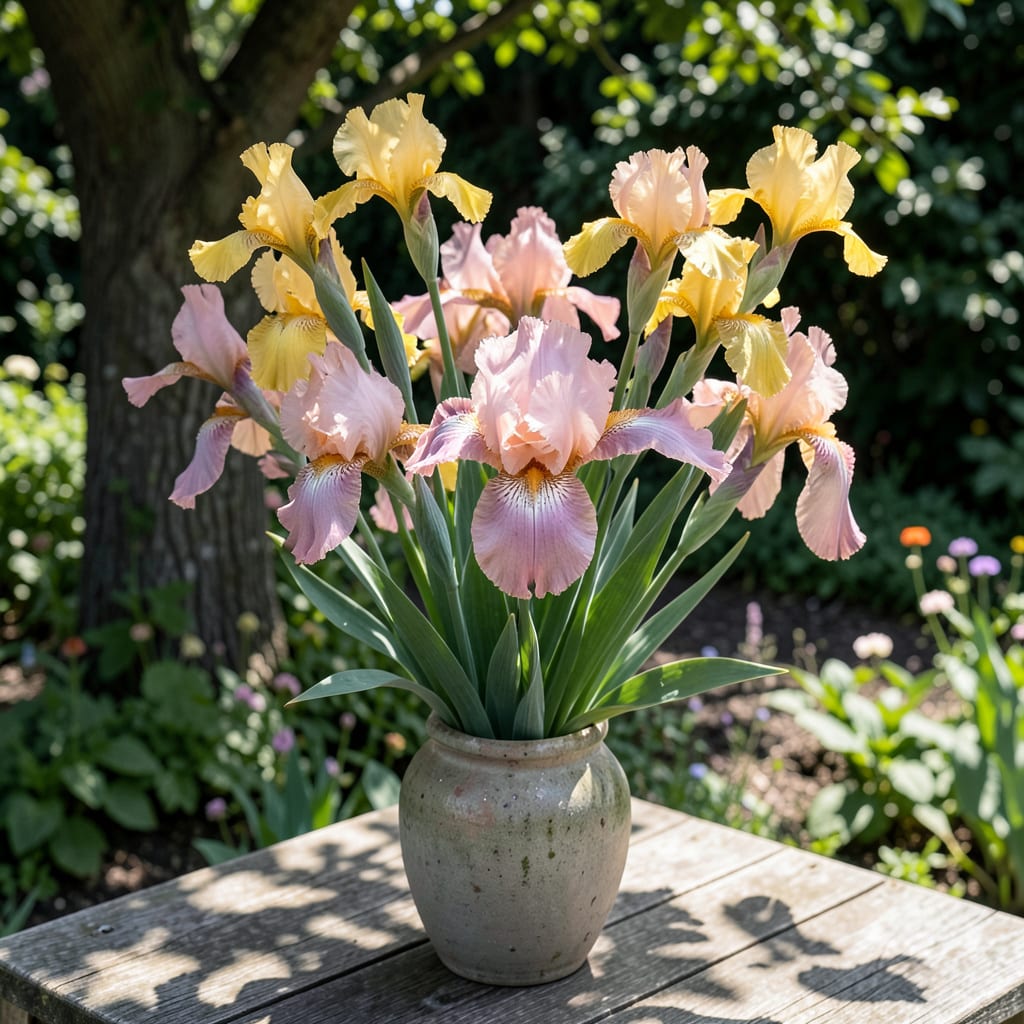
Spring mornings feel complete with bicolor irises swaying in the breeze. I planted my first pink and yellow iris three seasons ago, and they’ve become the showstoppers of my early garden.
These beauties thrive in well-drained soil with full sun to partial shade. With minimal care—just occasional watering and deadheading—they return bigger and brighter every year. The color combination never fails to draw admirers.
📚 In This Guide
Here’s the method I use to establish these stunning bicolor blooms with minimal fuss.
Select a site with full sun to partial shade—these irises thrive with 6+ hours of direct sunlight daily. They tolerate a range of conditions but bloom most abundantly in well-drained soil. Test drainage by digging a 12-inch hole and filling it with water; if it drains within 1 hour, the location is ideal.
Amend heavy clay or sandy soil with 2-3 inches of organic matter like compost or well-rotted manure. Work it into the top 6-8 inches of soil to improve fertility and structure. Avoid fresh manure, which can burn tender rhizomes. The soil pH should be slightly acidic to neutral (6.0-7.0).
Dig a shallow hole, about 4 inches deep, and create a small mound of soil in the center. Place the rhizome on top of the mound, spreading the roots downward on either side. The rhizome should sit partially exposed at the soil surface—burying it too deep causes rot and prevents flowering.
Space rhizomes 12-24 inches apart to allow for mature growth and air circulation, which reduces disease risk. If planting multiple varieties, group them in odd-numbered clusters (3, 5, or 7) for a natural look. Water lightly after planting to settle the soil around the roots.
Water deeply after planting, ensuring the soil is moist but not waterlogged. During the first 2-3 weeks, keep the soil consistently moist to encourage root growth. After establishment, these irises are drought-tolerant and only need watering during prolonged dry spells.
Apply a 2-inch layer of organic mulch, such as shredded bark or straw, around the plants. Keep mulch 1-2 inches away from the rhizomes to prevent rot. Mulching conserves moisture, suppresses weeds, and maintains a stable soil temperature, which is crucial for healthy growth.
In early spring, apply a balanced, low-nitrogen fertilizer (e.g., 6-10-10) around the base of the plants. Avoid high-nitrogen fertilizers, which promote leafy growth at the expense of flowers. Scratch the fertilizer lightly into the soil and water thoroughly to activate it.
Deadhead spent blooms by cutting the flower stalk back to the base after flowering to prevent seed formation, which diverts energy from the rhizome. In late fall, trim back foliage to 6 inches above the ground to reduce overwintering pests and diseases. Remove any dead or yellowed leaves throughout the growing season.
Over time, iris clumps become crowded, leading to reduced flowering. Divide them every 3-4 years in late summer or early fall, about 4-6 weeks after blooming. Use a sharp knife or spade to lift the clump and separate the rhizomes, discarding any that are soft, diseased, or non-productive.
Replant the healthiest rhizomes immediately, following the same depth and spacing guidelines as the initial planting. This rejuvenates the planting, ensures vigorous growth, and provides an opportunity to share these beautiful bicolor irises with friends and neighbors.
Planting success often comes down to avoiding a few common pitfalls—here’s what I’ve learned the hard way.
Sunlight Strategy: Don’t underestimate the 6+ hours of direct sunlight requirement in Step 1. While these irises tolerate partial shade, they’ll reward you with far more blooms in full sun. If your garden has limited light, prioritize morning sun, which is gentler and less likely to scorch the delicate petals.
Drainage Test: That 1-hour drainage test in Step 1 isn’t just a suggestion—it’s your insurance against rot. If water lingers longer than an hour in your 12-inch hole, consider raised beds or amending the soil with extra organic matter to improve drainage before planting.
Depth Discipline: In Step 2, resist the urge to bury those rhizomes completely. Planting them partially exposed might look odd at first, but it prevents the most common iris killer: rhizome rot. If they’re buried too deep, they’ll struggle to establish and may never bloom.
Spacing Wisdom: The 12-24 inch spacing in Step 2 isn’t arbitrary. Crowded irises lead to poor air circulation, which invites disease. Give them room to breathe, and they’ll reward you with healthier plants and more spectacular bicolor displays.
The ideal time is late summer to early fall, allowing roots to establish before winter. Planting in spring is also possible, but blooms may be delayed until the following year. Ensure well-drained soil and full sun for vibrant flowers.
Keep soil slightly moist but not soggy. Remove spent blooms to encourage new growth, and divide clumps every 3-4 years to prevent overcrowding. Fertilize lightly in early spring for best results.
Yes! Choose a large pot with drainage holes and use quality potting mix. Ensure the container receives at least 6 hours of sunlight daily. Water regularly, as potted iris dry out faster than in-ground plants.
Common causes include insufficient sunlight, overcrowding, or planting too deep. Check for healthy rhizomes and ensure they’re partially exposed to sunlight. Patience may be needed—new plants often take a year to bloom.
Pair with low-growing perennials like creeping thyme, daylilies, or ornamental grasses. These companions complement iris height and color while hiding foliage after blooming ends.
