
Beautiful Plants For Your Interior
Beautiful Plants For Your Interior
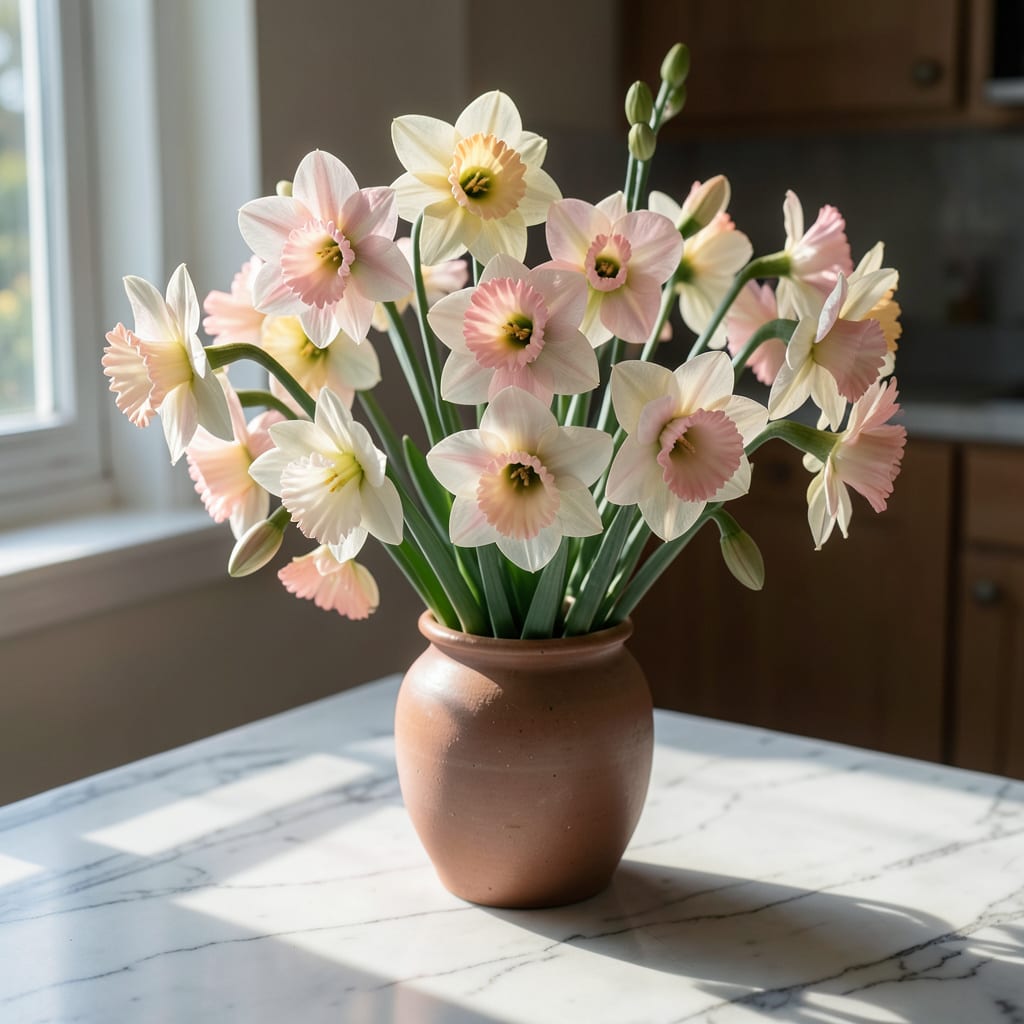
There’s something magical about pink and white daffodils popping up in early spring. I first planted them three years ago, and they’ve transformed my garden beds into a soft, dreamy landscape.
These beauties thrive in well-drained soil and full to partial sun. They’re low-maintenance, deer-resistant, and return bigger and brighter every year. You’ll love how they stand out against the usual yellow varieties.
📚 In This Guide
Here’s how I cultivate these elegant blooms for vibrant spring displays in any garden.
Select a site with full sun to partial shade, as daffodils thrive in areas that receive at least 6 hours of sunlight daily. Avoid low-lying spots where water pools, as soggy soil leads to bulb rot. I always test drainage by digging a 12-inch hole and filling it with water—if it doesn’t drain within 1 hour, pick another location.
Soil should be well-draining and slightly acidic to neutral (pH 6.0-7.0). If your soil is heavy clay, amend it with compost or sand to improve texture. A loose, fertile bed ensures bulbs establish strong root systems before winter dormancy.
Loosen the soil to a depth of 12-15 inches using a garden fork, breaking up clumps and removing rocks or debris. This depth accommodates bulb growth and encourages deep rooting. I mix in a 2-inch layer of compost to boost fertility, as daffodils are light feeders but respond well to organic matter.
Inspect bulbs for firmness and mold-free surfaces. Discard any that feel soft or show signs of damage, as these won’t produce healthy blooms. Soaking bulbs in lukewarm water for 1-2 hours before planting can rehydrate them, but it’s optional—only do this if they appear shriveled.
Dig individual holes or a trench 6-8 inches deep—the general rule is to plant bulbs at a depth 2-3 times their height. Place bulbs pointy-end up, as planting them upside down delays sprouting. Space bulbs 4-6 inches apart for a naturalized look or 2-3 inches apart for a dense, dramatic display.
Cover bulbs with soil and press down gently to eliminate air pockets, which can dry out roots. Water thoroughly after planting to settle the soil and initiate root growth. You’ll know it’s done right when the bed feels firm underfoot but not waterlogged.
After planting, apply a 2-3 inch layer of mulch (straw or shredded leaves work well) to insulate the soil and retain moisture. This is especially critical in colder climates, where mulch protects bulbs from freeze-thaw cycles. I avoid wood chips, as they can create a nitrogen deficit as they decompose.
Water the bed once a week if rainfall is less than 1 inch per week, keeping soil consistently moist but not soggy. Overwatering is a common mistake—daffodils are drought-tolerant once established, and excessive moisture invites fungal diseases. Stop watering once foliage yellows in late spring, signaling dormancy.
Small details make the difference between mediocre blooms and a show-stopping spring display.
Sunlight Strategy: That minimum of 6 hours of sunlight daily isn’t just a suggestion—it’s critical for strong stems and vibrant color. In Step 1, if your chosen spot gets afternoon shade, prioritize morning sun exposure, which is gentler and prevents petal scorch during warmer spring days.
Drainage Test: The 1-hour drainage test in Step 1 is your insurance policy against bulb rot. If water lingers longer, consider raised beds or amend with coarse sand rather than just compost, as organic matter alone won’t fix poor drainage in clay-heavy soils.
Planting Depth Precision: For Step 3, stick to that 6-8 inch depth—planting too shallow exposes bulbs to temperature fluctuations, while too deep delays sprouting. Use a ruler for accuracy; the “2-3 times their height” guideline works, but exact measurement removes guesswork.
Hydration Balance: The once a week watering in Step 4 assumes average conditions. In sandy soil, you may need to water every 5 days, while clay soil might stretch to 10 days. Always check soil moisture 2 inches down—if it’s dry, it’s time to water.
These charming daffodils typically bloom in early to mid-spring, around March or April, depending on your climate. They add a pop of color just as winter fades!
Yes! Plant bulbs in well-draining pots in fall, 6-8 weeks before the first frost. Ensure containers have drainage holes to prevent bulb rot.
Pair them with low-growing perennials like creeping thyme or grape hyacinths. These combinations create stunning, layered garden displays.
Common issues include insufficient sunlight, poor drainage, or planting bulbs too shallow. Ensure they get 6+ hours of sun and are planted 6 inches deep.
