
Beautiful Plants For Your Interior
Beautiful Plants For Your Interior
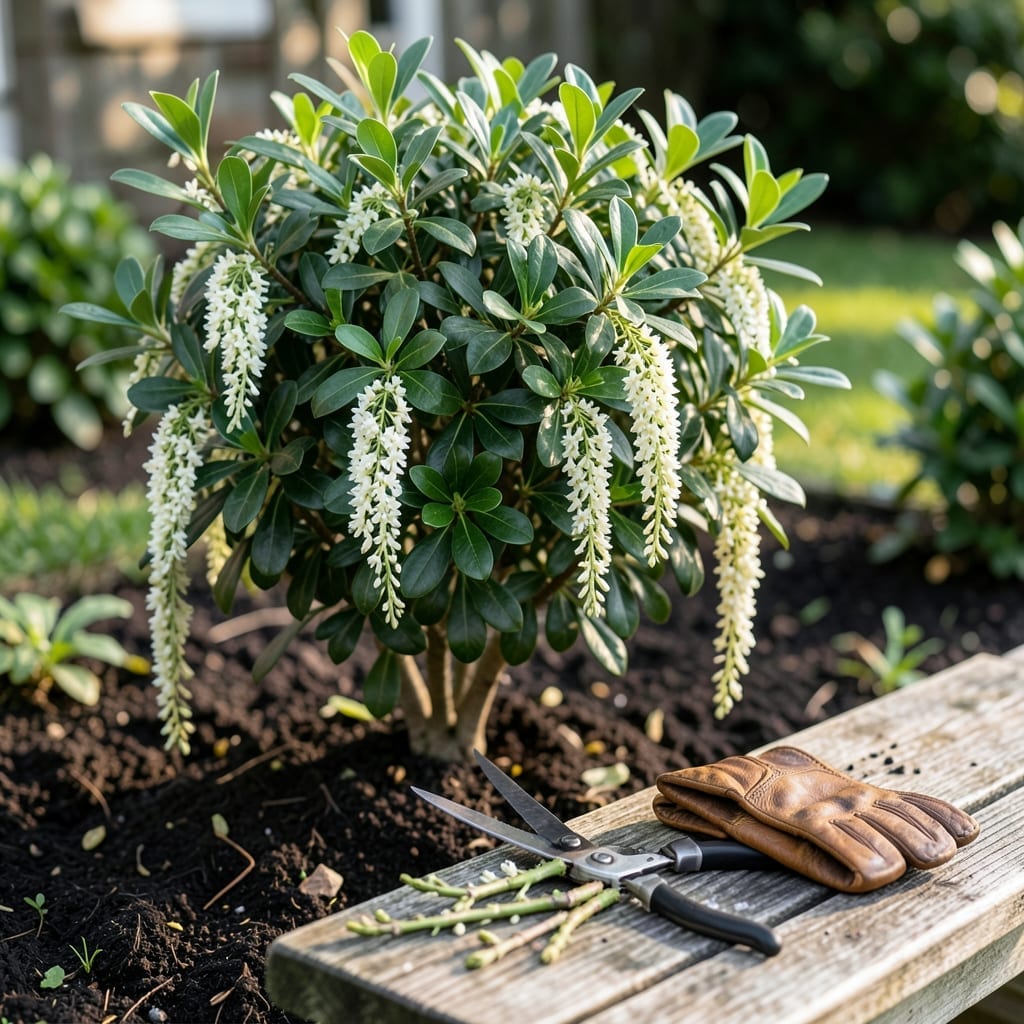
Pruning your Pieris🌿 properly is the secret to vibrant, cascading blooms that turn your garden into a springtime spectacle. Done incorrectly, it can leave you with sparse foliage and disappointing flowers.
I’ve seen both outcomes firsthand, and the difference comes down to knowing when and how to trim. Timing is the key to protecting next year’s blossoms while keeping your shrub healthy.
Whether you’re a seasoned gardener or just starting out, these simple techniques will help you achieve the best results. Let me walk you through the process step by step.
From tool selection to post-pruning care, you’ll discover everything you need to keep your Pieris thriving. Let’s get started.

Getting the timing right is everything with pieris pruning. These beautiful shrubs set their flower buds in late summer, so pruning at the wrong time can ruin next year’s blooms. I always mark my calendar for just after the flowers fade.
For most pieris japonica varieties, this means pruning in late spring or early summer. The exact window depends on your climate and the specific cultivar. In cooler zones, I wait until all frost danger has passed.
| Pieris Type | Key Consideration | |
|---|---|---|
| Late Spring | Early bloomers | After flowers fade |
| Early Summer | Late bloomers | Before new buds form |
| Avoid Winter | All varieties | Removes spring flowers |
In USDA zones 5-8, where most pieris thrive, I find the ideal pruning window is between March and April. This gives the plant time to recover and set new buds before winter. The key is to finish before July to avoid cutting off next year’s flowers.
For dwarf varieties like ‘Little Heath’, I prune even more carefully. These compact shrubs need less aggressive pruning, just enough to maintain shape and remove dead wood. A light trim after flowering keeps them looking tidy without sacrificing blooms.
If you’re in a warmer climate, your pieris might bloom earlier. I watch for the first flowers to wilt, then grab my pruning shears. This timing ensures I’m not removing any of the new growth that will produce next year’s spectacular display.
Remember that young pieris plants need different treatment. For the first 2-3 years, I only remove dead or damaged branches. This allows the shrub to establish a strong root system before any major shaping begins.
Weather can affect your pruning schedule too. After a late frost, I wait until all danger has passed. Pieris are somewhat cold-hardy, but new growth is tender and can be damaged by unexpected cold snaps.
For rejuvenation pruning on older, overgrown pieris, I tackle this in early spring before new growth starts. This more drastic pruning should only be done every 3-4 years to maintain the plant’s health and vigor.
Always check your specific pieris cultivar for its bloom time. Some, like ‘Forest Flame’, bloom earlier than others. I keep a garden journal to track when each variety finishes flowering so I never miss the perfect pruning window.
After pruning, I
I always start by selecting the right tools for pruning my pieris plants. Sharp bypass pruners and loppers work best for clean cuts. Dull tools can tear the stems, so keep them well-maintained.
Timing is crucial when pruning. I recommend pruning immediately after flowering to avoid cutting off next year’s flower buds. This gives the plant time to recover and set new buds.
For thinning cuts, I remove entire branches at their base. This opens up the plant’s center for better air circulation and sunlight penetration, which keeps the foliage healthy.
When making heading cuts, I trim just above a leaf node to encourage bushier growth. Never cut more than 1/3 of the plant in a single session to avoid stressing it.
After pruning, I give my pieris a light watering and apply mulch to retain moisture. This helps the plant recover faster and reduces the risk of transplant shock.
Finally, I step back and admire my work, knowing that proper pruning will lead to more vibrant blooms next season. A little care goes a long way with these beautiful shrubs! ✂️