
Beautiful Plants For Your Interior
Beautiful Plants For Your Interior
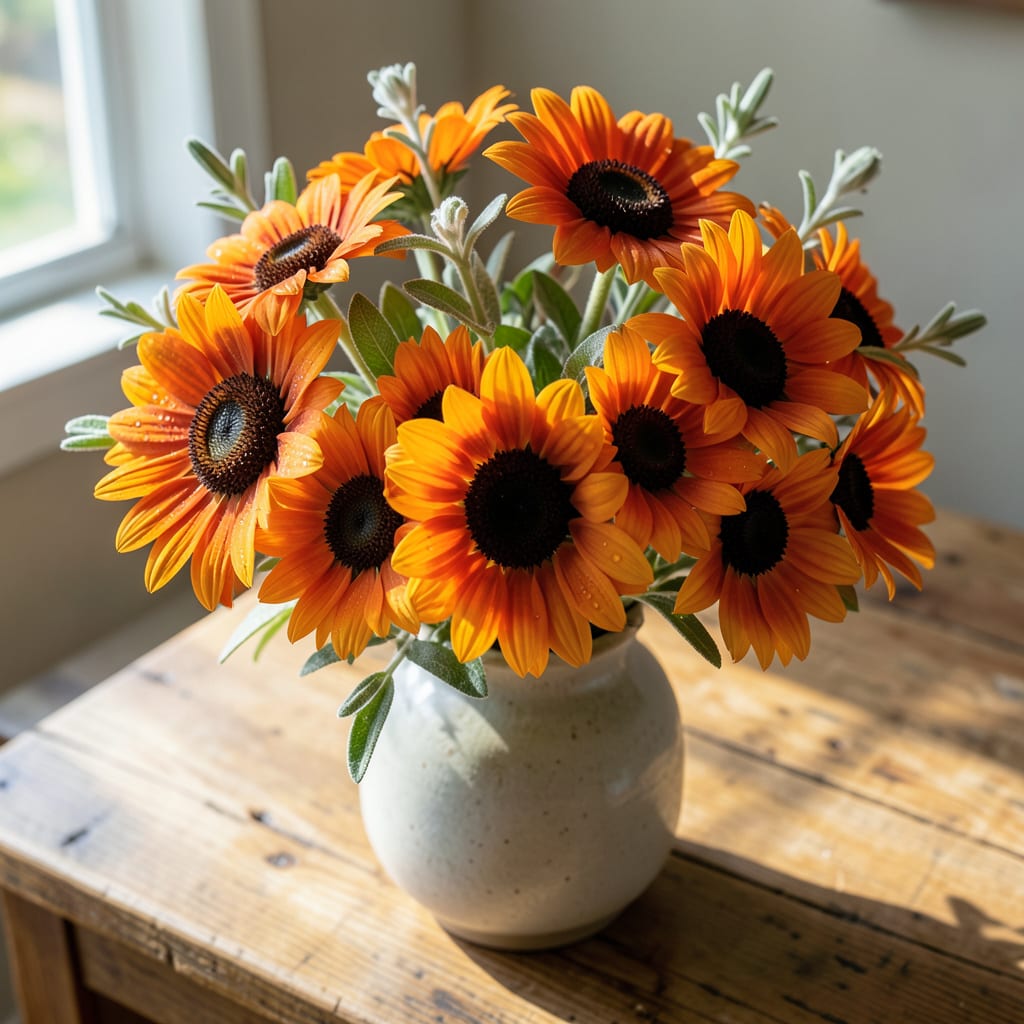
I fell for Orange Black Eyed Susan the first time I saw its fiery petals glowing against that dark center. These tough natives thrive where others struggle, bringing summer-long color with almost no fuss.
Plant them once and they’ll return every year, multiplying faster than you’d expect. Pollinators can’t resist the nectar-rich blooms, and you’ll get months of vibrant orange and gold without deadheading.
📚 In This Guide
Here’s the method I trust to grow these cheerful, pollinator-magnet flowers from start to finish.
Select a location with full sun—at least 6-8 hours of direct sunlight daily. Orange Black Eyed Susan thrives in well-draining soil, so avoid low-lying spots where water pools after rain. I always test soil drainage by digging a 1-foot-deep hole, filling it with water, and checking if it drains within 1-2 hours.
If your soil is heavy clay, amend it with compost to improve structure. These plants tolerate a range of soil types but prefer slightly acidic to neutral pH (6.0-7.0). You’ll notice stronger blooms and healthier foliage when the site meets these conditions.
Dig holes twice as wide as the root ball but no deeper. Place the plant so the crown (where stems meet roots) sits 1/4 inch above soil level—this prevents rot. Space plants 18-24 inches apart to allow airflow and reduce disease risk.
Backfill with native soil, pressing lightly to remove air pockets. Water immediately with 1 gallon of water per plant to settle the soil. I’ve found that mulching with 2-3 inches of shredded bark after planting retains moisture and suppresses weeds effectively.
Water deeply 1-2 times per week for the first month, providing 1-1.5 inches of water weekly (including rainfall). After establishment, these drought-tolerant plants need supplemental water only during prolonged dry spells. You’ll know they need water when the top 1-2 inches of soil feel dry.
Avoid overhead watering to prevent foliar diseases. I use a soaker hose at the base of plants, which delivers moisture directly to roots. Morning watering is ideal—it allows foliage to dry before evening, reducing fungal issues.
Apply a balanced, slow-release fertilizer (10-10-10) in early spring as new growth appears. Sprinkle 1 tablespoon per square foot around the base of each plant, then water thoroughly. This encourages vigorous growth and abundant flowering.
Deadhead spent blooms regularly by cutting stems back to the next set of leaves. This not only tidies the plant but also stimulates new flower production. You’ll see fresh buds forming within 2-3 weeks of deadheading. I always leave some spent blooms in late summer to provide seeds for birds.
Cut back stems to 4-6 inches in late fall after foliage yellows. This helps prevent disease and encourages strong regrowth next spring. In colder climates (USDA zones 4-6), add a 2-3 inch layer of mulch around the base after the ground freezes for winter protection.
Divide clumps every 3-4 years in early spring or fall if plants become overcrowded. This rejuvenates the planting and gives you free plants to expand your garden. You’ll notice the center of mature clumps may die out—this is your signal it’s time to divide.
Small adjustments make a big difference when establishing these vibrant blooms.
Sunlight Requirement: The 6-8 hours of direct sunlight specified in Step 1 isn’t just a suggestion—it’s critical for abundant flowering. I learned this the hard way after planting some in partial shade; they grew tall and leggy with few blooms. If your garden has limited sun, consider containers you can move to follow the light.
Soil Drainage Test: That 1-foot-deep hole test in Step 1 is your best insurance against root rot. If water doesn’t drain within the 1-2 hours mentioned, don’t just add compost—consider raised beds. Orange Black Eyed Susan dislikes wet feet more than most perennials.
Planting Depth: The 1/4 inch above soil level detail in Step 2 prevents crown rot, which is the number one killer of these plants in their first year. I use a ruler to check this when planting—it’s that important. Press the soil gently but firmly to eliminate air pockets that could dry out roots.
Seasonal Maintenance: That 4-6 inch cutback in Step 5 isn’t just for tidiness. Leaving taller stems can trap moisture and encourage fungal diseases over winter. In USDA zones 4-6, wait until after the first hard frost to cut back, then add that 2-3 inch mulch layer for protection.
These hardy perennials thrive in full sun and well-drained soil. Water moderately, and deadhead spent blooms to encourage more flowers. They’re drought-tolerant once established!
Plant in early spring or fall for best results. This gives roots time to establish before extreme heat or cold. Avoid planting in the peak of summer.
Pair with purple coneflowers, Russian sage, or ornamental grasses for a striking contrast. These combinations also attract pollinators like bees and butterflies.
Yellowing leaves often signal overwatering or poor drainage. Check soil moisture and ensure the plant isn’t sitting in soggy conditions. Adjust watering as needed.
Yes! Try ‘Cherokee Sunset’ or ‘Indian Summer’ for vibrant orange-yellow hues. Both offer the same low-maintenance charm and pollinator appeal.
