
Beautiful Plants For Your Interior
Beautiful Plants For Your Interior
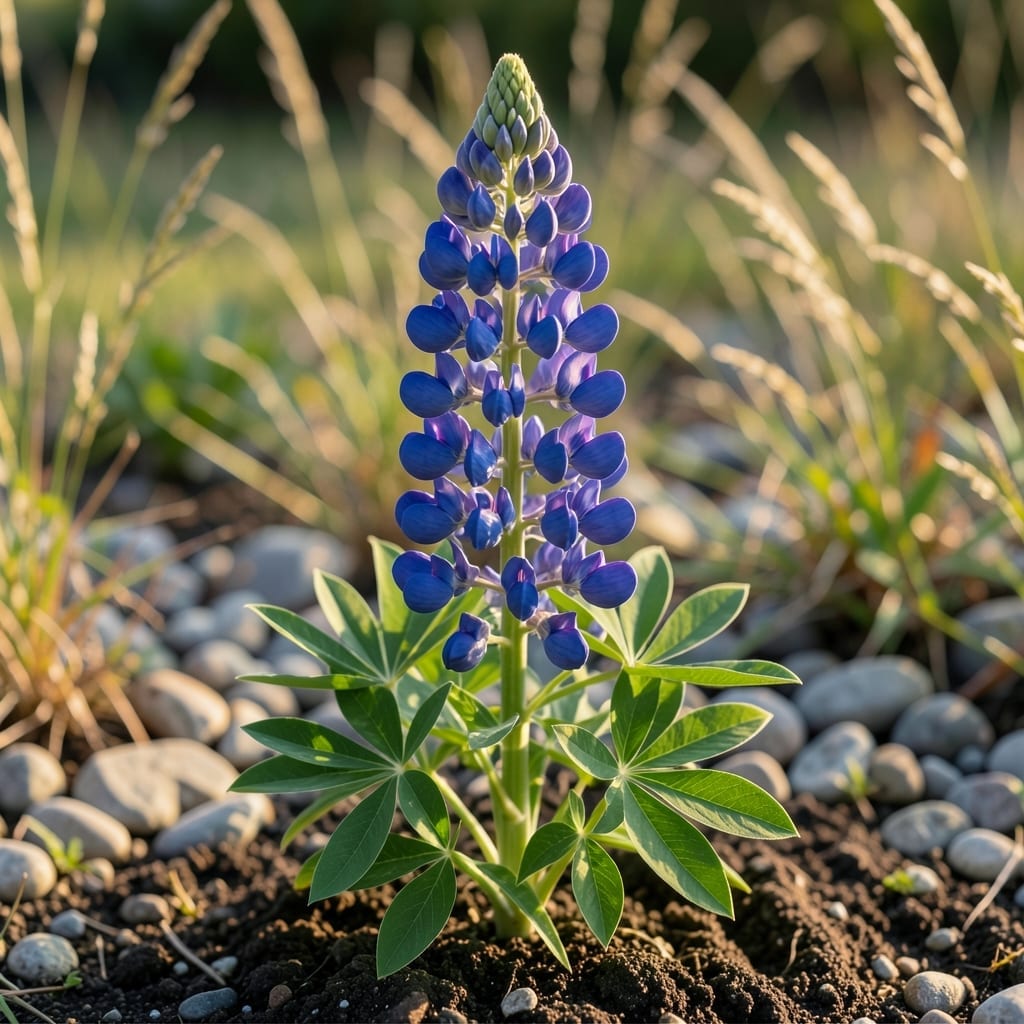
Lupine foliage transforms any garden with its palmate, silvery-green leaves that catch the light beautifully. I’ve grown these for years, and their foliage often steals the show before the flowers even appear.
They thrive in well-draining soil and full sun, but the real secret is avoiding overly rich conditions—this keeps the leaves lush without sacrificing their natural elegance. A little neglect actually suits them.
📚 In This Guide
Here’s the method I trust to produce vibrant lupine plants with dense, healthy leaves every time.
Choose a location with full sun to light shade—lupines thrive in 6-8 hours of direct sunlight daily but tolerate partial shade, especially in hotter climates. The soil should be well-draining and slightly acidic to neutral (pH 6.0-7.0). Avoid heavy clay or waterlogged areas, as lupines despise soggy roots.
I always test drainage by digging a 12-inch hole and filling it with water. If it drains within 2-3 hours, you’re good to go. If not, amend the soil with compost or sand to improve airflow. Lupines also prefer cooler temperatures, so a spot with afternoon shade works well in warmer zones.
Sow seeds or transplant seedlings in early spring or fall, spacing them 12-18 inches apart to allow for mature growth. If starting from seed, plant ¼ inch deep and keep the soil consistently moist until germination, which typically occurs in 14-21 days at 60-70°F.
For transplants, dig a hole slightly larger than the root ball and place the plant so the crown sits at soil level—burying it too deep can cause rot. Gently firm the soil around the base to eliminate air pockets. I water immediately after planting to help the roots settle in, but avoid soaking the foliage to prevent disease.
Water young plants deeply once or twice a week, ensuring the soil stays evenly moist but not waterlogged during the first growing season. Once established, lupines are drought-tolerant and only need supplemental water during prolonged dry spells. Always water at the base to keep the foliage dry and reduce fungal risks.
Apply a 2-inch layer of organic mulch, like shredded bark or straw, around the plants to retain moisture and suppress weeds. Keep the mulch a few inches away from the stems to prevent rot. You’ll notice the leaves stay lush and vibrant when the soil moisture is consistent, especially during the heat of summer.
Lupines are light feeders and generally don’t require heavy fertilization. In poor soils, I apply a balanced, low-nitrogen fertilizer (e.g., 5-10-10) once in early spring. Too much nitrogen leads to excessive leafy growth at the expense of flowers, so go easy—your goal is healthy foliage, not an overgrown plant.
Watch for signs of stress, such as yellowing leaves, which may indicate overwatering or nutrient deficiencies. Lupines are also sensitive to high phosphorus, so avoid fertilizers heavy in the middle number. By mid-summer, the plants should have dense, palmate leaves and strong stems ready to support their iconic flower spikes.
Deadhead spent flower spikes to encourage a second bloom and prevent self-seeding, which can become invasive in some areas. Cut back the entire plant by one-third after flowering to promote bushier growth and more foliage. Use clean, sharp shears to make cuts just above a set of leaves or side stem.
Remove any damaged or diseased leaves promptly to keep the plant looking its best. Lupines are relatively low-maintenance, but this simple pruning routine ensures they stay vigorous and produce that coveted lush, green foliage all season long.
These insights will help you avoid common pitfalls and achieve vibrant, healthy leaves.
Site Selection Tip: The 6-8 hours of daily sunlight mentioned in Step 1 is non-negotiable for optimal foliage density. In hotter climates, prioritize locations with afternoon shade to prevent leaf scorch while still meeting the light requirements. I learned this after watching my first batch wilt in full midday sun.
Drainage Test Method: That 12-inch hole test in Step 1 is your best insurance against root rot. If water doesn’t drain within 2-3 hours as specified, don’t just add more compost—consider raised beds. Lupines in soggy soil develop yellow leaves no matter how perfectly you follow other steps.
Planting Depth Critical: The ¼ inch depth for seeds in Step 2 might seem shallow, but burying them deeper delays germination beyond the 14-21 day window. For transplants, that soil-level crown placement prevents the stem rot that killed half my first attempt at growing these.
Pruning Precision: When Step 5 says to cut back by one-third after flowering, measure it—this isn’t approximate. I use the width of my hand as a guide. Cutting more risks shock, while cutting less won’t produce that bushier growth with abundant foliage you’re aiming for.
Yellowing leaves often signal overwatering or poor drainage. Lupines prefer well-drained soil, so ensure your plant isn’t sitting in soggy conditions. Nutrient deficiencies or pests can also cause this—check for aphids or spider mites.
Prune lupine leaves in early spring or after flowering to encourage bushier growth. Avoid heavy pruning in fall, as new growth may not harden off before winter, making the plant vulnerable to frost damage.
Most lupine varieties contain toxic alkaloids, making their leaves unsafe to eat. However, some cultivated varieties like Lupinus albus (white lupine) have edible seeds after proper preparation. Always verify the species before consumption!
Brown spots may indicate fungal diseases like leaf spot or powdery mildew. Improve air circulation, avoid overhead watering, and remove infected leaves. Fungicides can help if the problem persists.
Yes! Try baptisia (false indigo) or thermopsis for similar lush, palmate leaves. Both are hardy perennials with vibrant blooms and low-maintenance needs, perfect for lupine lovers seeking variety.