
Beautiful Plants For Your Interior
Beautiful Plants For Your Interior
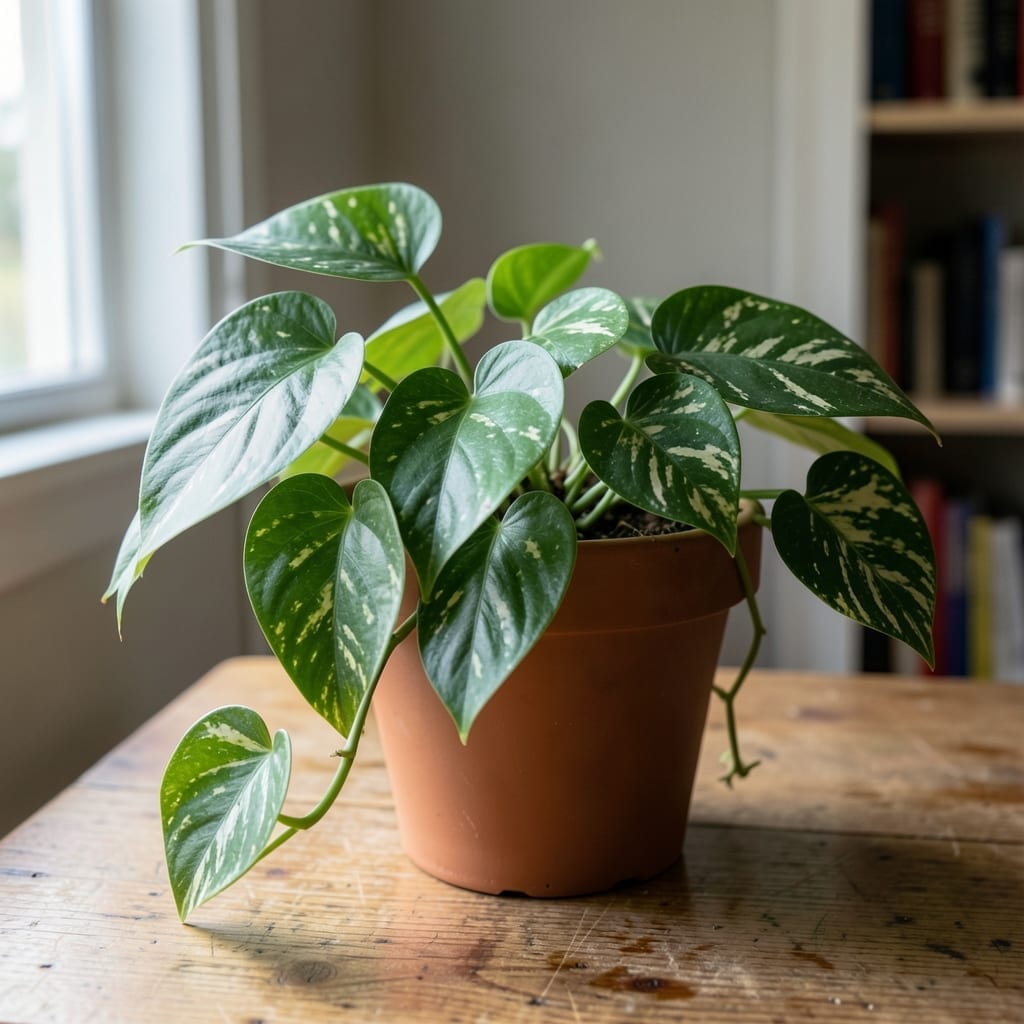
Those white streaks on your leaves aren’t disease—they’re leaf blower scars. I’ve ruined more than a few plants this way, mistaking power for precision. The damage looks like thin, pale lines where the air blasted directly against foliage.
The culprit is usually too much speed or too close a range. Even one pass at full throttle can strip away the protective wax layer, leaving permanent marks. Most gardeners don’t realize the harm until they see the damage days later.
Here’s the thing—this is completely preventable. Adjust your distance to 2-3 feet and reduce speed near delicate plants. The leaves you save will be the ones that actually photosynthesize properly.
Fix existing marks by trimming affected leaves. New growth will come in clean, and your plants will thank you with fuller, greener recovery.
The unsightly lines on a leaf are usually the result of direct physical or environmental stress. Here’s a breakdown of the most common culprits:
Leaf blowers propel air at speeds often exceeding 150 mph. When this high-velocity air hits the delicate surface of a leaf, it can rupture the waxy cuticle layer, leading to discoloration and visible streaks. Thin-leaved plants, like ferns or young seedlings, are especially vulnerable.
Leaf blowers generate heat from their engines, and the exhaust air can be significantly warmer than the surrounding environment. A sudden temperature spike can scorch leaf tissues, creating brown or yellow lines where the hot air made contact.
Small particles like dust, sand, or mulch can get caught in the airflow. As these abrasive materials blast against the leaf, they scratch the surface, leaving behind fine, white or tan lines. This is particularly common in dry, dusty conditions.
If leaves are wet—from rain, dew, or irrigation—the force of the blower can push water into the leaf’s stomata (tiny pores), causing cellular damage. This often results in water-soaked spots or linear discoloration along the leaf veins.
Holding the blower too close to foliage intensifies all the above factors. A distance of at least 6–12 inches is recommended to prevent concentrated damage. Closer proximity increases the risk of both mechanical injury and heat exposure.
Leaf blower marks on leaves can be unsightly, but they’re usually easy to address with the right approach. Below are practical solutions tailored to common causes, along with prevention tips to keep your foliage looking pristine.
If the marks are caused by excessive airflow, reduce the blower’s speed or switch to a lower setting. Hold the blower farther away (at least 6–12 inches) from the leaves to minimize direct impact. For delicate plants, consider using a soft-bristle brush or your hands to clear debris instead.
Prevention: Always start with the lowest speed and gradually increase as needed. Use a variable-speed blower for better control.
Heat-related marks often appear as brown or scorched lines. To fix this, avoid using the blower in extreme heat (above 90°F) or during peak sunlight. If damage occurs, trim affected leaves to encourage new growth and water the plant deeply to help it recover.
Prevention: Work in the early morning or late afternoon when temperatures are cooler. Keep the blower moving to avoid concentrating heat in one spot.
Debris or dirt in the blower can cause uneven airflow, leading to marks. Clean the blower’s intake and nozzle regularly to ensure smooth operation. Check for clogs in the air pathways and remove any obstructions.
Prevention: Inspect and clean your blower after every few uses. Store it in a dry place to prevent dirt buildup.
Incorrect handling, like holding the blower at a sharp angle, can create uneven lines. Keep the nozzle parallel to the ground and move it in smooth, sweeping motions. Avoid pointing it directly at leaves for prolonged periods.
Prevention: Practice consistent, gentle motions. Use a nozzle attachment designed for leaf blowing to distribute airflow evenly.
Keep the nozzle at least 6–12 inches away from foliage. This prevents concentrated air damage while still clearing debris effectively. Closer distances risk creating those unwanted white streaks.
No, the scars are permanent. Trim affected leaves to improve appearance and encourage healthy new growth. The plant will recover, but the marked leaves won’t heal.
It’s best to avoid it. Wet leaves are more vulnerable to damage from the blower’s force. Wait for them to dry, or use a soft brush instead to prevent water-soaked spots and lines.