
Beautiful Plants For Your Interior
Beautiful Plants For Your Interior
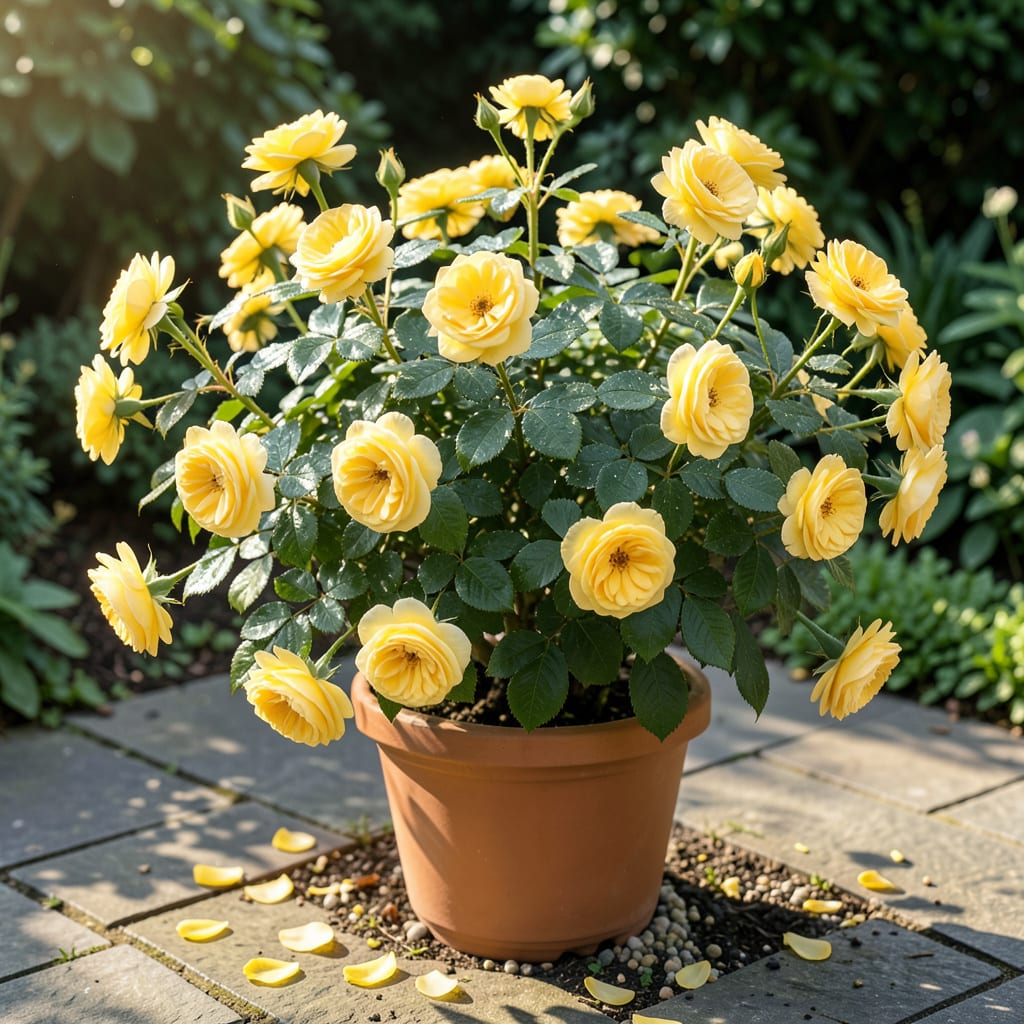
This shrub turns heads with its sunshine-yellow blooms that keep coming all season long. I planted mine three years ago, and it’s been the most reliable color spot in my garden since day one.
It thrives in full sun with well-draining soil and asks for little more than occasional watering once established. The payoff is a bush covered in vibrant flowers that brighten up any landscape from late spring through fall.
📚 In This Guide
Here’s my trusted method for establishing healthy, blooming rose bushes that thrive through the seasons.
Select a spot with full sun exposure—at least 6-8 hours of direct sunlight daily. Japanese yellow roses perform best in well-draining soil with a pH between 6.0 and 6.5. Avoid low-lying areas where water pools after rain, as soggy roots will rot quickly.
Test your soil by digging a 12-inch hole and filling it with water. If it drains within 1-2 hours, you’re good. If not, amend the area with compost or consider raised beds. I always plant near a fence or trellis for support, as these roses can grow 4-6 feet tall.
Dig a hole that’s twice as wide as the root ball and just as deep. Loosen the soil at the bottom and sides with a garden fork to encourage root spread. If your soil is heavy clay, mix in one-third compost or aged manure to improve drainage and fertility.
Create a small mound in the center of the hole to rest the root ball on. This keeps the crown slightly above ground level, preventing water from pooling around the stem. I’ve found that roses planted this way establish faster and resist disease better.
Remove the rose from its container and gently loosen the roots if they’re circling. Place the shrub on the mound, spreading the roots outward. The graft union (that swollen bump near the base) should sit 1-2 inches above soil level in cold climates or at soil level in warmer zones.
Backfill with the amended soil, pressing lightly to remove air pockets. Water deeply with 1-2 gallons immediately after planting. The soil should settle around the roots. I always mulch with 2-3 inches of organic matter to retain moisture and suppress weeds.
Water newly planted roses 2-3 times per week for the first month, then taper to 1 inch per week once established. Check soil moisture by sticking your finger 2 inches down—if it feels dry, it’s time to water again. Deep, infrequent watering encourages strong root growth.
Fertilize lightly with a balanced rose food after the first blooms appear, following package instructions. Prune dead or diseased canes immediately, using clean, sharp tools. I monitor for pests like aphids, blasting them off with water before resorting to sprays.
Deadhead spent flowers by cutting back to the first 5-leaflet leaf below the bloom. This signals the plant to produce more flowers rather than seeds. In late winter, prune established bushes by removing one-third of the oldest canes to rejuvenate growth.
Protect from late frosts by mounding 12 inches of soil around the base in fall. In spring, remove the mound when new growth appears. This variety rewards consistent care with waves of vibrant yellow blooms from late spring through fall.
Small details make the difference between a struggling rose bush and one that thrives with vibrant blooms.
Sunlight is Non-Negotiable: Those 6-8 hours of direct sunlight daily aren’t a suggestion—they’re essential. I’ve seen bushes planted in partial shade produce sparse, weak blooms. If your yard doesn’t get full sun, consider containers you can move to follow the light. Between us, this is the most common reason yellow roses fail to impress.
Drainage Test is Your Safety Net: The 1-2 hour drainage test in Step 1 is worth doing. I learned this the hard way after losing two bushes to root rot in clay soil. If water sits longer than that, amend with compost or use raised beds—no exceptions.
Planting Depth Matters: That 1-2 inch elevation of the graft union above soil level in cold climates isn’t just advice—it’s insurance against winter damage. In warmer zones, planting at soil level works fine, but never bury the graft. This small detail prevents crown rot and encourages strong growth.
Watering Wisdom: The 1-2 gallon deep watering immediately after planting sets the stage for success. Then, that 2-3 times per week schedule for the first month is critical—new roots need consistent moisture to establish. After that, the 1 inch per week rule keeps them happy without waterlogging.
Water deeply once or twice a week, depending on rainfall and soil drainage. Allow the top inch of soil to dry between waterings. Overwatering can lead to root rot, so ensure good drainage.
Prune in late winter or early spring, just before new growth starts. Remove dead or diseased branches, and shape the bush to encourage healthy blooms.
Yes! Choose a large container with drainage holes. Use well-draining potting mix and place it in a sunny spot. Container-grown roses may need more frequent watering.
Lack of sunlight, improper pruning, or nutrient deficiencies can cause poor blooming. Ensure it gets 6+ hours of sun daily, fertilize regularly, and avoid over-pruning.
