
Beautiful Plants For Your Interior
Beautiful Plants For Your Interior
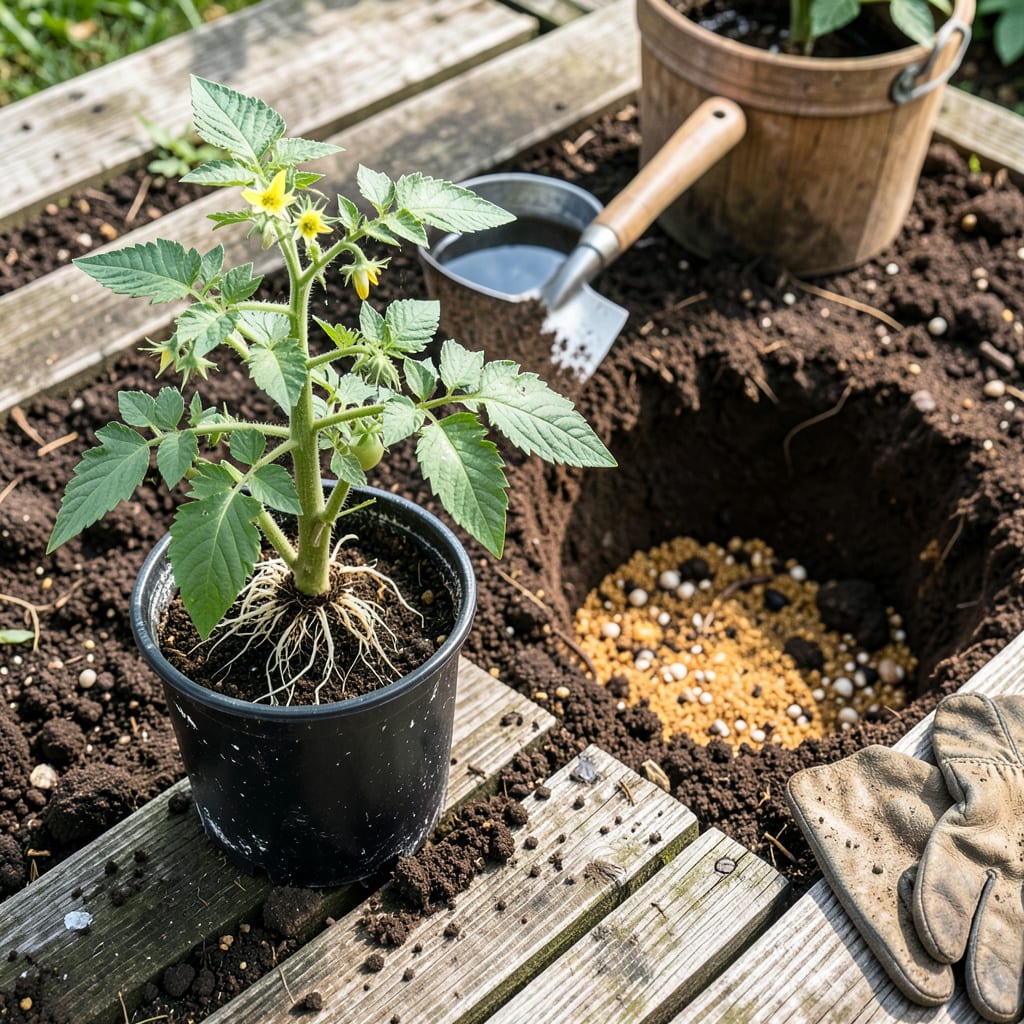
Moving plants feels risky—like performing surgery with garden gloves. I’ve lost count of how many seedlings I’ve shocked into wilting by transplanting too soon or too rough. But here’s the good news: once you nail the timing and technique, even delicate roots bounce back stronger.
The difference between a thriving transplant and a sad, drooping casualty comes down to three things: when you move it (hint: not midday sun), how you handle the roots (gentle = non-negotiable), and what happens in the first 48 hours after. No green thumb required—just a little patience and the right steps.
📚 In This Guide
Moving plants to new homes doesn’t have to be stressful—here’s how to do it with minimal shock and maximum success.
Begin by fully preparing the destination before disturbing the plant. For in-ground transplants, dig a hole twice as wide as the root ball but only as deep. This loose surrounding soil encourages outward root growth. I always rough up the sides of the hole with my trowel to prevent glaze formation that could block roots.
If transplanting to containers, choose one 2-4 inches larger in diameter than the current pot. Fill it 1/3 full with fresh potting mix, creating a small mound in the center. The mound helps position the plant at the correct depth while allowing for settling. Water the new container mix thoroughly before adding the plant—this prevents dry pockets that stress roots.
Water the plant deeply 1-2 hours before transplanting. This hydrates the root ball and helps it hold together. For container plants, turn the pot sideways and gently squeeze the sides while supporting the base of the plant. Tap the rim against a hard surface if needed—the goal is to slide the entire root mass out intact.
For in-ground plants, use a sharp spade to cut a 6-8 inch diameter circle around the plant. Angle the spade downward to create a cone shape that captures more roots. Once loosened, slide the spade underneath and lift. If roots resist, sever them cleanly rather than tearing—plants recover better from clean cuts than jagged wounds.
Place the plant in its new home at the same depth it grew previously—the soil line on the stem should match the surrounding grade. For tomatoes and peppers, you can bury 1-2 inches deeper to encourage adventitious roots. Backfill with native soil or potting mix, gently firming as you go to eliminate air pockets.
Create a shallow water basin around the base by mounding soil in a 3-inch high ring about 6 inches out from the stem. This directs water to the roots during the critical establishment period. Water immediately with a transplant solution (1 tablespoon soluble fertilizer per gallon of water) to reduce shock and jumpstart growth.
Keep the soil consistently moist but not soggy for the first 7-10 days. Check moisture daily by inserting your finger 1 inch deep—water when the top layer feels dry. Shade transplants from intense afternoon sun for 3-5 days using a temporary shade cloth or by positioning containers in dappled light.
Resist fertilizing for 2-3 weeks unless you used transplant solution. New roots are tender and easily burned by concentrated nutrients. Watch for wilting in the late afternoon—this is normal transplant stress. If leaves remain wilted by morning, the plant needs more water or temporary shade protection.
After 2 weeks, gently tug on the base of the plant. Resistance indicates new root growth anchoring it in place. Check for new leaf growth—this signals the plant has recovered from transplant shock. Remove any remaining shade protection gradually over 3-4 days to acclimate the plant to full sun conditions.
Begin regular care routines once you see 1-2 inches of new growth. This typically occurs 3-4 weeks after transplanting for most species. The plant has officially established when it matches the vigor of surrounding, undisturbed plants—you’ll notice equal growth rates and leaf production.
Transplanting success comes down to understanding what your plants experience during the move. Here’s what I’ve learned from years of trial and error that will make your next transplant smoother.
Hydration Timing: The 1-2 hour pre-transplant watering in Step 2 isn’t just about moisture—it’s about root ball integrity. I’ve found that container plants benefit most from the full 2 hours, while in-ground plants often do well with just 1 hour. The key is to water deeply enough that moisture reaches the bottom of the root zone, which you can test by digging down 6 inches after watering to check penetration.
Root Handling Technique: When extracting plants as described in Step 2, resist the urge to pull by the stems. Instead, cradle the root ball from underneath with your fingers spread wide for support. For stubborn container plants, run a knife around the inner edge of the pot to loosen roots before attempting removal—this prevents the tearing that sets plants back weeks in recovery.
Depth Precision: The instruction in Step 3 to plant at the same depth is critical, but here’s what most guides don’t tell you: measure from where the roots emerge from the stem, not from the soil line of the potted plant. Many nursery plants are buried too deep in their containers. For tomatoes and peppers, that 1-2 inch deeper planting makes all the difference—I’ve seen it double root mass in the first month.
Post-Transplant Monitoring: During those first 7-10 days mentioned in Step 4, check plants at dawn rather than just in the afternoon. Morning wilting indicates overnight water stress, which is far more damaging than afternoon drooping. I keep a spray bottle handy to mist leaves lightly on particularly hot days—this reduces transpiration stress without overwatering the roots.
Got questions about transplanting? You’re not alone! Here are the most common concerns—with quick, actionable answers to keep your plants thriving.
Early morning or late afternoon is ideal to avoid heat stress. For most plants, spring or fall (when temps are mild) works best. Check your plant’s specific needs—some (like tomatoes) love warmth, while others (like lettuce) prefer cooler weather.
Look for these signs: roots peeking from drainage holes, slowed growth, or soil drying out too fast. Seedlings should have 2-4 “true leaves” (not just the first baby leaves). Pro tip: Gently tug—if roots resist, it’s ready!
Light rain is great—it reduces shock by keeping roots moist! But avoid heavy downpours (soil can compact) or windy days (stresses plants). If rain’s coming after transplanting, skip watering to prevent soggy roots.
Don’t panic! Mild wilting is normal for 24–48 hours. Keep soil moist (not soaked) and provide temporary shade. If wilting persists, check for root damage or overwatering. A diluted seaweed solution can help reduce stress.
Some plants hate moving! Avoid transplanting:
