
Beautiful Plants For Your Interior
Beautiful Plants For Your Interior
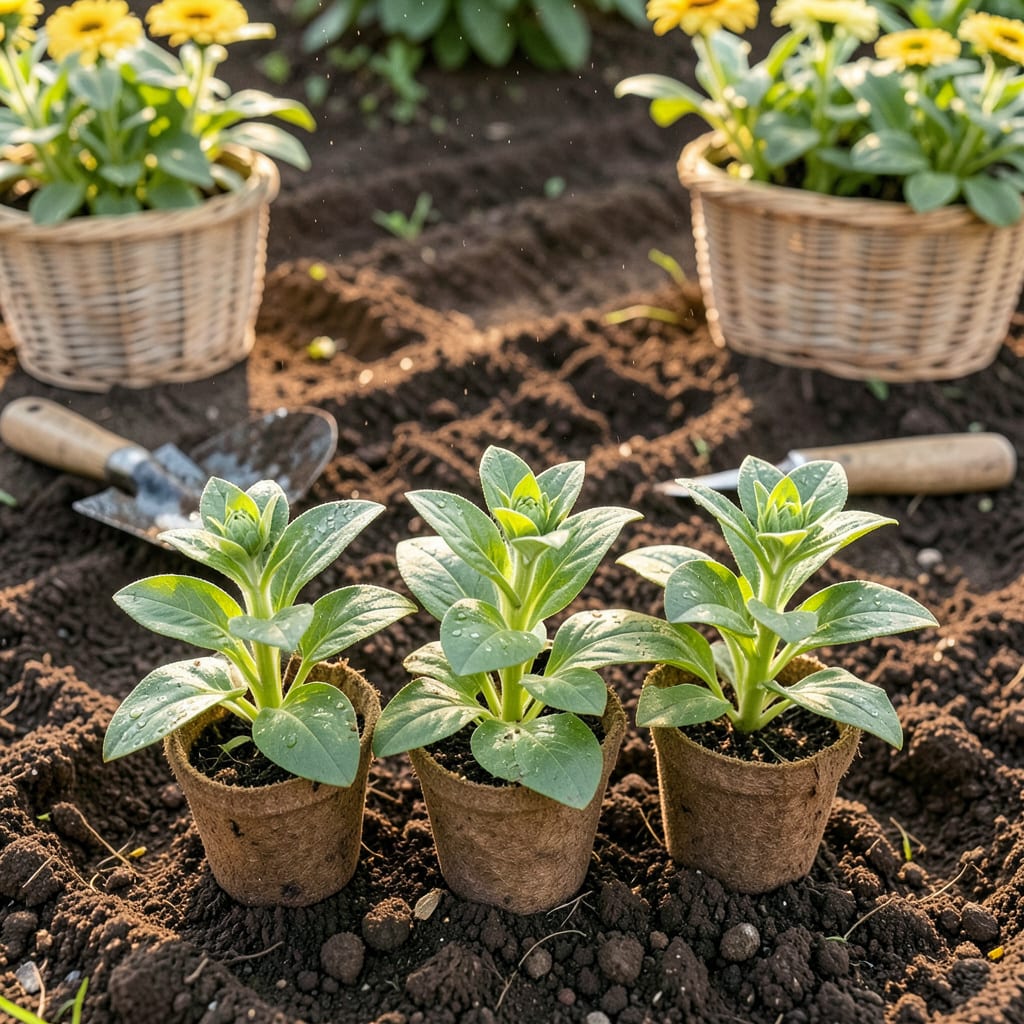
Moving zinnias from seedling trays to garden beds feels like giving them a second chance at life. I’ve found that transplanting at the right time—when they have 2-3 sets of true leaves and the soil is warm—turns scraggly starts into bushy, flower-covered plants by midsummer. The difference between crowded seedlings and properly spaced transplants is shocking: more blooms, stronger stems, and zero competition for nutrients.
Here’s the thing—zinnias hate being babied. They thrive on the slight stress of transplanting if you do it right: moist (not soggy) roots, a sunny spot with well-draining soil, and enough space to stretch out. Get this step nailed, and you’ll be cutting armfuls of vibrant flowers for bouquets in about 6-8 weeks. No green thumb required, just timing and technique.
📚 In This Guide
Here’s my proven method for moving zinnias without shock—you’ll get stronger plants and earlier blooms.
Transplant zinnias when seedlings have 3-4 sets of true leaves and stand about 3-4 inches tall. This typically occurs 4-6 weeks after germination. I always check the forecast first—you want 5-7 days of mild weather (ideally 60-75°F) with no extreme heat or cold snaps.
Late afternoon provides the best transplant window. The cooler evening temperatures reduce stress, and plants have overnight to recover before facing full sun. Avoid transplanting during midday heat or when soil is waterlogged from recent rain.
Water the seedlings thoroughly 2-3 hours before moving—this ensures the root ball stays intact. The soil should feel moist but not soggy when you gently squeeze it. Meanwhile, prepare your garden bed by loosening the soil to 12 inches deep and mixing in 1-2 inches of compost for nutrient boost.
Dig holes slightly larger than the root balls, spacing them 12-18 inches apart depending on variety. I use a trowel to create a small mound at the bottom of each hole—this elevates the crown slightly and prevents stem rot from excess moisture.
Gently squeeze the seedling container to loosen the root ball, then turn it upside down with your hand supporting the soil. If roots are circling, tease them lightly with your fingers to encourage outward growth. Place the seedling in the hole so the soil line matches the original container level—burying stems too deep suffocates the plant.
Backfill with native soil, pressing lightly to eliminate air pockets. Create a shallow basin around each plant to direct water to the roots. I always water immediately with 1 pint of water per plant to settle the soil and rehydrate roots.
Apply 2-3 inches of organic mulch around each plant, keeping it 1 inch away from stems to prevent rot. This conserves moisture and regulates soil temperature during the critical first week. For extra protection in windy areas, I use cut plastic gallon jugs as mini cloches for 24-48 hours—just remember to remove them during the day if temperatures exceed 80°F.
Withhold fertilizer for 7-10 days to avoid burning tender new roots. Watch for wilting in the first 48 hours—this is normal as plants adjust. True transplant shock (persistent wilting after 3 days) suggests either insufficient water or root damage during moving.
After years of transplanting zinnias, I’ve learned these subtle details make all the difference between struggling plants and thriving blooms.
Optimal Timing Strategy: The 4-6 week window mentioned in Step 1 isn’t arbitrary—this is when seedlings develop sufficient root systems to handle transplant stress. I’ve found that waiting until plants have exactly 4 sets of true leaves (rather than 3) gives them extra resilience. That 5-7 day mild weather window is critical too; I once lost an entire batch to a surprise cold snap after just 4 mild days.
Watering Technique: When watering 2-3 hours before moving in Step 2, use room temperature water to prevent shocking the roots. The soil should feel like a wrung-out sponge—moist enough to hold together when squeezed, but not dripping. I learned the hard way that soggy soil leads to root balls falling apart during transplant. For the 1 pint of water per plant after transplanting, water slowly at the base to prevent soil erosion around the delicate roots.
Root Handling Insight: In Step 3, when teasing circling roots, be gentle but thorough. I use a butter knife to make three vertical cuts down the sides of the root ball for severely pot-bound plants—this encourages outward growth without damaging the main root system. The soil line matching trick is non-negotiable; I’ve seen plants suffocate when buried just 1 inch too deep.
Post-Transplant Care: That 24-48 hour cloche period in Step 4 transformed my success rate. For the mulch, shredded bark works better than straw in my experience—it stays in place during watering and doesn’t attract pests. The 7-10 day fertilizer waiting period is crucial; I mark my calendar to avoid accidentally feeding too soon. Watch for leaves that remain wilted after 48 hours—this indicates either overwatering or root damage during transplant.
Yes, but it’s risky! Transplanting during blooming can stress the plant and cause flower drop. For best results, move zinnias in early morning or late afternoon when they’re not in full bloom, and water deeply afterward. If you must transplant a blooming zinnia, snip off the flowers first to redirect energy to root recovery.
Early morning or late afternoon is ideal—avoid the midday heat! Cooler temps and lower sun intensity reduce transplant shock. If you’re moving zinnias in summer, opt for a cloudy day or provide temporary shade (like a lightweight row cover) for 2–3 days to help them adjust.
Zinnias can transplant successfully if handled gently, but they’re sensitive to root disturbance. Direct-sowing is often easier, especially for varieties with taproots (like ‘Benary’s Giant’). If transplanting, start seeds in biodegradable pots to minimize root shock when moving them to the garden.
Wilting or yellowing often signals transplant shock or overwatering. Check soil moisture—zinnias prefer well-draining soil. If the roots look mushy, ease up on water. For shock, trim damaged foliage and provide shade until recovery. A light seaweed-based fertilizer can help reduce stress.
Yes, but summer transplanting requires extra care. Water the pot thoroughly before moving, dig a wide hole in moist soil, and shield plants from harsh sun for a few days. Mulch around the base to retain moisture. Avoid transplanting during heatwaves—wait for milder temps if possible.
