
Beautiful Plants For Your Interior
Beautiful Plants For Your Interior
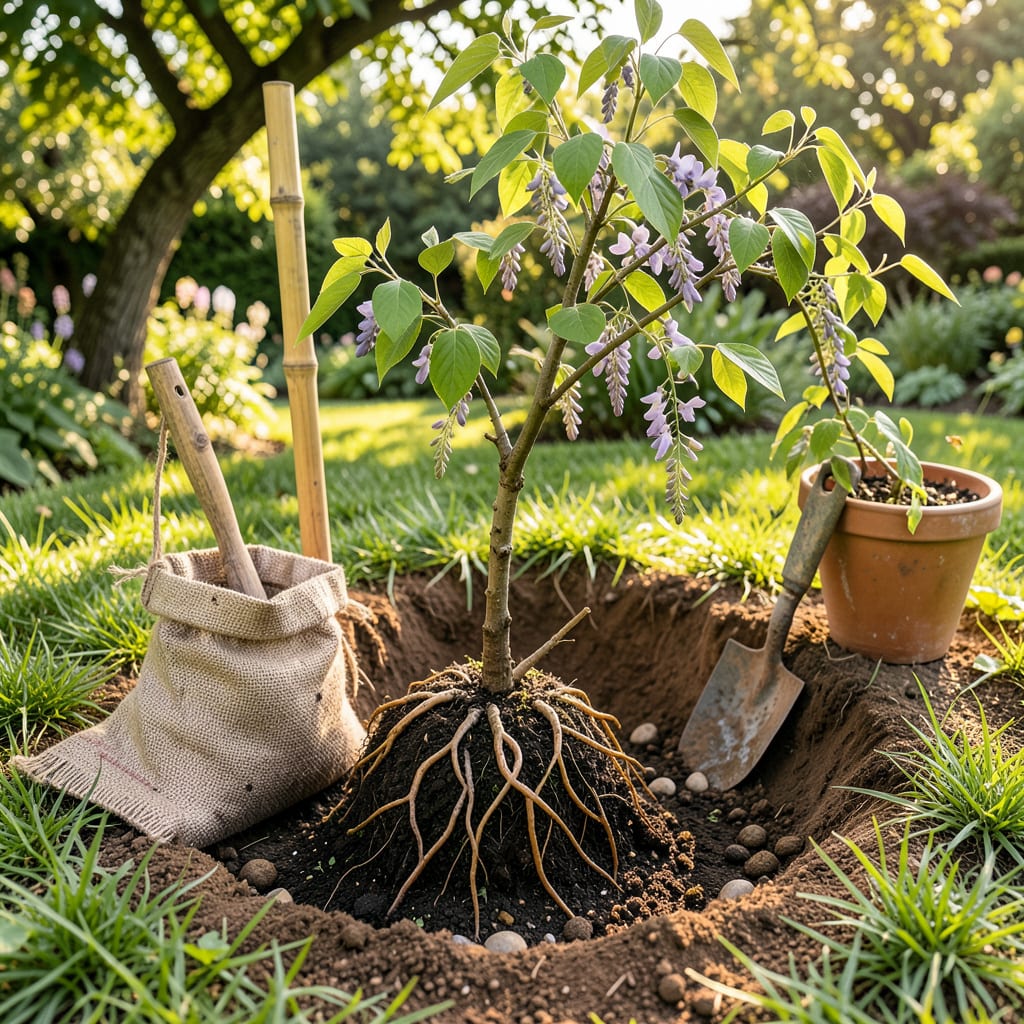
Moving a wisteria vine feels like performing surgery on a sleeping giant. I’ve relocated three of these woody beauties over the years, and the secret isn’t luck—it’s timing and preparation. Transplanting during dormancy (early spring or fall) gives roots the best chance to settle before growth kicks in. Skip this window, and you risk shocking a plant that’s already stressed.
The right spot makes all the difference: full sun, well-draining soil, and a sturdy structure it can claim for decades. I’ve seen wisteria sulk for years in the wrong location, but move it properly, and you’ll get explosive new growth by the second season. The key is disturbing the roots as little as possible—think careful excavation, not brute force.
📚 In This Guide
Moving an established wisteria vine takes patience, but this method ensures your plant thrives in its new location.
Choose a location with full sun exposure (at least 6-8 hours daily) and well-draining soil. Wisteria grows aggressively, so select a spot where it can spread without crowding other plants. I always dig the new hole twice as wide as the root ball but the same depth—this gives roots room to expand immediately.
Mix the excavated soil with compost or aged manure to improve fertility. Avoid heavy clay or waterlogged areas, as wisteria roots rot easily in soggy conditions. Test drainage by filling the hole with water—if it doesn’t drain within 30 minutes, amend further with sand or organic matter.
About one week before transplanting, prune the wisteria back by one-third of its current growth. This reduces stress on the plant by minimizing water loss through leaves. Focus on removing long, whippy growth and thinning out dense areas to improve air circulation.
Water the vine deeply 2-3 days before moving—moist roots hold together better during transplanting. I also tie up the remaining vines with soft twine to keep them manageable. This prevents branches from snapping or tangling during the move, which can cause unnecessary damage.
Use a sharp spade to dig a trench around the wisteria, working in a circle about 12-18 inches from the main stem. Wisteria roots are tough but extensive, so expect to cut some peripheral roots. Once the trench is complete, angle the spade underneath to lift the root ball intact.
Place the root ball on a tarp and drag it to the new hole—never lift by the stems. Position the vine so it sits at the same depth as before, then backfill with the amended soil. Tamp gently to remove air pockets, but don’t compact too firmly. Water immediately with 2-3 gallons to settle the soil around the roots.
After transplanting, water the wisteria every 2-3 days for the first two weeks, then taper to weekly deep watering. Mulch around the base with 2-3 inches of organic material to retain moisture and regulate soil temperature. Avoid fertilizing for 4-6 weeks—new roots need time to establish before processing nutrients.
Monitor the vine closely for signs of transplant shock, like wilting or yellowing leaves. If the plant struggles, provide temporary shade with burlap or a light cloth for a week to reduce stress. Most wisteria bounce back within 3-4 weeks if given consistent care and patience.
Transplanting wisteria successfully comes down to timing and technique—here’s what I’ve learned from years of moving these vigorous vines.
Root Ball Protection: When digging the trench in Step 3, work methodically around the vine at that 12-18 inch radius. I’ve found that using a sharp spade and making clean cuts through roots minimizes damage. The key is to maintain as much of the root system as possible—even if you lose some peripheral roots, keeping the central mass intact gives your wisteria the best chance at recovery.
Watering Wisdom: That 2-3 day pre-move watering in Step 2 makes all the difference. I learned this the hard way after losing a vine to root desiccation. The moist soil helps roots hold together when you lift the plant, and hydrated roots recover faster in the new location. After transplanting, those 2-3 gallons of water immediately are non-negotiable—they eliminate air pockets and ensure root-to-soil contact.
Depth Discipline: Planting at the same depth as before (mentioned in Step 3) is critical. I’ve seen gardeners bury the stem too deep, thinking it would provide stability, but this actually suffocates the plant. The original soil line on the stem should remain visible above ground. A simple trick: lay a straight board across the hole to check your depth before backfilling.
Shock Prevention: That one week of pruning before moving (Step 2) reduces water demand by about 30% during the critical recovery period. I also recommend keeping the pruned cuttings and using them as temporary shade stakes if your vine shows stress. The 2-3 inches of mulch in Step 4 isn’t just for moisture—it insulates roots from temperature swings that can trigger shock.
Early spring (just before new growth starts) or late fall (after leaf drop) are ideal. Avoid transplanting during summer heat or winter dormancy extremes. Cool, moist conditions help roots establish faster with less shock.
Mature wisteria (10+ years) can be transplanted but requires extra care. Prune roots and foliage by 1/3 beforehand to reduce stress, and water deeply for weeks post-move. Younger vines (3-5 years) adapt more easily.
Plant at the same depth as its original spot—burying the root ball too deep suffocates stems. Ensure the base of the vine sits slightly above soil level to prevent rot. A wide hole (2x root ball) helps roots spread.
This is normal transplant shock! Keep soil consistently moist (not soggy) and provide temporary shade for 1-2 weeks. Avoid fertilizing until new growth appears (4-6 weeks). Most vines recover with patience.
If moving isn’t feasible, try hard pruning to rejuvenate it in place or propagate cuttings to grow new plants. For overgrown vines, consider training it onto a fresh support system instead of relocating.
