
Beautiful Plants For Your Interior
Beautiful Plants For Your Interior
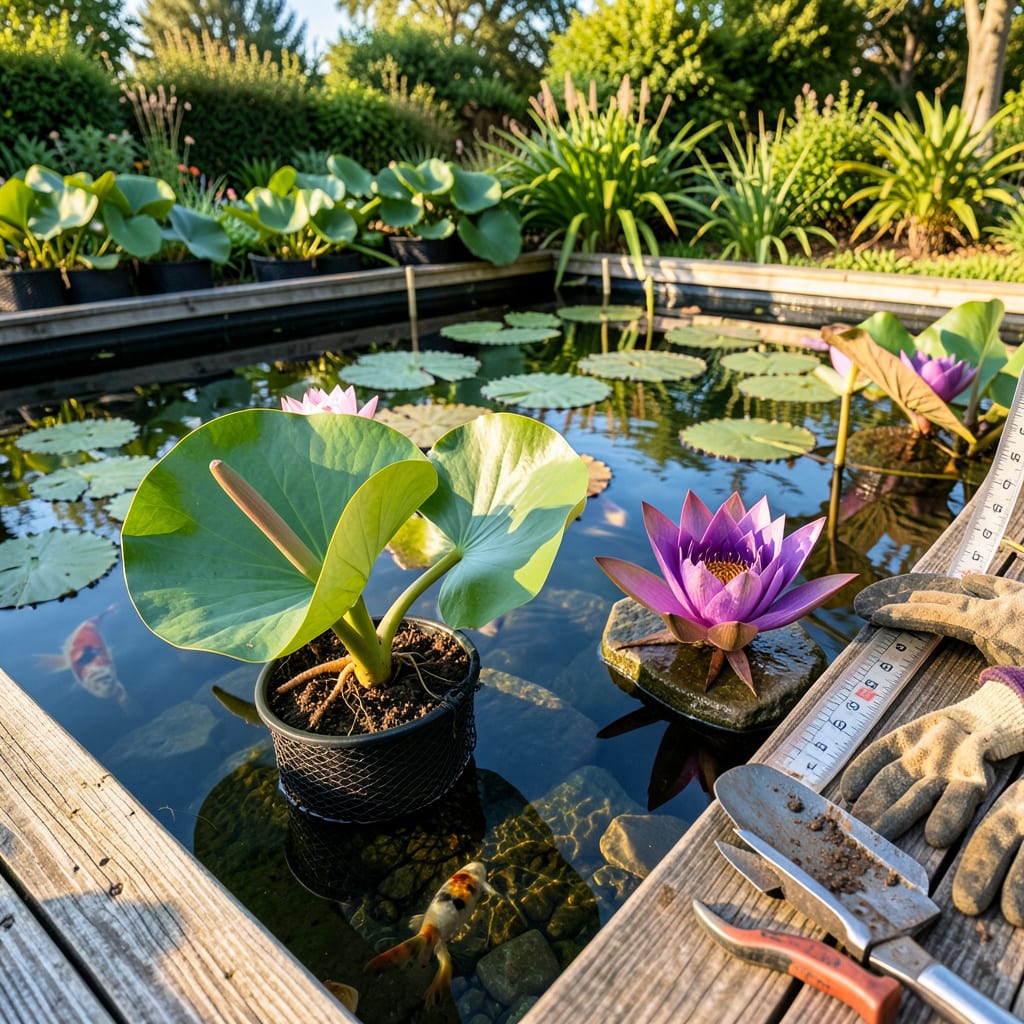
There’s something magical about watching water lilies unfurl across a pond—until they outgrow their space. I’ve moved dozens over the years, and the right technique means the difference between a struggling plant and one that explodes with bigger blooms the very next season. Timing and gentle handling are everything here.
Whether you’re dividing an overcrowded rhizome or relocating a tired plant to fresh soil, the process is simpler than it looks. Hardy varieties bounce back fastest in early spring, while tropicals prefer summer warmth. By the time you’re done, you’ll have a lily that establishes faster and flowers more reliably than store-bought plants—without the transplant shock.
📚 In This Guide
This method ensures your water lilies transition smoothly with minimal shock and maximum bloom potential.
Choose a spot with full sun exposure (at least 6 hours daily) and water depth appropriate for your variety. Hardy water lilies thrive in 12-18 inches of water above the crown, while tropicals prefer 8-12 inches. Remove any debris from the pond bottom and check for sharp objects that could damage roots.
If transplanting to a container, select one at least 12 inches wide with drainage holes. Line the bottom with 2-3 inches of heavy loam soil (never regular potting mix—it floats away). Create a slight mound in the center where the rhizome will rest, angled upward at about 45 degrees.
Gently lift the plant from its current position, supporting the entire root mass. For container-grown lilies, tip the pot sideways and slide the plant out while cradling the rhizome. In ponds, use your hands to feel for the crown and work outward, lifting slowly to avoid breaking tender roots.
Inspect the rhizome for healthy growth points—these look like small, firm buds. Trim any blackened or mushy roots with clean scissors, but leave healthy white roots intact. Keep the plant moist at all times; I place it in a shallow tray of water while preparing the new site to prevent dehydration.
Place the rhizome at a 45-degree angle with the growing tip pointed upward and slightly exposed above the soil. This prevents rot while allowing new leaves to emerge unimpeded. For container planting, position the crown about 1 inch above the soil line, then gently fan out the roots downward into the loam.
In ponds, create a small depression in the pond bottom and nestle the rhizome into it, then mound soil around the roots. Press the soil firmly but don’t compact it—you want water to circulate while roots establish. The growing tip should remain visible above the soil surface.
Cover the soil with a 1-inch layer of pea gravel to prevent fish from disturbing the roots and to keep soil in place. In containers, this also helps weigh down the plant. Slowly lower the container into the water or, for pond planting, gently release the plant and let it settle naturally.
Newly transplanted lilies may float for a day or two—this is normal. Avoid fertilizing for 2-3 weeks to let roots recover. Watch for new leaf growth within 7-10 days, which signals successful establishment. If leaves yellow, increase water depth slightly or provide temporary shade.
Check daily for the first week, ensuring the plant remains stable and no parts float away. In containers, top off water as it evaporates to maintain proper depth. Remove any damaged leaves that appear, as these can rot and affect water quality.
After 3-4 weeks, you can begin light fertilization with aquatic plant tablets, placed 3 inches from the crown. Expect the first blooms 6-8 weeks after transplanting if conditions remain ideal. The plant may take a full season to reach peak performance, but proper transplanting ensures long-term vitality.
Transplanting water lilies requires attention to detail, but these insights will help ensure your plants thrive in their new location.
Sunlight and Depth Precision: The 6 hours of full sun mentioned in Step 1 is non-negotiable for blooming, but pay equal attention to water depth. Hardy varieties need that 12-18 inch range to prevent crown rot, while tropicals at 8-12 inches avoid stunted growth. I’ve found that using a clear plastic ruler during planting helps achieve the perfect depth without guesswork.
Rhizome Handling Technique: When positioning the rhizome at that critical 45-degree angle in Step 3, here’s what nobody tells you: the growing tip should face the morning sun direction. This small adjustment gives your lily a head start on daily photosynthesis. Also, when pressing soil around roots, use your fingertips—not palms—to avoid compacting too tightly and restricting water flow.
Transitional Care Secret: During the 2-3 week no-fertilizer period in Step 4, don’t overlook water quality. I place a small mesh bag of activated charcoal near (but not touching) the plant to absorb any potential toxins from disturbed pond sediment. This simple addition prevents the yellowing leaves that often appear during this vulnerable phase.
Establishment Monitoring: The 7-10 day window for new leaf growth in Step 4 is your plant’s report card. If you don’t see progress by day 10, check two things: water temperature (should be above 60°F) and root stability. Gently tug the plant—if it resists slightly, roots are establishing. If it moves freely, add a small anchor stone near the base until roots take hold.
Early spring (before new growth starts) or early fall (after blooming slows) is ideal. Avoid extreme heat or cold—aim for water temps above 60°F (15°C) for minimal stress on the plant.
Yes, but it’s riskier! If necessary, do it on a cloudy day or in the evening to reduce shock. Trim damaged roots/leaves first, and keep the tubers shaded in damp newspaper until replanting.
Use a sharp knife to cut the rhizome (thick root) into sections, ensuring each has at least one growing tip. Discard mushy or rotten parts—healthy divisions should be 3–6 inches long with firm, white roots.
Common culprits: too-deep planting (crown should be 4–18” below water), poor sunlight (6+ hours needed), or nutrient deficiency. Try fertilizing with aquatic plant tabs or adjusting the depth gradually.
Yes! Avoid regular garden soil—it clouds water. Use heavy aquatic planting media (like clay or loam) or commercial aquatic pots. Top with gravel to prevent fish from digging up the roots.
