
Beautiful Plants For Your Interior
Beautiful Plants For Your Interior
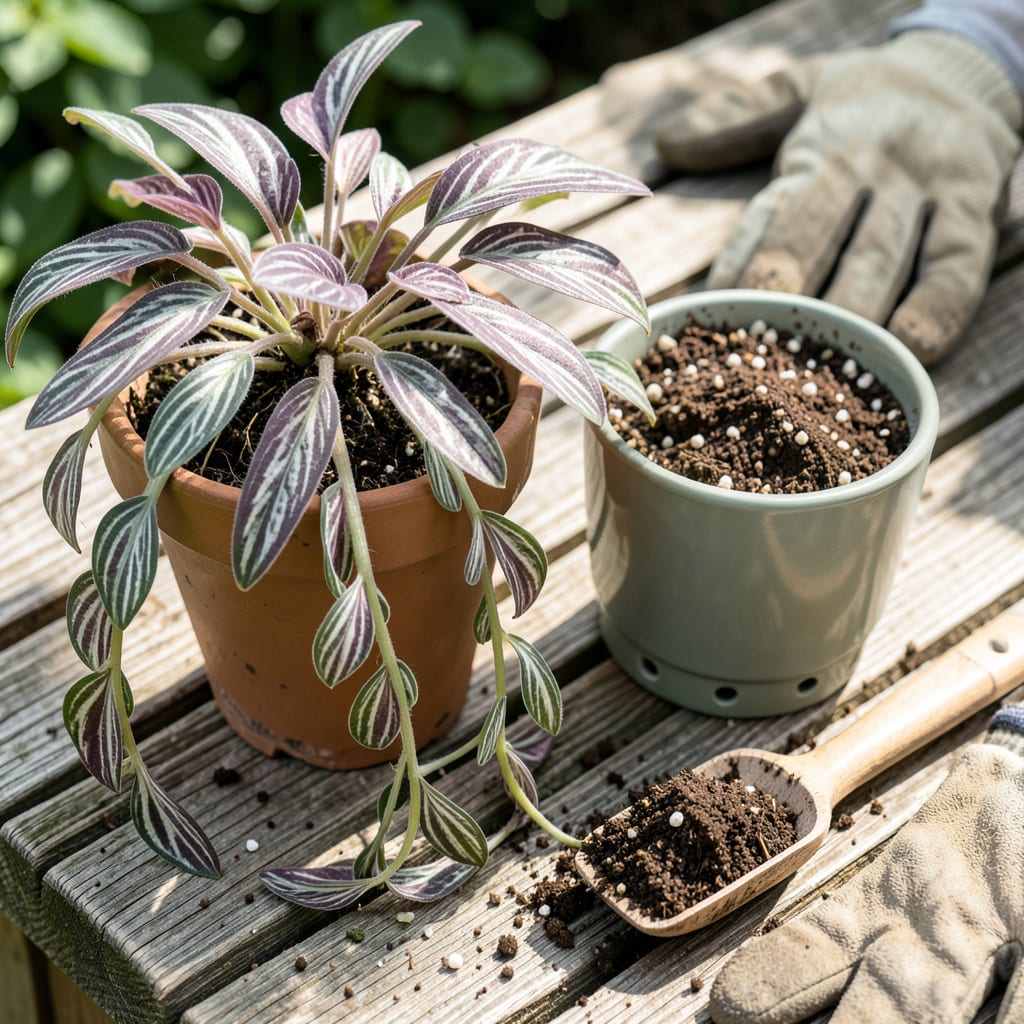
That moment when your Wandering Jew looks too happy in its pot—that’s your sign. I’ve moved dozens of these purple-striped trailers, and the right transplant turns a surviving plant into a thriving one. The secret isn’t fancy tools but timing: spring or early summer when growth kicks into high gear, or whenever roots start circling the container.
You’ll end up with fuller vines, faster growth, and plants that actually fill the space you want. No more sad, root-bound clumps or leggy stems searching for room. The process takes 20 minutes and requires just three things: sharp scissors, fresh soil, and a slightly bigger home. Here’s how to do it without the drama.
📚 In This Guide
Transplanting Wandering Jew is simpler than you think—just follow these clear steps for healthy, vibrant vines.
Choose a pot that’s 1-2 inches wider than the current one, with drainage holes at the bottom. I always use a clean container to prevent disease transfer. Fill it about one-third full with fresh, well-draining potting mix—this plant hates soggy roots.
Water the new soil lightly until it feels evenly moist but not dripping. You want it damp enough to settle around the roots when you transplant, but not so wet that it becomes compacted. Tap the pot gently on a flat surface to remove air pockets.
Gently squeeze the sides of the current pot to loosen the root ball. Turn it upside down while supporting the base of the plant with your fingers. If it resists, run a knife around the inner edge of the pot to free the roots.
Check the root system—healthy roots should be white or light tan. If you see dark, mushy roots, trim them away with clean scissors. This is also the perfect time to separate the plant if it’s become too dense, creating new plants from the divisions.
Place the root ball in the center of the new pot, ensuring the top of the root ball sits about 1 inch below the rim. This gives you space to water without overflow. Add more potting mix around the sides, pressing gently to eliminate air gaps.
The plant should sit at the same depth as it was in its previous container. Burying the stem too deep can cause rot, while planting too high exposes roots. Water thoroughly until you see it draining from the bottom holes.
Move your transplanted Wandering Jew to a spot with bright, indirect light for the first 3-5 days. Direct sun during this adjustment period can stress the plant. Keep the soil consistently moist but not waterlogged.
Watch for signs of stress like wilting or yellowing leaves. If you notice either, increase humidity by misting the leaves lightly or placing a tray of water with pebbles nearby. Most plants bounce back within a week if given proper care.
After the adjustment period, return the plant to its usual location with moderate to bright indirect light. Let the top inch of soil dry out between waterings—this plant prefers slightly drier conditions over constant moisture.
You’ll know your transplant was successful when you see new growth within 2-3 weeks. At this point, you can resume regular fertilizing if desired, using a balanced houseplant fertilizer diluted to half strength.
Transplanting Wandering Jew becomes effortless when you know these key details that most guides overlook.
Pot Selection Secret: In Step 1, choosing a container that’s exactly 1-2 inches wider prevents overpotting, which can lead to root rot. I learned this after losing several plants to containers that were too large. The extra space seems helpful, but it actually holds too much moisture around the roots. A slightly snug fit encourages healthy growth while still giving roots room to expand.
Root Handling Technique: When removing the plant in Step 2, here’s what nobody tells you—never pull the plant out by its stems. I made this mistake early on and ended up with broken vines. Always support the root ball from underneath while gently squeezing the pot’s sides. If the plant resists, running a butter knife around the edges (as mentioned) works better than forcing it out, which can damage delicate roots.
The Depth Rule: Step 3’s instruction about keeping the root ball 1 inch below the rim is crucial for two reasons. First, it prevents water from spilling over when you water thoroughly. Second, it ensures the stem sits at the same depth as before, which I’ve found prevents stem rot. I use a ruler to measure this distance—it’s that important for the plant’s recovery.
Recovery Period Insight: The 3-5 day adjustment period in Step 4 isn’t arbitrary. I’ve noticed plants moved too soon to direct light often develop crispy leaf edges. During this time, the roots are establishing in their new home and can’t handle the stress of intense light. A north-facing window or spot with filtered light through a sheer curtain works perfectly for this transition phase.
Spring or early summer is ideal—warm temps (60–75°F) help roots recover fast. Avoid winter (dormancy) or extreme heat (stress). If indoors, transplant anytime with stable conditions. Pro tip: Water 1–2 days before to reduce shock!
Can I transplant Wandering Jew cuttings directly into soil?
Yes! Snip 4–6″ stems below a node, remove lower leaves, and plant in moist soil. Keep humidity high (cover with a bag) for 2–3 weeks until roots form. Alternatively, root in water first for faster success. Transplant shock is common. Check for: Trim dead leaves and mist daily to help recovery. Water propagation! Place cuttings in a jar of water (change weekly) until roots reach 2–3″. Then transfer to soil. Great for beginners—you’ll see progress fast and avoid soil-borne issues. Every 1–2 years or when roots circle the pot’s bottom. Choose a container 1–2″ larger—too much space holds excess moisture. Refresh soil annually for nutrients, even if you don’t upsize.
2
Why is my Wandering Jew wilting after transplanting?
3
What’s the easiest alternative to soil transplanting?
4
How often should I repot a mature Wandering Jew?
